260Alvium USB Cameras User Guide V4.6.1
Installing the camera
Mounting the camera
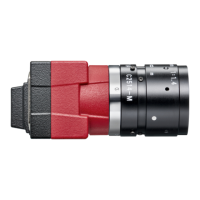
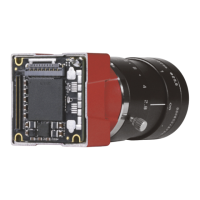
Mounting bare board cameras
Heat sink compound
Because electronic parts vary in height, we have updated our recommendation:
• Use flexible heat sink compound to compensate for potential gaps between
the electronic parts to be cooled and heat sinks.
• Consider 1 mm to cover for worst case scenarios.
• For details, see the Alvium STEP files at
www.alliedvision.com/en/support/alvium-step-file-downloads.
CAUTION
Injury by falling cameras or lenses
A falling camera or lens can cause injury.
• Ensure proper mounting of cameras and lenses, especially for dynamic
applications.
• Mount cameras as described in the instructions.
• Always make sure the mounting threads are intact.
• Fasten screws with maximum torque, using the entire thread engagement.
For less thread engagement, see Adapting maximum torque values on page
265.
• We recommend you to apply thread locking.
• Use a lens support for heavy lenses.
Heat dissipation and electromagnetic compatibility for bare board cameras
For heat dissipation, see the Optimum Heat Dissipation for Alvium Cameras
application note.
For initial guidance on electromagnetic compatibility, see the Electromagnetic
Compatibility for Open Housing Alvium Cameras application note.
See www.alliedvision.com/en/support/technical-documentation/
alvium-usb-documentation.
 Loading...