2 of 3
P/N PM000152A • Rev. 1.0 • ISS 09MAY2017
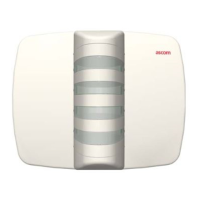
NURD-HE Room Display with backplate and wiring
3. Place the backplate (with the arrow facing up) over the
backbox so that the heads of the screws can pass through
the key-hole slots. Ensure that the cables and cable
connectors do not interfere with the backplate.
4. Turn the backplate until it is level. Use a leveling device to
check, if necessary.
5. Using the backplate as a template, use a pencil to mark
four corner holes on the wall (item 1 in the “Backplate
with mounting hole” figure).
6. Remove the backplate and drill holes into the wall at each
marked corner.
7. Insert a screw anchor into each hole (if necessary).
8. Place the backplate over the backbox and align it with the
drilled holes.
9. Insert the four wall screws and tighten until they are snug.
10. Tighten the backbox screws until they are snug, but do
not over-tighten them.
To connect the NURD Room Display:
1. Insert the RJ-45 connector (from the room bus) into
either jack on the back of the module, and then insert
the next RJ-45 connector (to the next module) into the
other jack.
NURD Room Display (Rear) with callouts
Legend
(1) 2x RJ-45 connections to room bus
To mount the room display to the backplate:
1. Ensure that all cable connections are properly secured to
the RJ-45 connectors on the back of the room display.
2. Place the room display on to the two bottom fasteners
on the backplate.