MAIN MENU
26
3) NETWORK UPGRADE
Click “SUBMIT” for perform system upgrade via Internet.
Note: This function requires Internet access. Please make sure this recorder is connected to Internet
before using this function.
4) BACKUP CONFIG / RESTORE CONFIG
To save the DVR current configurations for later use, such as restoring after DVR upgrade or applying to
another DVR, insert a compatible USB flash drive into the USB port, and select “SUBMIT” in “BACKUP
CONFIG” to copy the current DVR configurations to a file “System.bin” and save to your USB flash drive.
To restore the DVR configurations, insert the USB flash drive including “System.bin” to the USB port, and
select “SUBMIT” in “RESTORE CONFIG”.
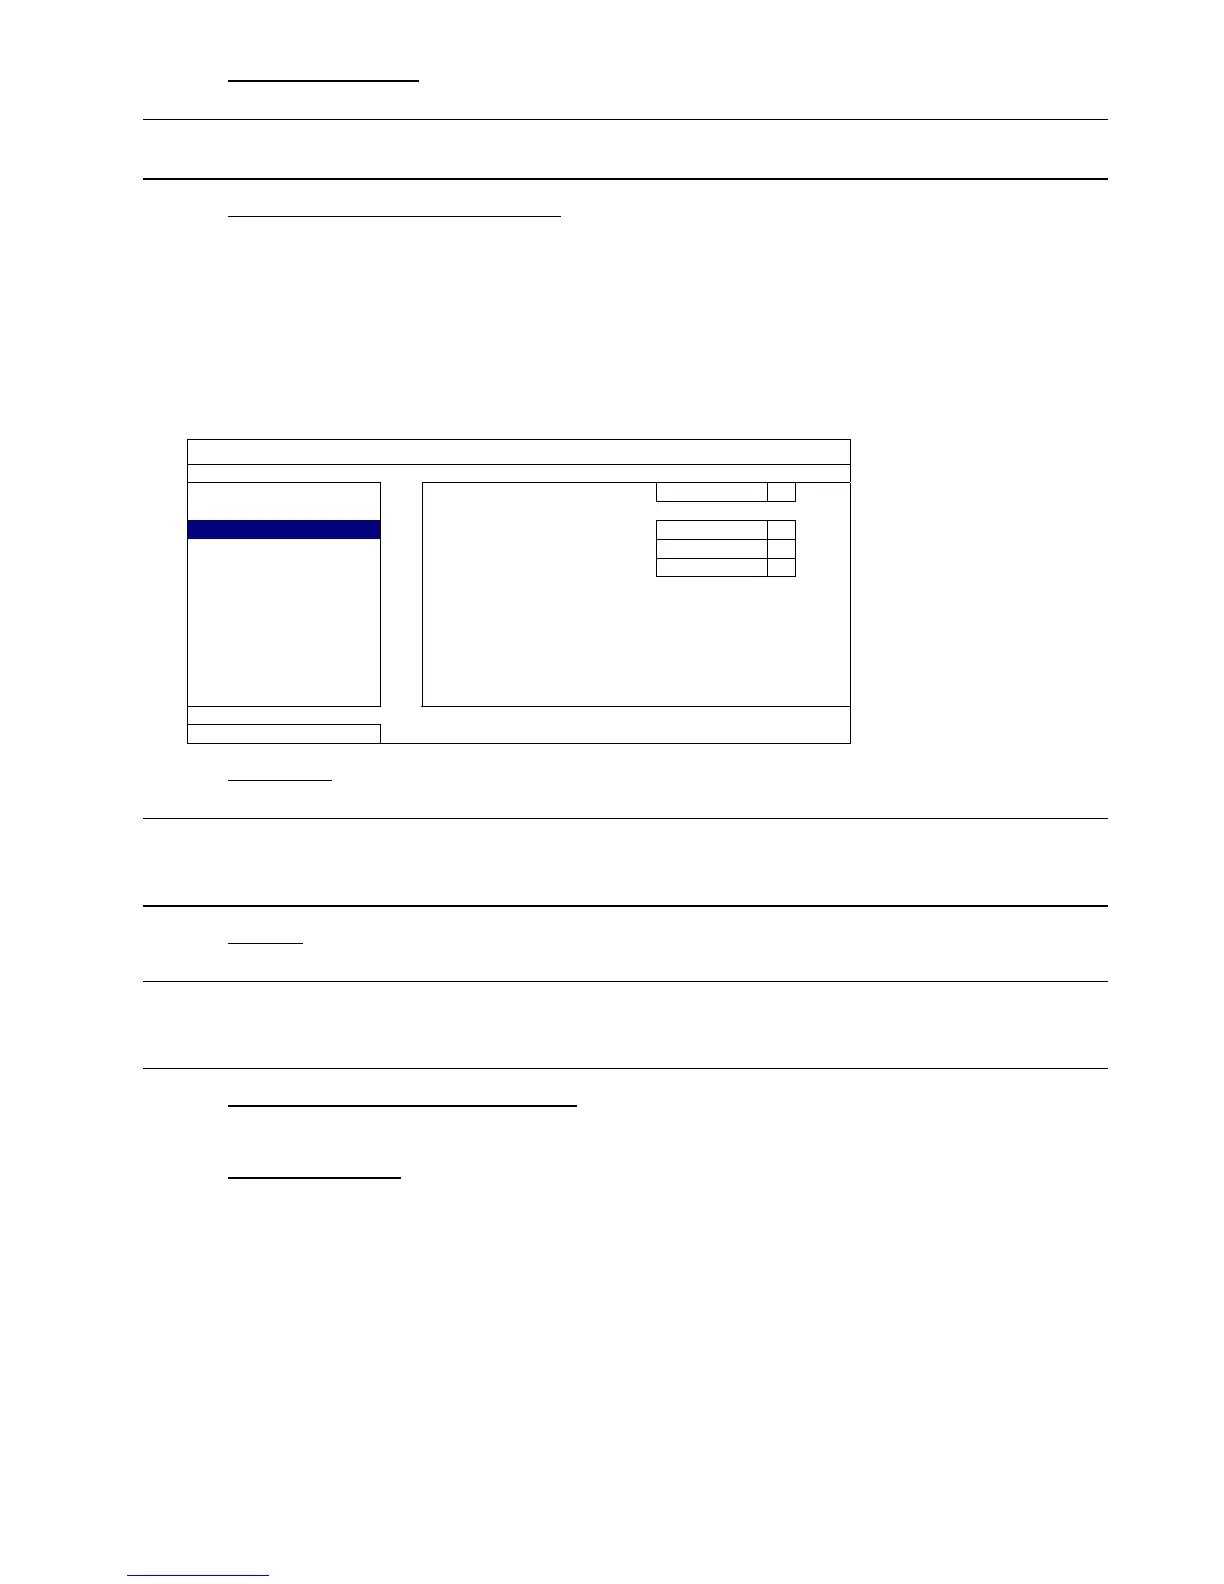
6.2.3 SYSTEM INFO
SYSTEM
ACCOUNT BAUD RATE 2400
TOOLS HOST ID 000
SYSTEM INFO R.E.T.R 5
BACKUP DATA AUTO KEY LOCK(S) NEVER
BACKUP LOG CLEAR HDD HDD-0
RESET DEFAULT SUBMIT
REMOTE CONTROL ID 000
DEVICE TITLE office
SERIAL TYPE RS485
VERSION 1001-1000-1000-1001
EXIT
1) BAUD RATE
Set the baud rate of the DVR (2400 / 4800 / 9600 / 19200 / 38400 / 57600 / 115200).
Note: This function is used when an external controller is connected to this DVR and further
configurations should be made for this DVR to work with the controller. For details, please check
the user manual of the external controller.
2) HOST ID
Set the ID of the DVR (000 ~ 254).
Note: This function is used when an external controller is connected to this DVR and further
configurations should be made for this DVR to work with the controller. For details, please check
the user manual of the external controller.
3) R.E.T.R (Remote Event Trigger Recording)
Select the timeout in minute after which the R.E.T.R. function will be activated (3 / 5 / 10 / 30).
4) AUTO KEY LOCK(S)
Set the time-out in second after which the key lock function is activated (NEVER / 30 / 60 / 120).