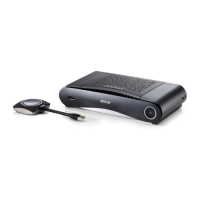
4. CS-100 Installation
4. CS-100 INSTALLATION
Overview
• Installation methods for the Base Unit
• Table mounting
• Wall mounting
• Video signal connections to the Base unit
• Audio connection
• LAN connection
• Power connection
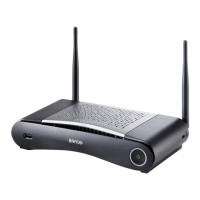
4.1 Installation m ethods for the Base Unit
For optimal performance, install the B ase unit c lose to the display an d avoid o bstacles between the Base unit
and the Buttons.
Introduction to the installation methods
The Base unit can b e ins talled in different ways in a mee ting room .
• Table mount
• Wall mount
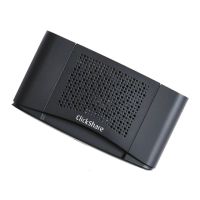
At the s ide of the Base Unit, a Kens ington loc k is foreseen.
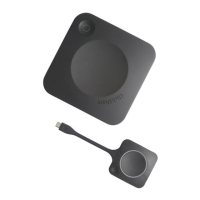
4.2 Table mou nting
Overview
Put the Base Unit directly on the meeting room table.
The total weight of the Base Unit is 600 g.
4.3 Wall mounting
About wall mounting
No mounting bracket is needed to install the B a se unit on the wall or the ceiling. The Base Unit c an be mounted in any position on
the wall or on the ceiling, but for a wall mount, it is preferred to mount it with the connections upwards.
The total weight of the Base Unit is 600 g.
Necessary tools
• a drill (type of drill depend s on the type of wall)
• Screwdriver (depending on the used screws)
Necessary parts
• 2 m ounting s crews, maximum head diam eter of 6.5 mm
• 2 plugs
How to install
1. Drill two holes in the wall or ceiling as indicated on the drawing.
Horizontal distance : 162 mm ,
R5900022 CS-100 16/02/2016
13