4. Getting started
Image 4-9
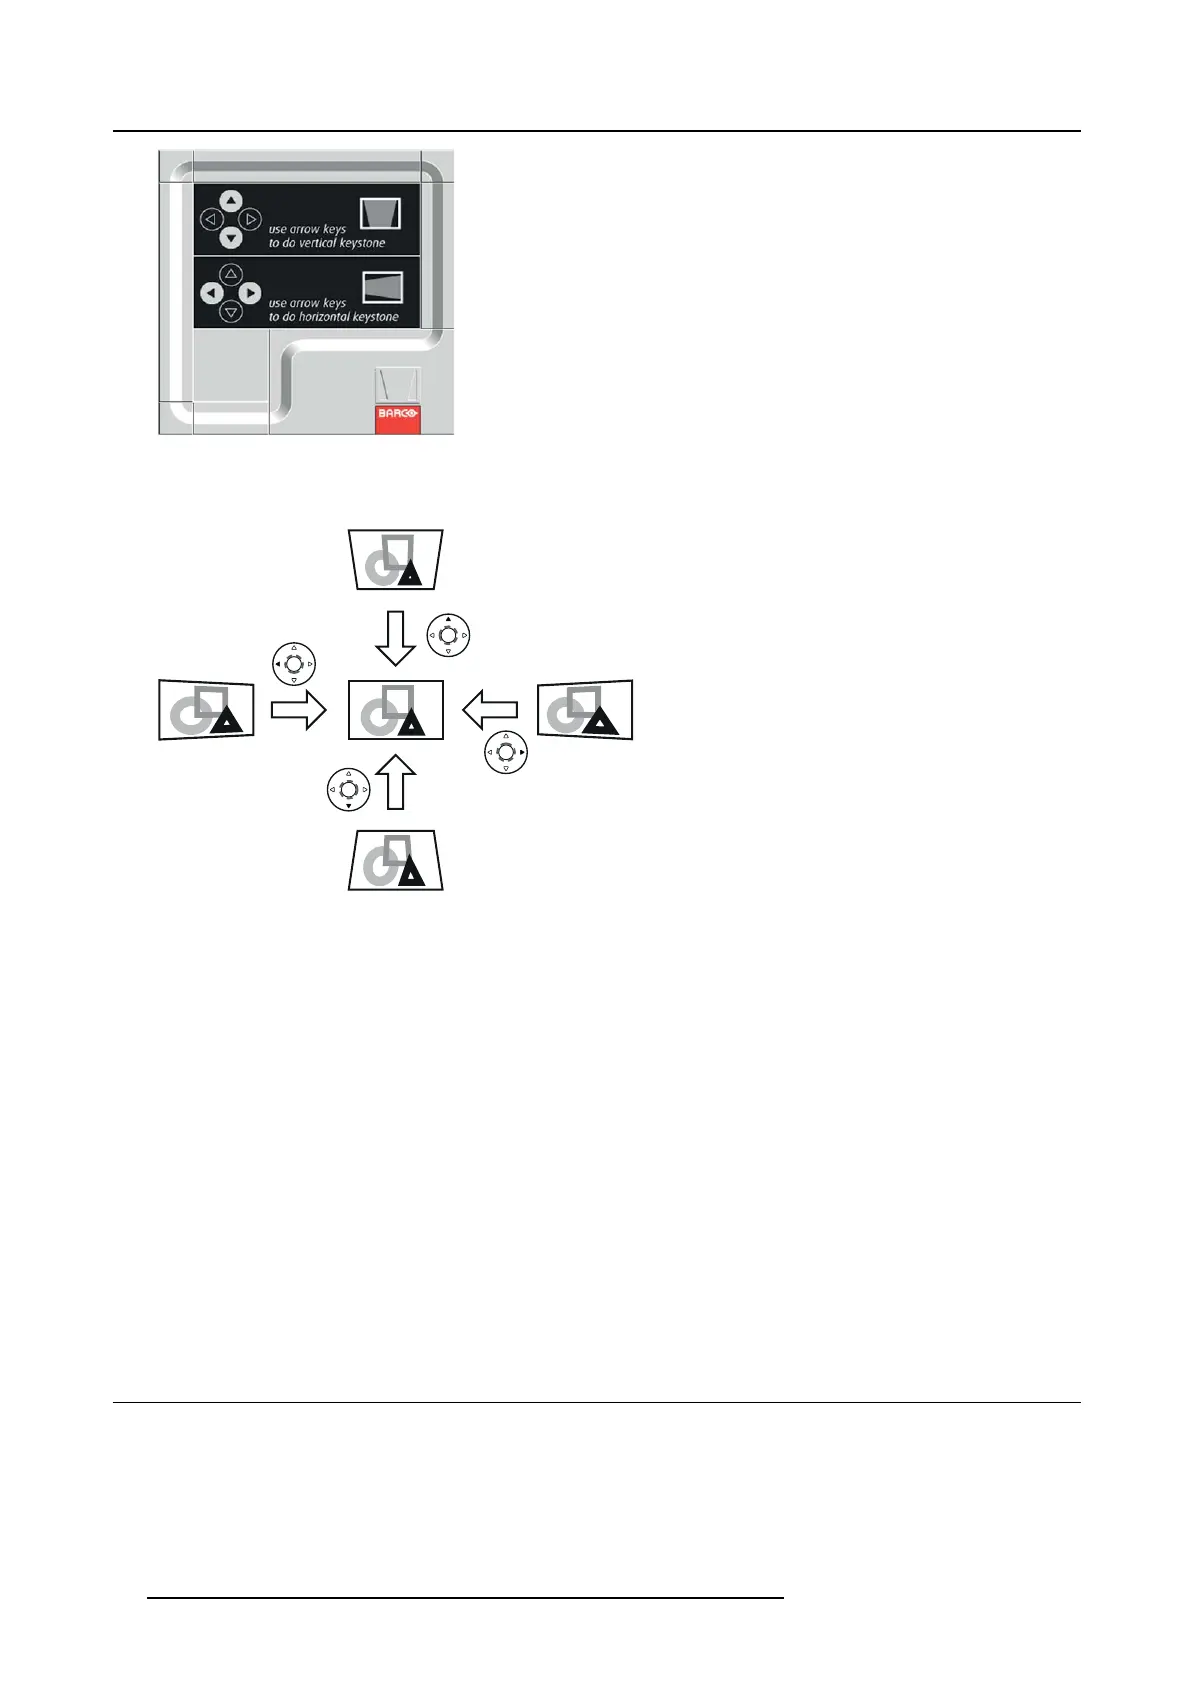
4. Adjust the keystone by pressing the ▲, ◄, ▼ or ► key.
In the following cases (for front projection):
Image 4-10
5. Press the ON/OFF, OK or HO ME key to exit the menu.
Important
• For proper KEYS TONE-mode adjustment results, reset the lens to the factory-adjusted position u sing LENS SHIFT RESET in
the INSTALLATION 1 menu in the ADVANCED
menu before carrying out KE YS TONE-mode adjustm ent.
• When the KEY STONE- mode adjustment takes effect, the re solution decreases. I n addition, s tripes may appe ar or straight lines
may bend in im ages with complicated patterns. They are not due to product malfunctions.
• When the K EY STONE-m ode adjustment is performed, the displaye d im age may be distorted.
• Depending on the installation conditions of the projector and the screen, a perfect rectangular image and the proper aspect
ratio ma y not be obtained. Slight distortion can be corrected by the CO RNERSTONE- mode adjustment.
• Noise may appear on the screen during the K
EYSTONE-mode adjustment because of the type of the video signal being pr o-
jected a n d the setting values of the KEYSTONE -mode adjustment. In such cases, set the KEYSTONE-m ode adjustment values
in the range wher e the im age is display ed without noise.
• When you carry out the KEYSTONE-mode adjustmen t and the CURVED-mode adjustment in combination, the adjustment
range becomes narrower than that in the case wher e you carry out these adjustments individually. When setting the K EY-
STONE-mode adjustment value to 11 or larger, you cannot use the CURVED-mode adjustmen t.
• When carrying out the KEYSTON E-mode adjus tment while the option lens is in use, you may not be able to obtain a perfectly
rectangular image or the correct aspect ratio. Slight d istortion can be corrected by the CORN ERS TONE-mode adjustment.
4.7 Blanking the screen temporari
ly
About blanking temporarily
The video signal is temporarily m uted. The screen turns black. You will hear a mec hanical shutter sound inside the projector.
How to se t the BLANK mode
1. Press the ▲ key on the rem ote control twice w hile the menu is not displayed.
36
R5905597 PHXX SERIES 20/05/2014

 Loading...


