6. Adjustments with the ADVANCED menu
Important
• For proper KEYS TONE-mode adjustment results, reset the lens to the factory-adjusted position u sing LENS SHIFT RESE T in
the INSTALLATION 1 menu before carrying out K EY STONE-mode adjustment.
• When the K EY STONE- mode adjustm ent is c arried out, the adjustment v alue is indicated. Note that this va lue doesn’t m ean a
projection a ngle.
• When the KEY STONE- mode adjustment takes effect, the re solution decreases. I n addition, s tripes may appe ar or straight lines
may bend in im ages with complicated patterns. They are not due to product malfunctions.
• When the K EY STONE-m ode adjustment is performed, the displaye d im age may be distorted.
• Depending on the installation conditions of the projector and the screen, a perfect rectangular image and the proper aspect
ratio ma y not be obtained. Slight distortion can be corrected by the CO RNERSTONE- mode adjustment.
• Noise may appear on the screen during t he K EY STONE-mode adjustment because of the type of the video signal bei
ng pro-
jected a n d the setting values of the KEYSTONE -mode adjustment. In such cases, set the KEYSTONE-m ode adjustment values
in the range wher e the im age is display ed without noise.
• When you carry out the KEYSTONE-mode adjustmen t and the CURVED-mode adjustment in combination, the adjustment
range becomes narrower than that in the case wher e you carry out these adjustments individually. When setting the K EY-
STONE-mode adjustment value to 11 or larger, you cannot use the CURVED-mode adjustmen t.
• When carrying out the KEYSTON E-mode adjus tment while the option lens is in use, you may not be able to obtain a perfectly
rectangular image or the correct aspect ratio. Slight d istortion can be corrected by the CORN ERS TONE-mode adjustment.
6.19.2 Adjustment using the C OR NERSTONE mode
When using
Use this adjustment for fi ne adjustment of the image sha pe. You can use this adjustment for adjusting the image displayed in the
edge blending mode, too.
How adjust
1. Display the INSTALLATION 1 menu.
2. Select GEOMETRY by p ressing the ▲ or ▼key.
3. Press the ENTER key.
The KEYSTONE m enu appears.
4. Press the ENTER key again.
The CO RNERSTONE menu appears.
: 0
: 0
CORNERSTONE
LOWER RIGHT
SELECT: HOME
Image 6-26
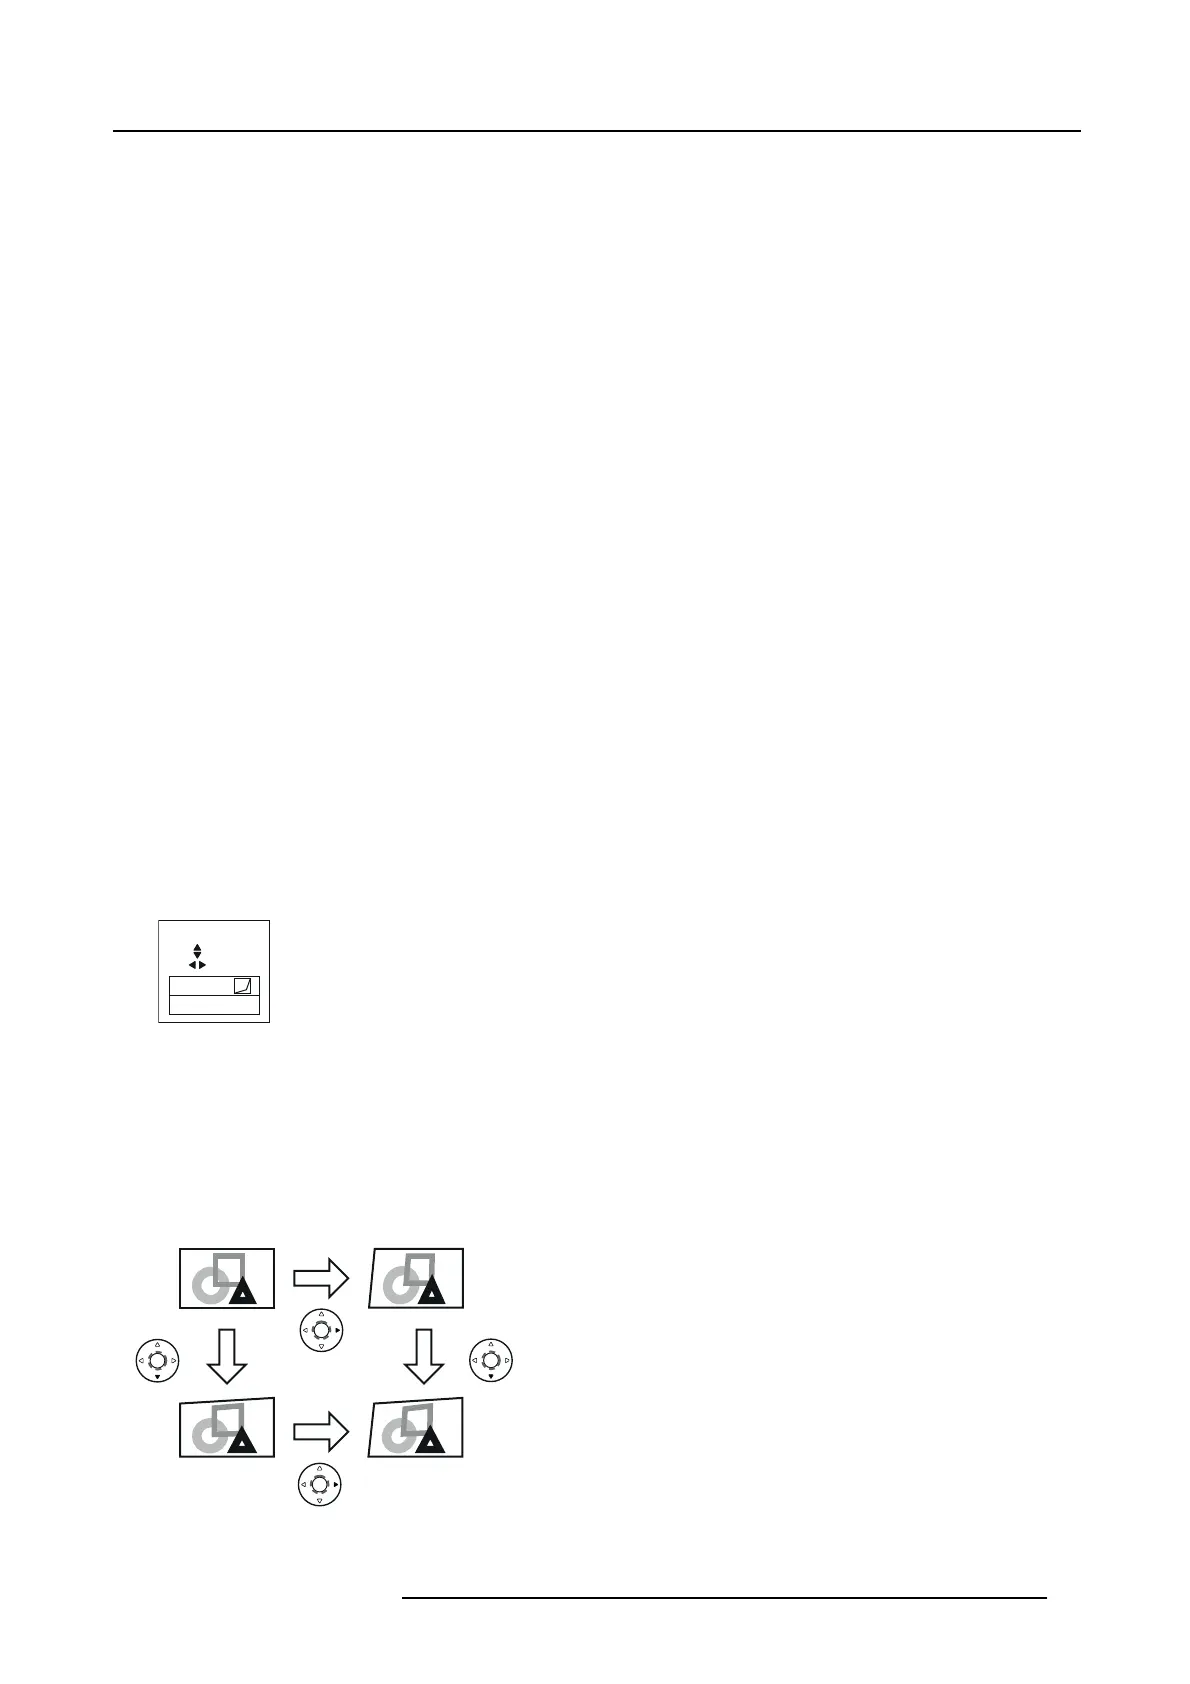
5. Make adjustment us ing the ▲, ▼, ◄,or► ke y.
Every time y ou press the MENU key, the adjustment menu changes as follows:
LOWER RIGHT → LOWER LE FT → UPPER RIGHT → UPPER LEFT → RESET → LOWER RIGHT ...
LOWER RIGHT, LOWER LEFT, UPPER RIGHT, or UPPER LEFT menu
You can adjust the horizontal or v ertical position of the selected corner.
Example: Adjustment of the upper left corner position (UPPER LEFT)
Image 6-27
When you pr e ss the ◄ or ► key in the RE SE T m od
e, the distortion correction is reset.
R5905597 PHXX SERIES 20/05/2014
69

 Loading...


