7. Initial network settings
How to set or clear
1. Display the IP CO NFIG menu.
2. Press the ▲ or ▼key to select DHCP.
DHCP
ON
Image 7-11
3. Press the ◄ or ► key to select ON or OFF.
→ W hen s etting DHCP to ON, IP ADDRESS , SUBNET MASK, and DEFAULT G ATE WAY cannot be set. If you set those settings,
set DHCP to OFF and perform the IP s ettings as the following procedures.
→ Until the execution of SAVE SETTINGS, the change is not saved.
7.4.3 IP Address Settings
IP Address
Numerical address to identify networked computers.
How to set
1. Display the IP CO NFIG menu.
2. Press the ▲ or ▼ ke y to select IP ADDRESS.
0. 0. 0. 0
IP ADDRESS
Image 7-12
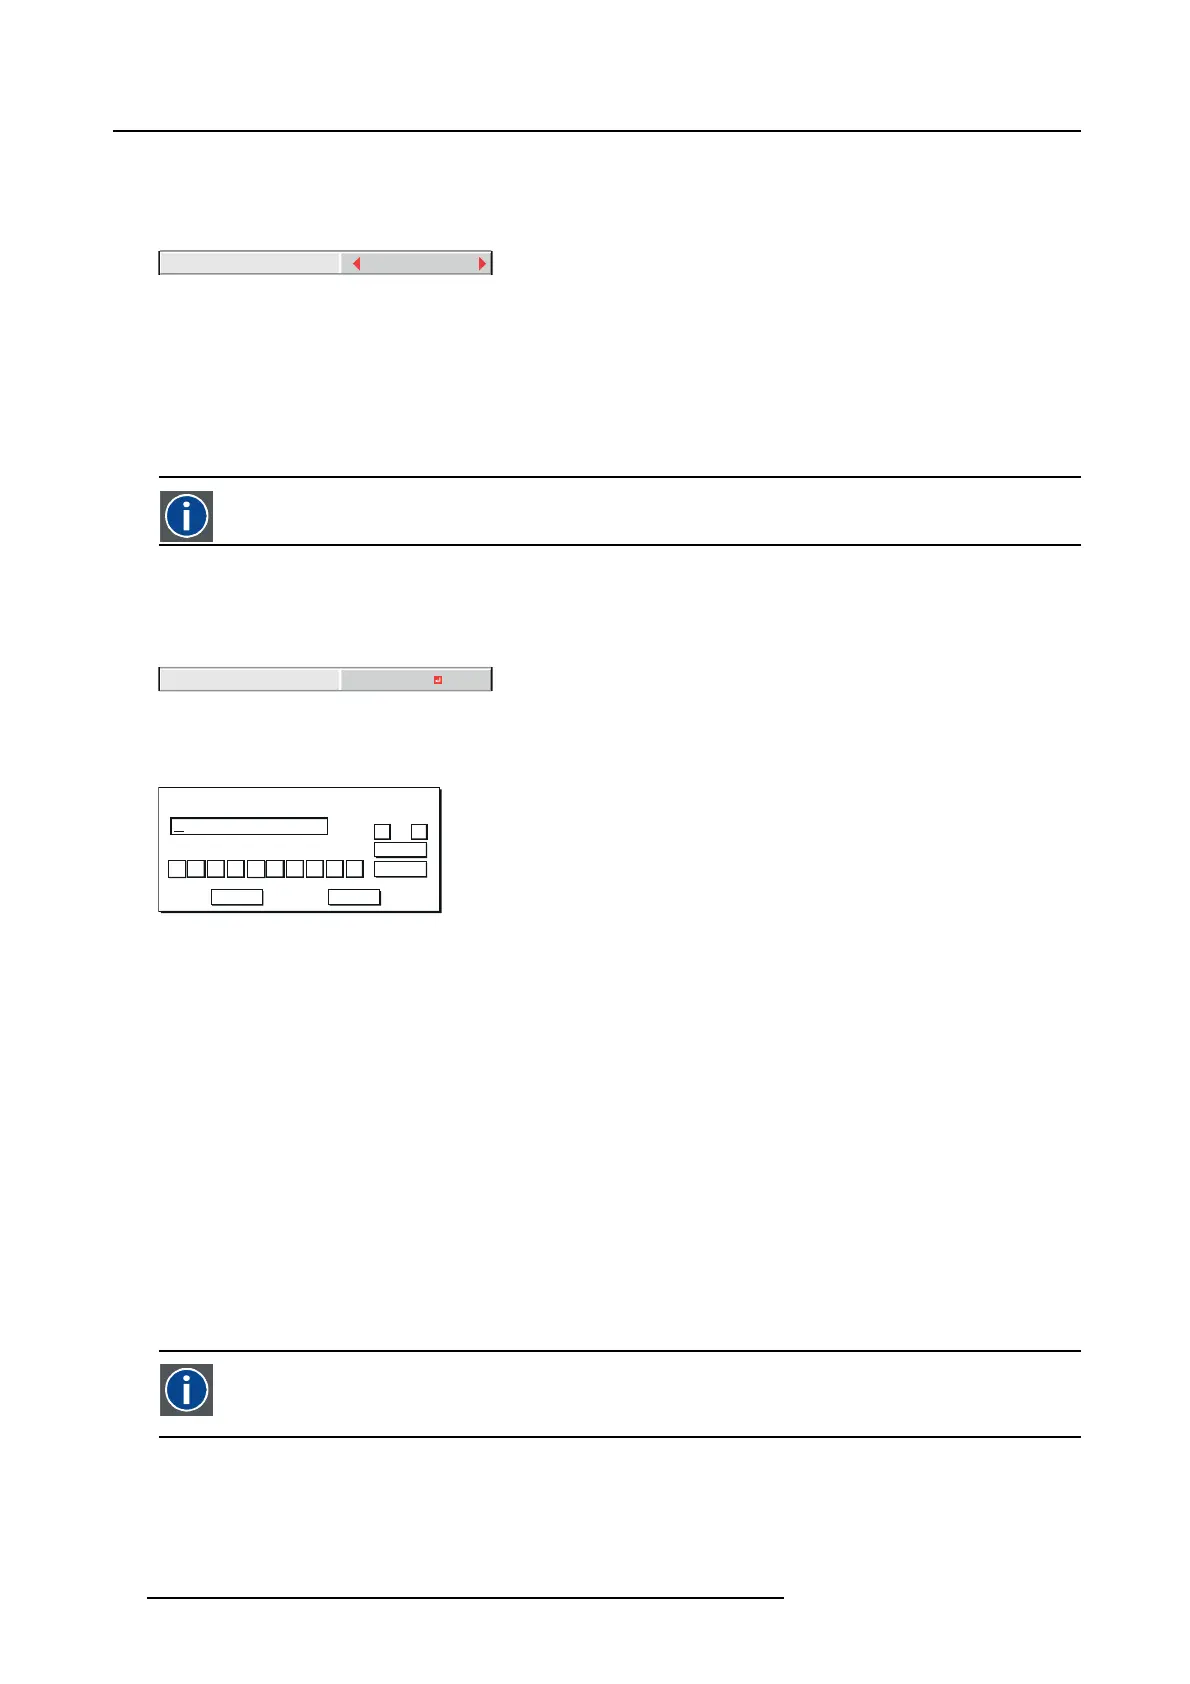
3. Press the ENTER key.
IP ADDRESS screen appears.
192 . 168 . 0 . 10
0
OK
CLEAR
DEL
CANCEL
123456 78 9
← →
IP ADDRESS
Image 7-13
4. Press the direction keys to m ove the key cursor, select the numbers to enter, and press the ENTER ke y.
Set the numeric va lue within the r ange from 0 to 255. However, set the numeric value for the final octet within the range from 1
to 254.
← key:
Shifting the position of enter cursor to the left.
→ key:
Shifting the position of enter cursor to the right.
DEL key:
Deleting the character in the position of enter cursor for each character.
CLEAR key:
Deleting all the entered characters.
5. When selecting OK, the setting is completed as the IP ADDRESS stored temporarily. However, when selecting C A NCEL, the
setting is com pleted without storing.
→ When the setting you entered is correct, the IP CO NFIG menu is displayed. If the entered content is not correct, the IP CONFIG
menu is displayed after an error dialog is displayed.
→ Until the execution of SAVE SETTINGS, the change is not saved.
7.4.4 Subnet Mask Settings
Subnet Mask
A num eric value to define the num ber of bits used for a network address of a divided network (or subnet) in an IP
Address.
How to set
1. Display the IP CO NFIG menu.
2. Press the ▲ or ▼ key to select SUBNET MASK.
78
R5905597 PHXX SERIES 20/05/2014
 Loading...


