6. Adjustments with the ADVANCED menu
COLOR MATRIX −USER
RED
YELLOW
GREEN
CYAN
0
BASE COMPUTER
0
0
0
BLUE
MAGENTA
SATURATION
0
RGB-TINT
0
0
0
0
0
0
0
0
0
0
0
COLOR MATRIX −USER
RED
YELLOW
GREEN
CYAN
BASE COMPUTER
BLUE
MAGENTA
SATURATION
RGB-TINT
Image 6-7
4. Press the ENTER key.
5. Select an item you want to set using the ▲ or ▼ key.
- To set COLOR MATRIX that is used as the base, select BAS E.
- If you want to adjust the saturation of all colors of the image, select S AT URATION.
- If you w ant to adjust the balance of all colors of the image, select RG B ‑TINT.
6. Press the ◄ or ► key to adjust the color balance of t he s elected color.
7. Repeat s tep 5 and step 6 for optimum adjustment results.
Note
→ When the input signal is VIDEO or COMPU TE R, the items in the CO LO R M ATRIX-USER menu are automatically set to the
predetermined values. You can change these values manually.
→ To disable the COLOR MATRIX adjustment, select FLAT in step 3.
→ W hen you mak e CO LOR MATRIX adjustment, the colors of the menu will change, but this is not a failure.
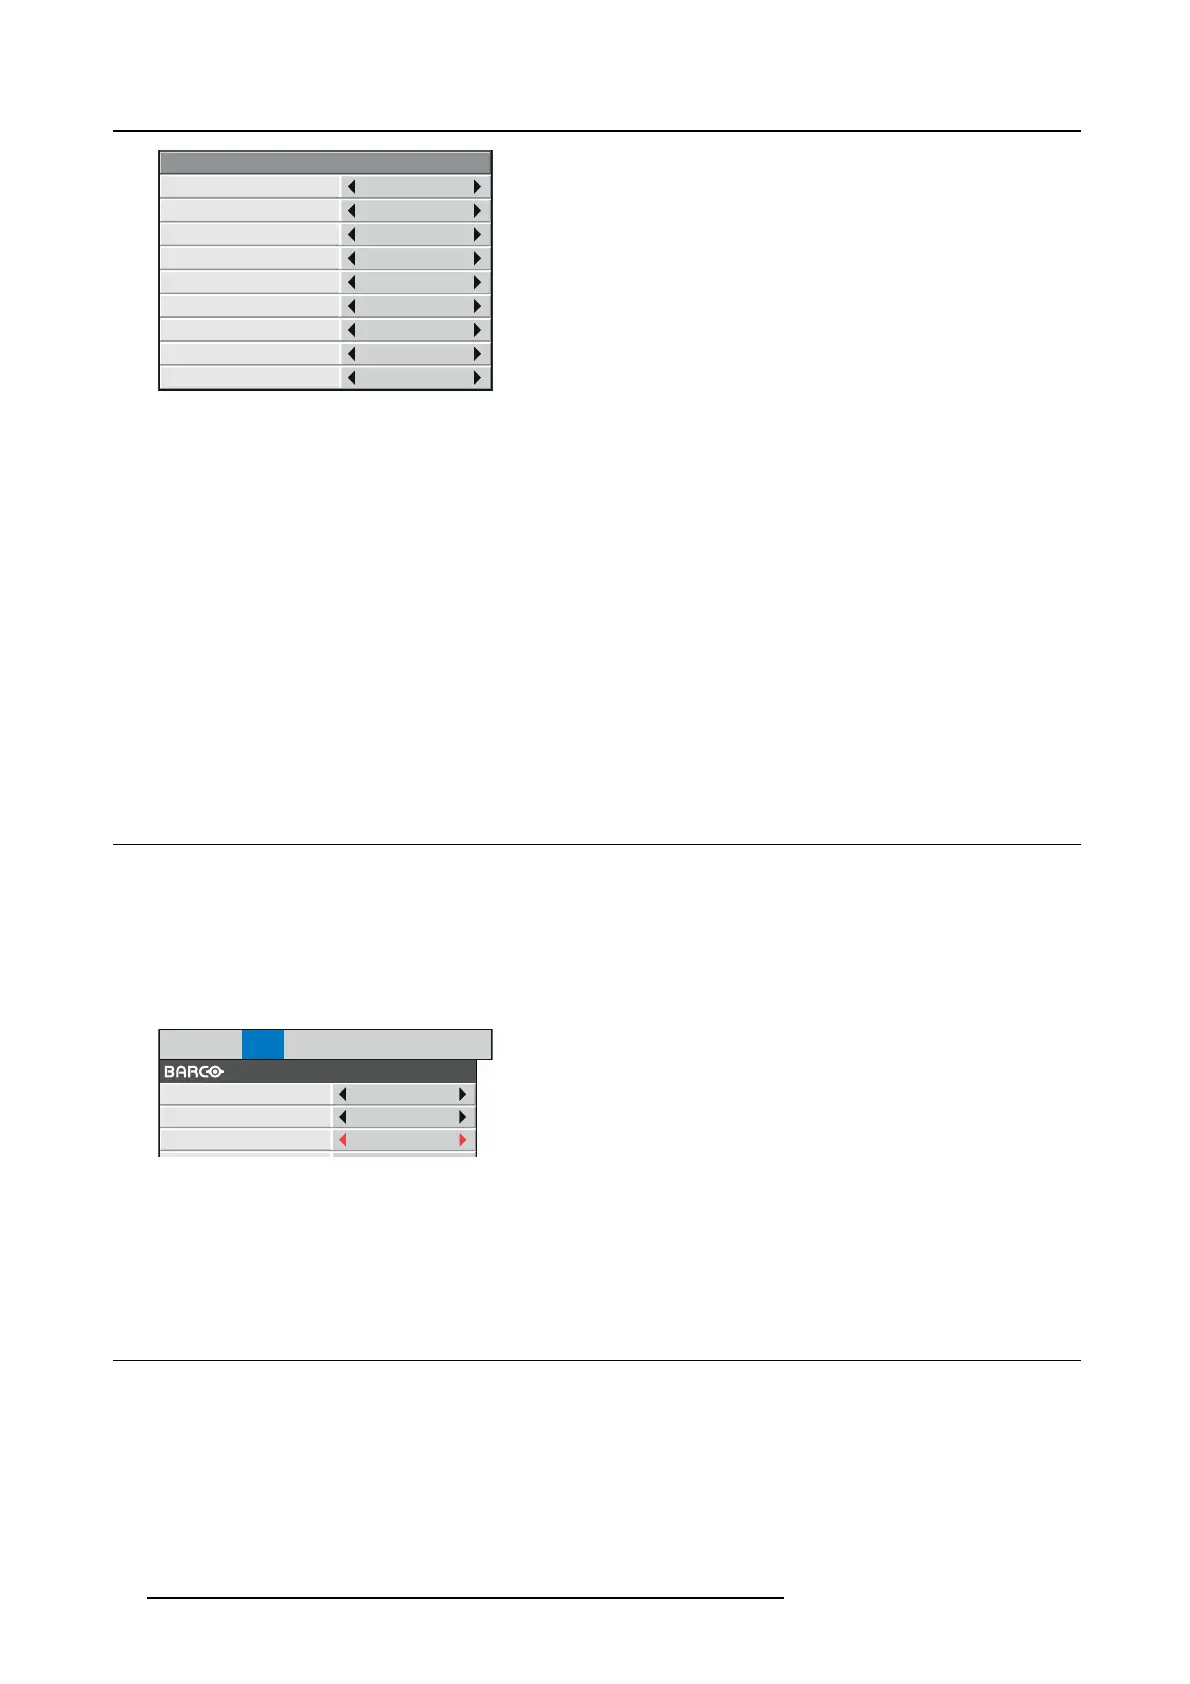
6.8 Setting the screen s ize
About screen size
Change the setting of the S CREEN according to the type of the screen to be used.
How to change
1. Display the INSTALLATION 2 menu.
2. Select SCREEN by pressing the ▲ or ▼ key.
IMAGE INSTALL1 INSTALL2
MULTI-
SCREEN
FEATURE SIGNAL NETWORK INFO
AUTO POWER ON
AUTO POWER OFF
OFF
5min
SCREEN
16:10
Image 6-8
3. Select your desired aspec t ratio by pressing the ◄ or ► key.
You can select the aspect ratio from 16:10 (for PHW U-8 1B/PHW X - 81B only), 16:9, a nd 4:3.
4. To cancel the m enu, press the MENU key.
6.9 Setting the aspect ratio
About aspect ratio
You can c hange the aspect ratio of the input video signal (or the ratio of width to height of the image). Cha nge the setting according
to the type of the screen to be used or your preference.
How to set
1. Display the SIGNAL menu.
2. Select ASPECT by pressing the ▲ or ▼ key.
58
R5905597 PHXX SERIES 20/05/2014

 Loading...


