4. Getting started
The MUTE screen appears. “MUTE O N - PRE SS ANY KE Y TO EXIT” is displayed for 3 seconds. Then, the m echanical shutter
is closed and the projector goes into the BLANK mode.
2. To cancel the BLA NK mode, p ress any key on the remote c ontrol.
4.8 Auto position mode
Act as follow
When the image supplied from the computer is dis placed, carry out the following procedure.
1. Project a bright image containing as many texts and characters as possible.
2. When the screen saver has been enabled, disable it.
3. Press the HOME key to display the O SD Lite men u and press the OK key.
The INP UT menu is displayed.
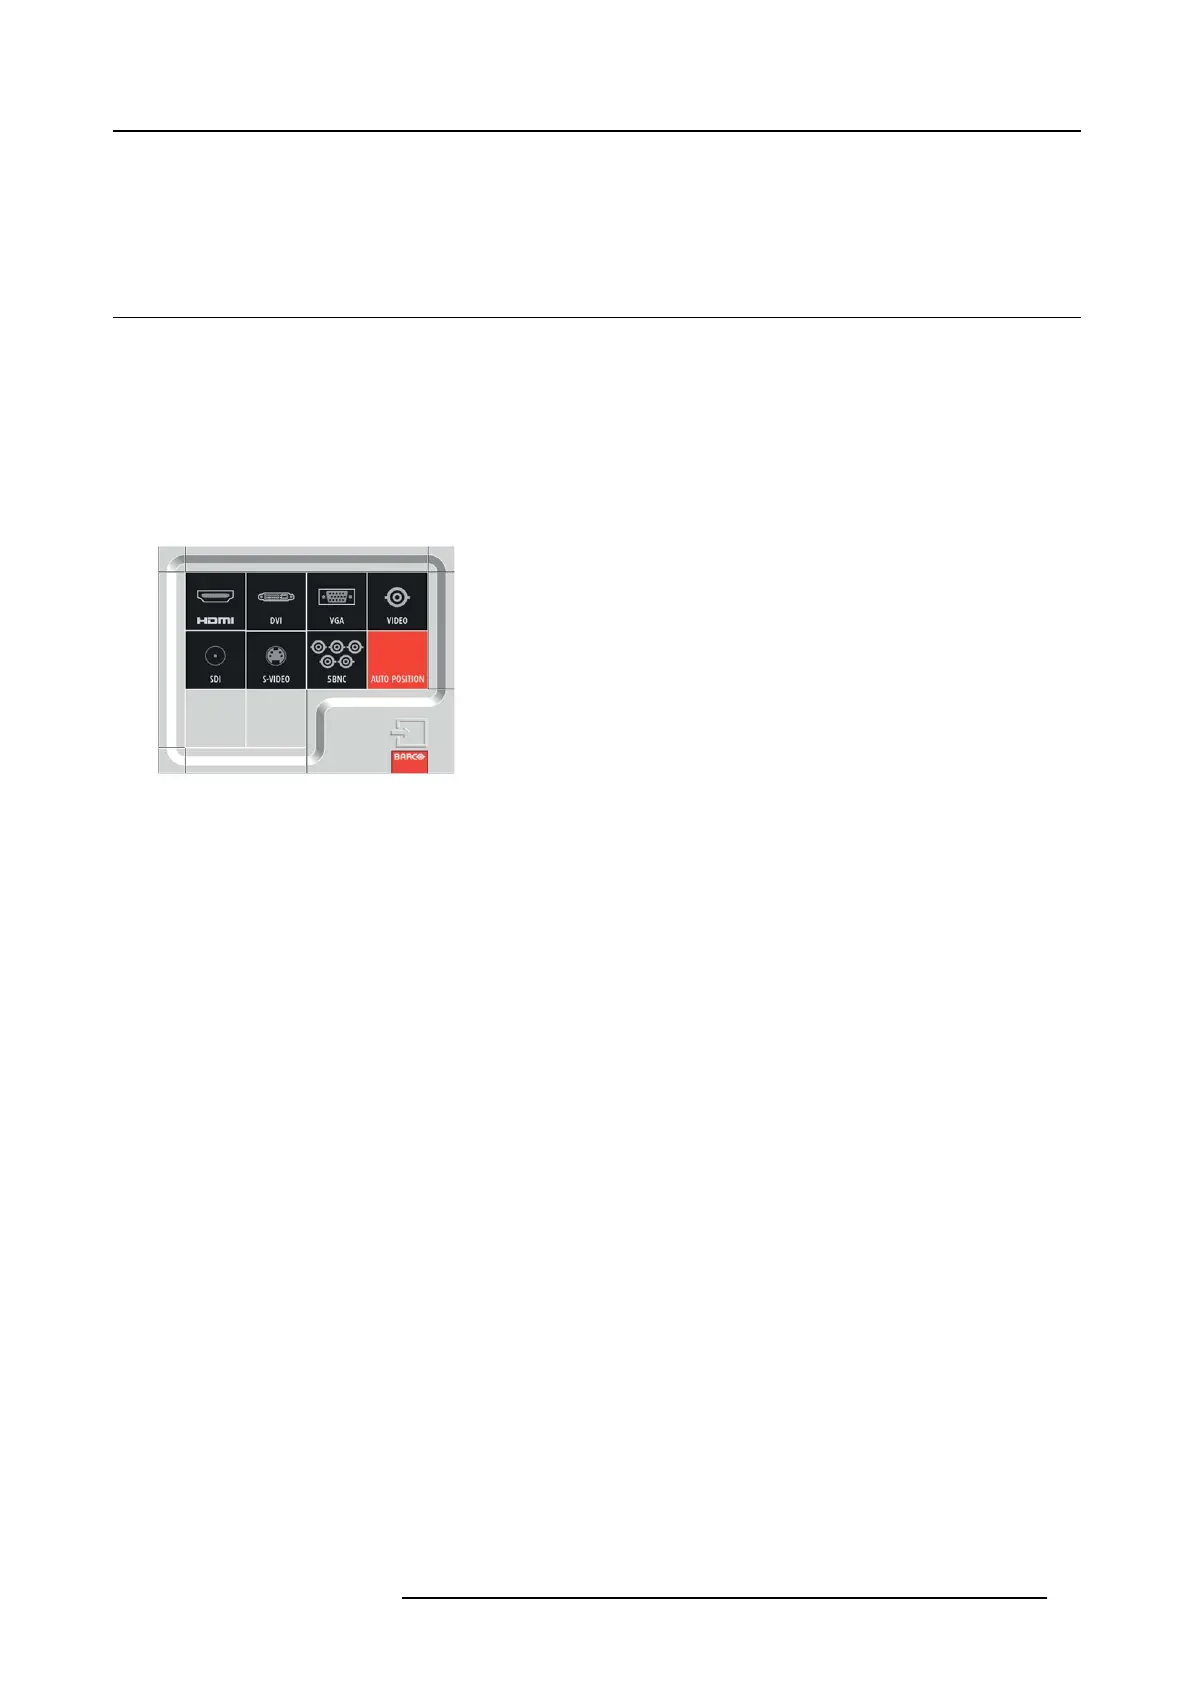
4. Press the ▲, ◄, ▼ or ► key to select AUTO POSITION.
Image 4-11
The projector automatically m akes optimum positional settings for the input signal.
5. If the projected image is still displaced even after carrying out the AUTO PO SITIO N several times, refer to the procedure to adjust
computer images.
6. When you carry out this procedure w ith a dar k imag e, the im age m a y be displaced.
R5905597 PHXX SERIES 20/05/2014
37

 Loading...


