SpinLite® Full Side Washer
1MANUL961 Belanger, Inc. * PO BOX 5470 * Northville, MI 48167-5470 * Ph (248) 349-7010 * Fax (248) 380-9681 40
Installation
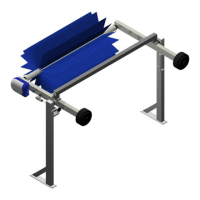
Install Hub Assemblies, LED Lights with Electrical Connections & ShineMitts™
Load ShineMitts™ on Hub Assemblies
13) In every row insert the ShineMitts™ into all of the slots in the Hub Skins this is shown in the image
on the previous page.
14) The ShineMitt™ material is loaded onto a Hub by inserting the Clips on the ShineMitt™ into the
slots of the Hub.
15) For the first row make sure to slide the ShineMitts™ all the way down to the bottom of the Hub.
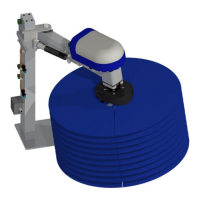
16) Install a total of five (5) rows of the 19” ShineMitt™ (111060) material on each Hub in the
orientation explained above. Be sure to slide the ShineMitts™ down until they rest on top of the
previous row. Refer to the image below on right.
17) Next, retrieve the 64 pieces of the 22” (111053) cleaning material there should be 32 pieces
assembled for the driver side and 32 for the passenger side SpinLite® FSW assemblies.
18) If there is not an equal number of the 22” ShineMitt™ (111053) assembled properly for the driver
side and passenger side SpinLite® FSWs follow the rework process explained in Steps 7-10 in
this section.
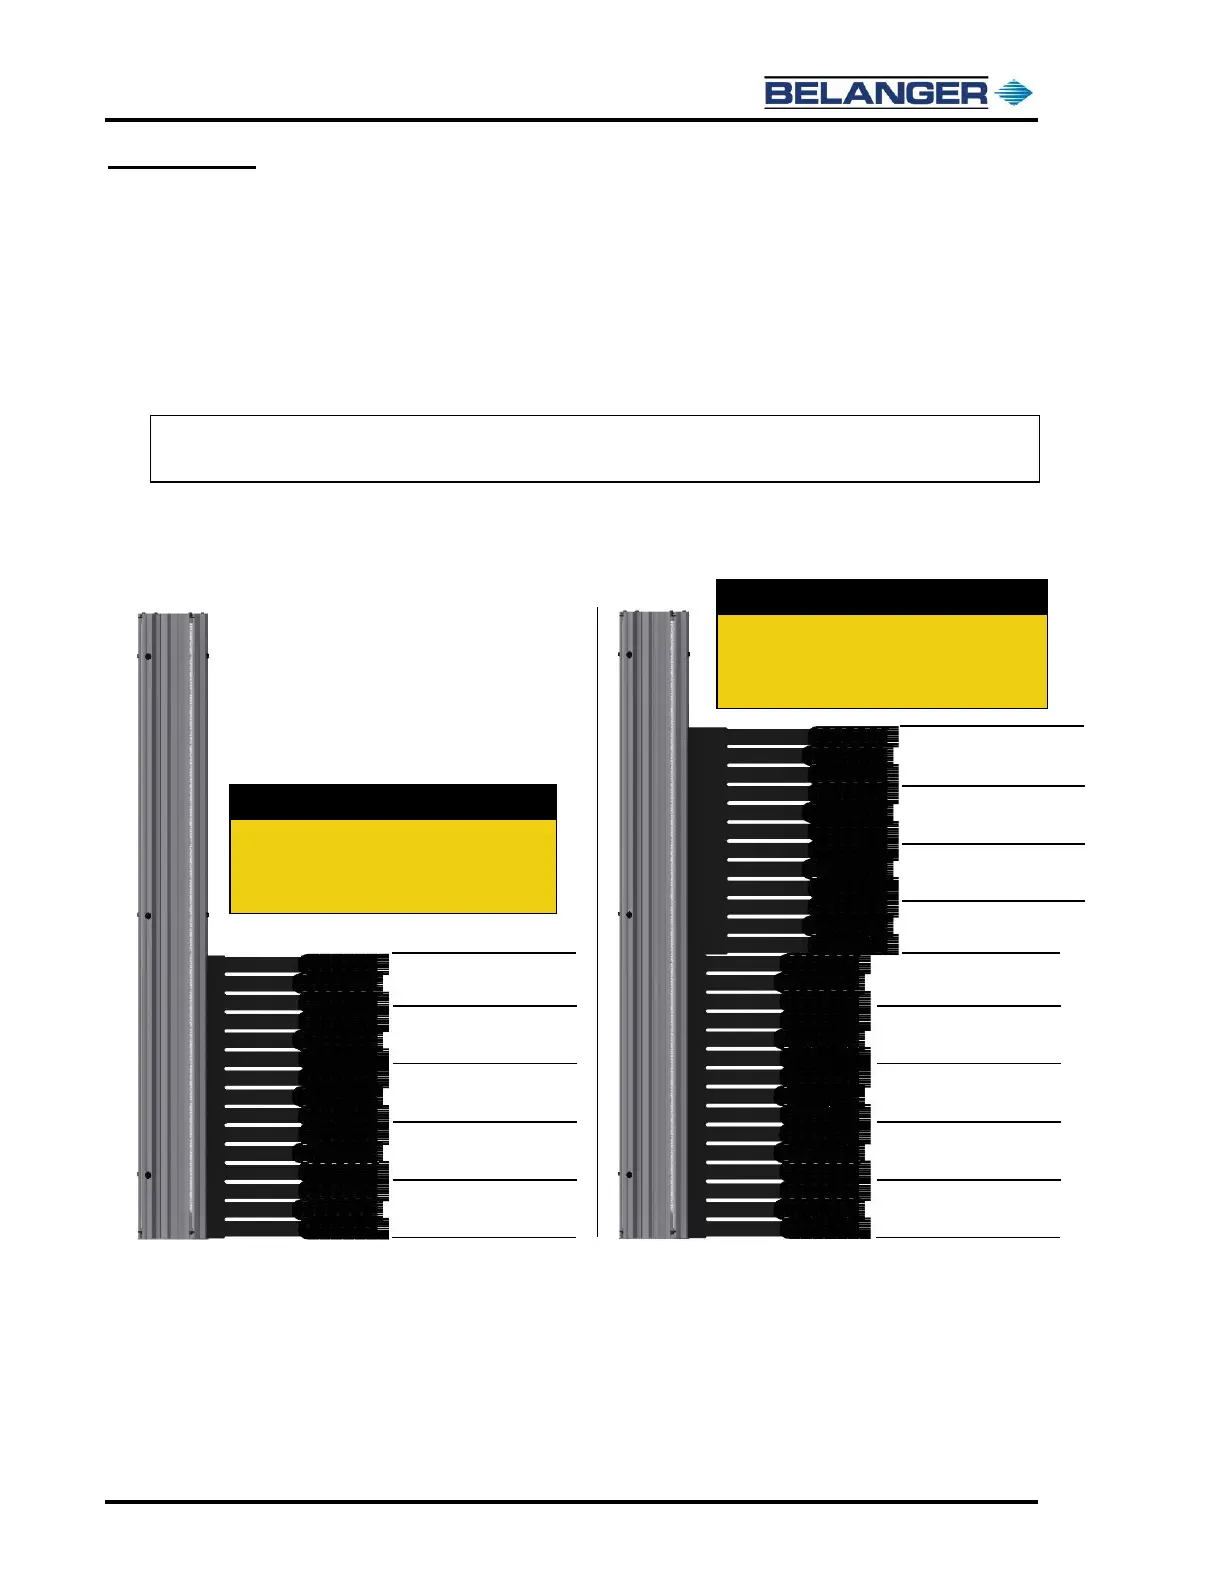
19) Install a total of four (4) rows of the 22” ShineMitt™ material on each Hub in the same orientation
as the previous ShineMitts™. Be sure to slide the ShineMitts™ down until they rest on top of the
previous row. Refer to the image above on left.
Load the first five (5) rows of each Hub with the
19” ShineMitt™ cleaning material; 8 pieces per
row. Make sure to slide the ShineMitts™ down
until they rest on top of the previous row.
Load the next four (4) rows of each Hub with the
22” ShineMitt™ cleaning material; 8 pieces per
row. Make sure to slide the ShineMitts™ down
until they rest on top of the previous row.