Sewing preparation
39
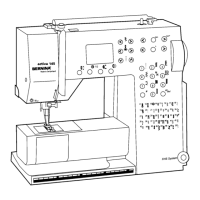
Selecting the needle in the User Interface
After having changed the needle, it can be checked whether or not it can be used in combination with the
selected stitch plate.
> Touch the icon «Stitch plate/Needle selection».
> Select the inserted needle.
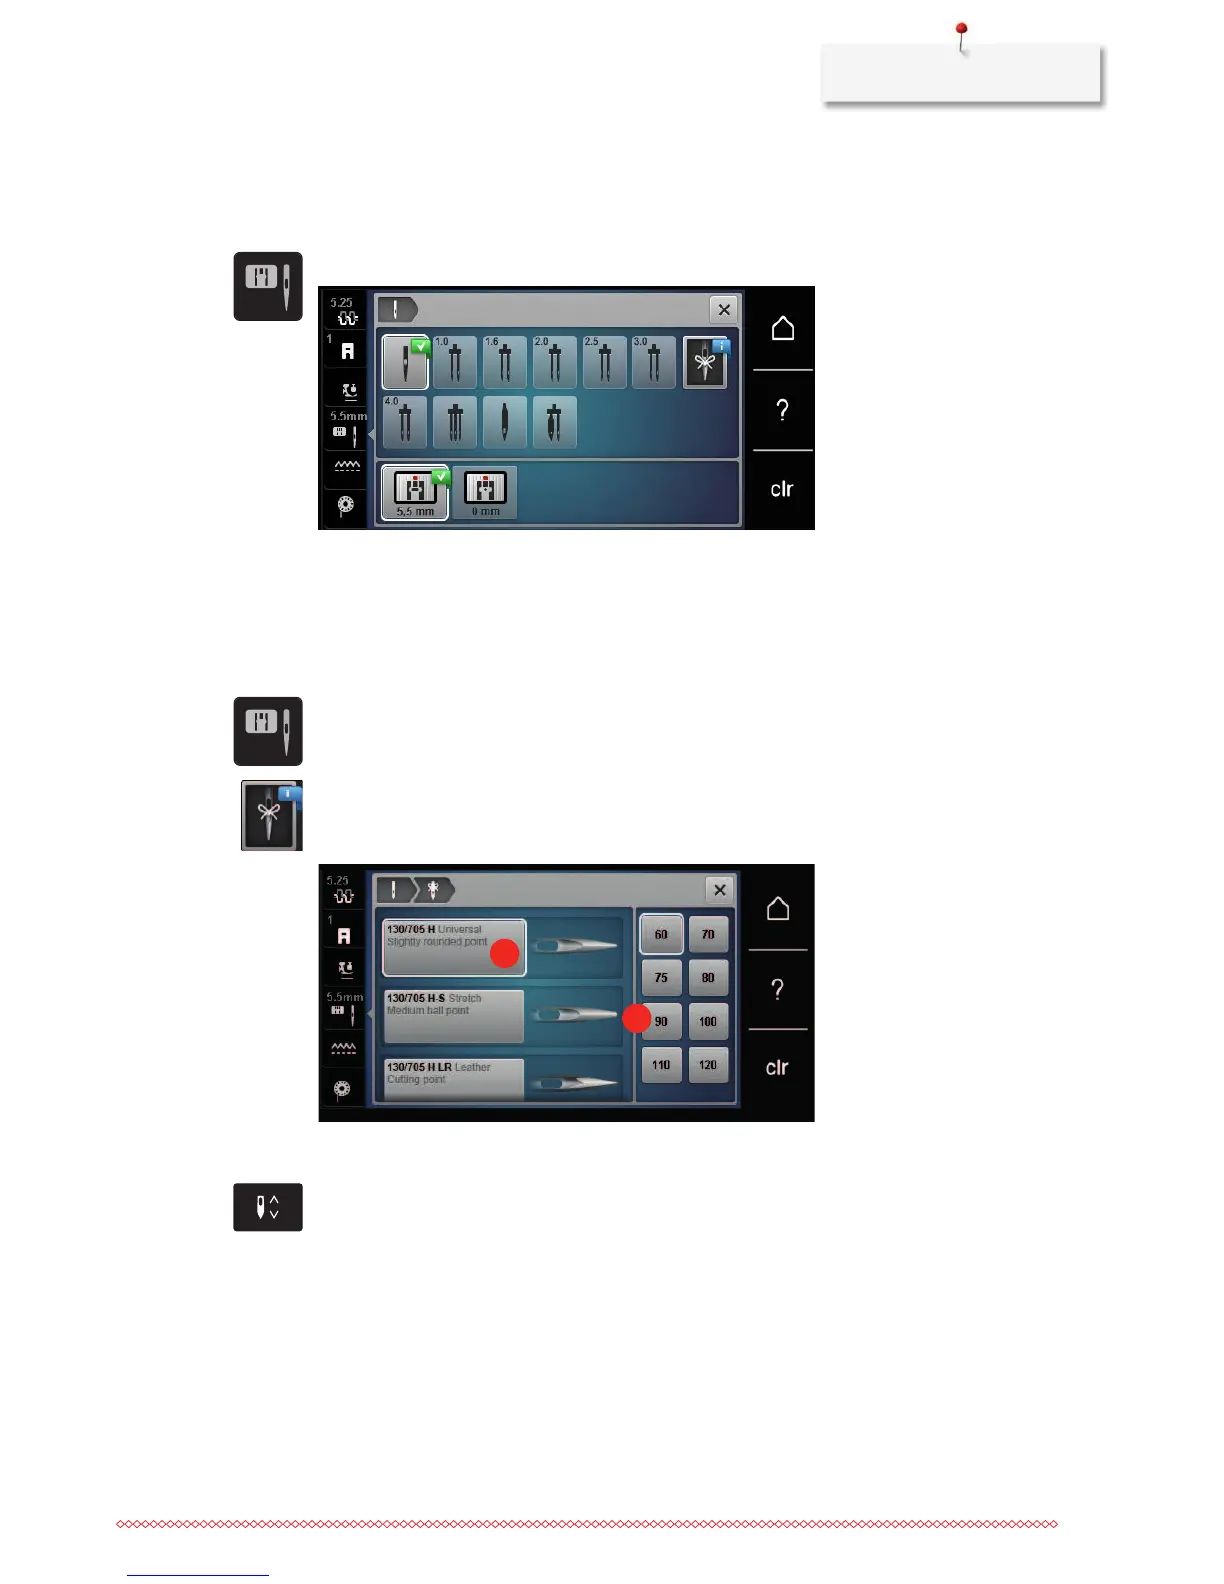
Selecting the needle type and the needle size
Convenient memory function: To prevent a loss of information, the needle type and the needle size can be
saved additionally on the machine. The saved needle type and the saved needle size can be checked at any
time.
> Touch the icon «Stitch plate/Needle selection».
> Touch the icon «Needle type/Needle size».
> Select the needle type (1) of the inserted needle.
> Select the needle size (2) of the inserted needle.
Adjusting the needle position up/down
> Push the button «Needle up/down» to lower the needle.
> Push the button «Needle up/down» again to raise the needle.
Adjusting the needle position left/right
There is a total of 11 needle positions. The needle position is indicated by the needle position number in the
display.
> Push the button «Needle left» (1) to move the needle to the left.