25
1.8 7 7. 8 7 7. 2 2 6 9 BLACKBOX.COM
NEED HELP?
LEAVE THE TECH TO US
LIVE 24/7
TECHNICAL
SUPPORT
1.8 77.877.2269
CHAPTER 9: INSTALLATION
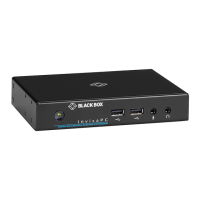
9.7 CONNECT THE INVISAPC TRANSMITTER
Before connecting the InvisaPC Transmitter to the remote workstation, ensure that the resolution and the refresh rate of the
remote workstation are supported by the InvisaPC system. Set the screen resolution and refresh rate of the remote workstation.
Unsupported settings will cause blank or distorted video at the Receiver.
The recommended sequence to connect the Transmitter is:
1. Turn off the remote workstation.
2. The InvisaPC Transmitter has one USB connector. Connect it to a corresponding USB port on the remote workstation.
3. Connect the video connector on the InvisaPC Transmitter to the appropriately labeled port on the workstation using the DVI
cable. The primary video input port #1 is on the far right on the dual-head models.
4. Connect one end of the UTP cable to the InvisaPC Transmitter’s RJ-45 connector and turn on the workstation.
5. Route the other end of the UTP cable to the location you have chosen for the InvisaPC Receiver. If necessary, you can extend the
UTP cable via an Ethernet switch (subject to normal Ethernet cabling practices).
6. Plug the external power supply’s 2.5-mm connector into the DC power jack on the rear of the InvisaPC Transmitter.
7. Connect the detachable power cord to the power supply.
8. Plug the power cord into an appropriate wall outlet.
9. Turn on power for remote workstation and Transmitter.
NOTE: Use only the power supply provided by Black Box.
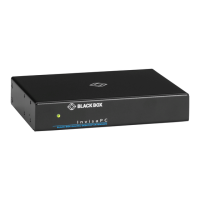
NOTE: When using a dual head Transmitter in single-head mode, the RIGHT DVI connector is default as per the figure shown next.


 To Next Page