Once you have connected to a network, you’ll need to make sure your Blackmagic MultiView’s
IP address is different to the other equipment on your network. On Blackmagic MultiView 16
and when using MultiView 4 with a Teranex Mini Smart Panel installed, you can change the
network settings via the control panel’s LCD menu. You can also plug your Blackmagic
MultiView into a computer via USB and change network settings using Blackmagic MultiView
Setup. For more information on changing network settings refer to the ‘changing settings’
section in this manual.
Connecting Serial Control
Third party router controllers can control Blackmagic MultiView 16 using the RS-422 serial
connection. For more information on serial control, see the section ‘changing settings using
Blackmagic MultiView Setup’ in this manual.
Rack Installation
Blackmagic MultiView 16 is 1 rack unit high so fits perfectly into any broadcast rack or road case.
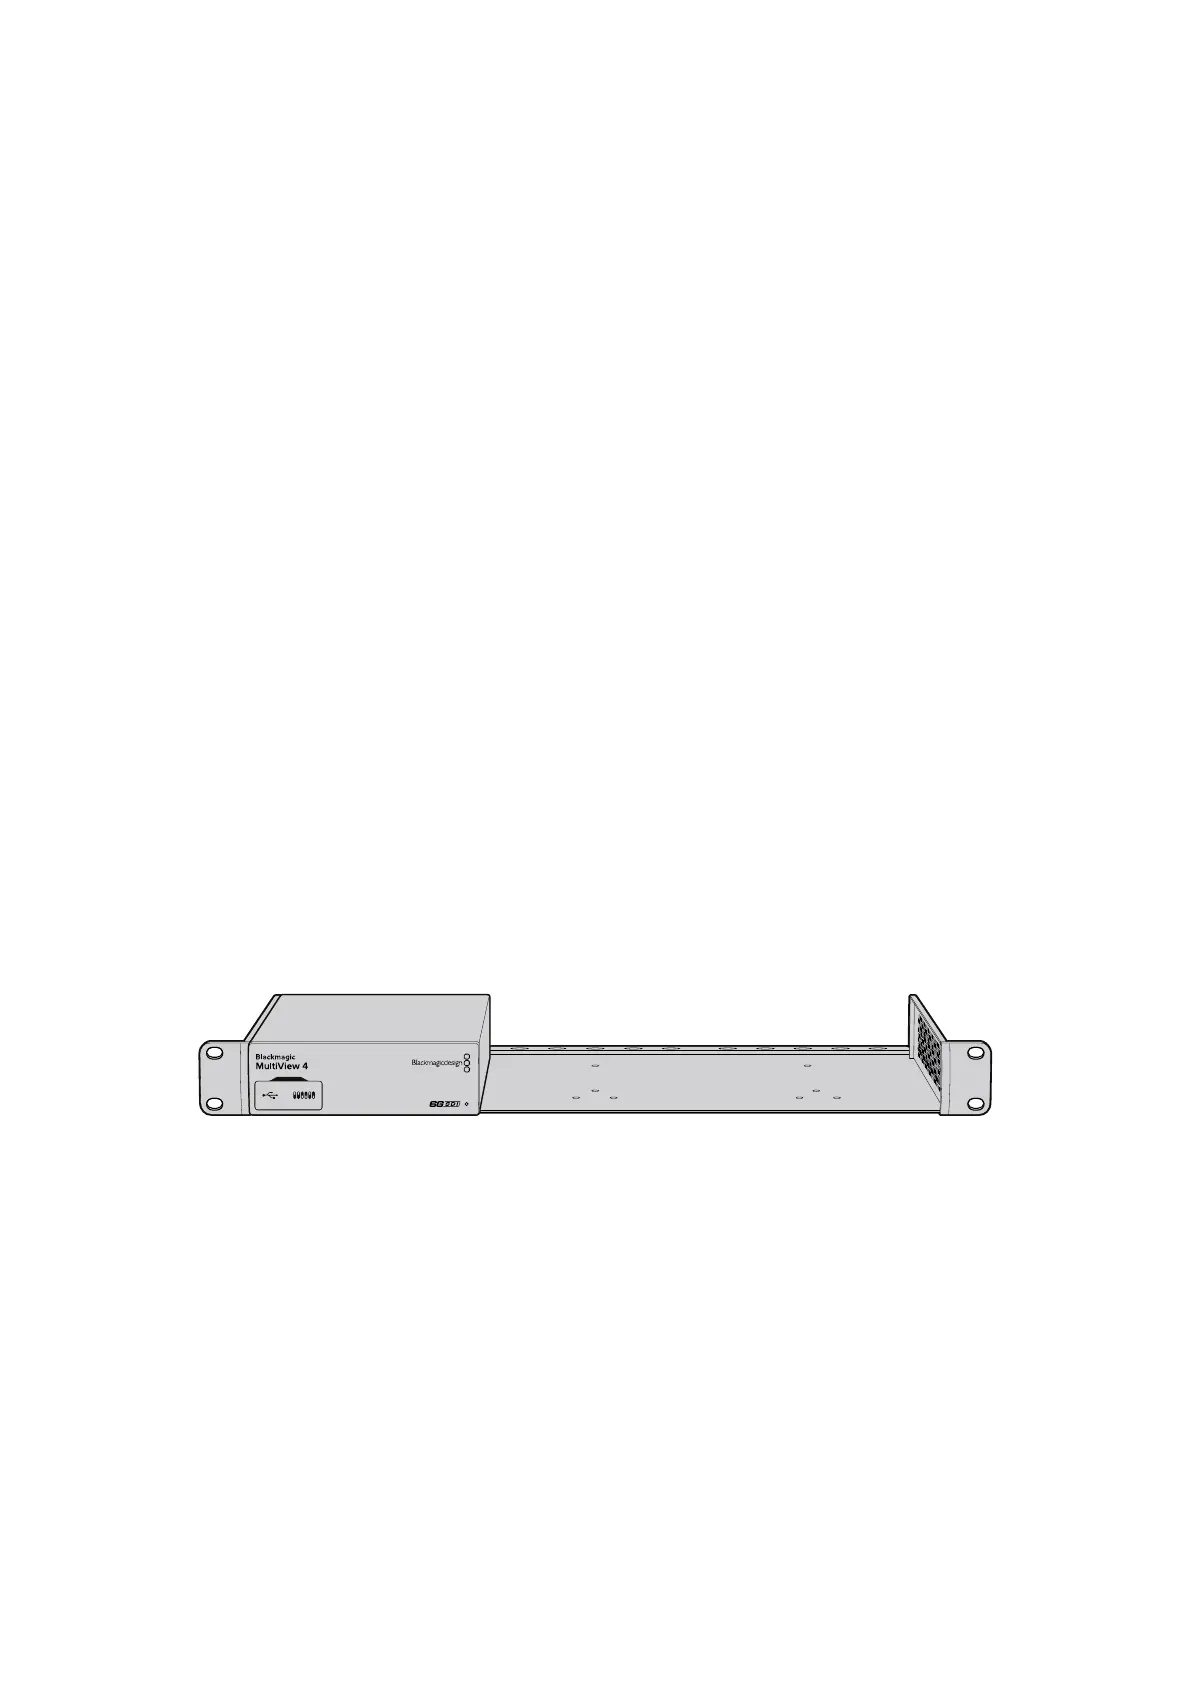
Blackmagic MultiView 4 is much smaller and can be used in mobile productions where you may
not be using a broadcast rack. However, even though your MultiView 4 is designed to be small
and portable, you can still use it in a rack environment. The Blackmagic Teranex Mini Rack Shelf
is designed to let you mount up to three units side by side in a 1 rack unit space so you can
easily connect them to each other and build as many source views as you need.
Installing Blackmagic MultiView 4 into a Teranex Mini Rack Shelf is as easy as removing the
unit’s rubber feet, if installed, and screwing the unit into the base of the shelf using the
mounting holes on the bottom. The Teranex Mini Rack Shelf ships with two original blank panels
which you can use to cover gaps if you don’t need to install additional MultiView 4’s.
For more information check the Blackmagic Design website at www.blackmagicdesign.com
When installing your MultiView 4 in the rack shelf, ensure the rack shelf is mounted in the rack
by service personnel as the electrical rating on the underside of the unit will be covered. When
installed in the rack shelf, all connectors are accessed from the rear of the unit as normal.
Using Multiple MultiViews
You can use multiple BlackMagic MultiViews in combination to create custom monitoring
setups. This is helpful if you need to add more view sources to your multi view output.
Simplyplug the output from one MultiView into the input of another to add more source views
to your multi view output. It is highly recommend that the upstream multi view output is
connected to an Ultra HD monitor for maximum clarity.
88Getting Started
 Loading...