TIP If you wish to change the type of track after creating it, right click next to the name
of the track and select ‘change track type to’ and select the type of audio track you
want, such as stereo, mono or 5.1.
Adjusting Audio Levels in the Timeline
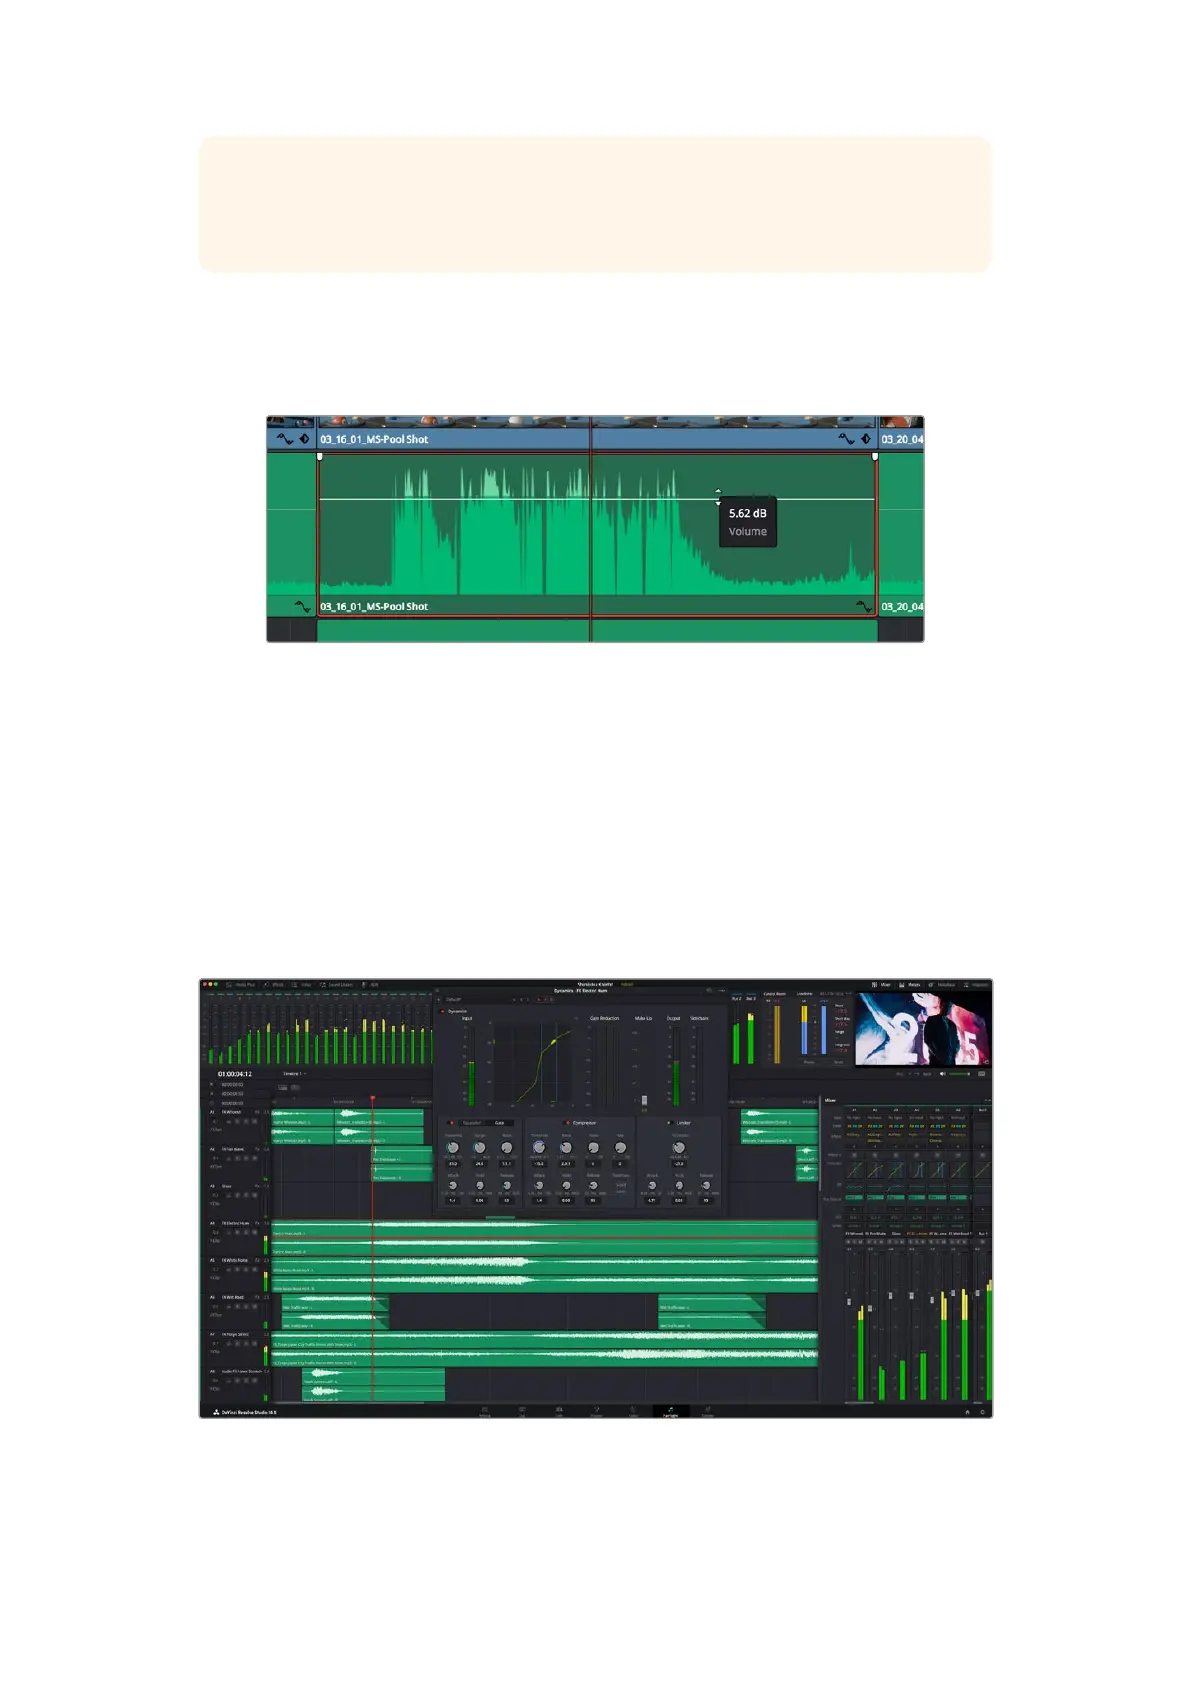
Each clip of audio in the timeline has a volume overlay that lets you set that clip’s level by
simply dragging it up or down with the pointer. This overlay corresponds to the Volume
parameter in the Inspector.
Dragging a volume overlay to adjust the clip level
For projects requiring more advanced audio tools, the Fairlight page provides you with a full
audio post production environment.
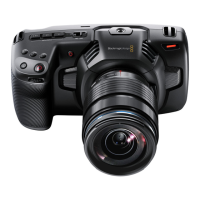
The Fairlight Page
The ‘Fairlight’ page in DaVinci Resolve is where you adjust your project audio. In single
monitormode, this page gives you an optimized look at the audio tracks of your project, with
anexpanded mixer and custom monitoring controls that make it easy to evaluate and adjust
levels in order to create a smooth and harmonious mix. Don’t feel overwhelmed by the vast
array of features in front of you, they are all there to help you deliver the best audio quality
foryour project.
This guide provides a basic overview of the features on the Fairlight page, but to learn more
about all the details for each feature, refer to the DaVinci Resolve manual. The DaVinci Resolve
manual provides details on the purpose of each tool and describes how to use them in easy to
follow steps.
110Using DaVinci Resolve