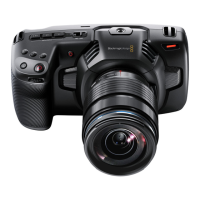
Recording
Recording Clips
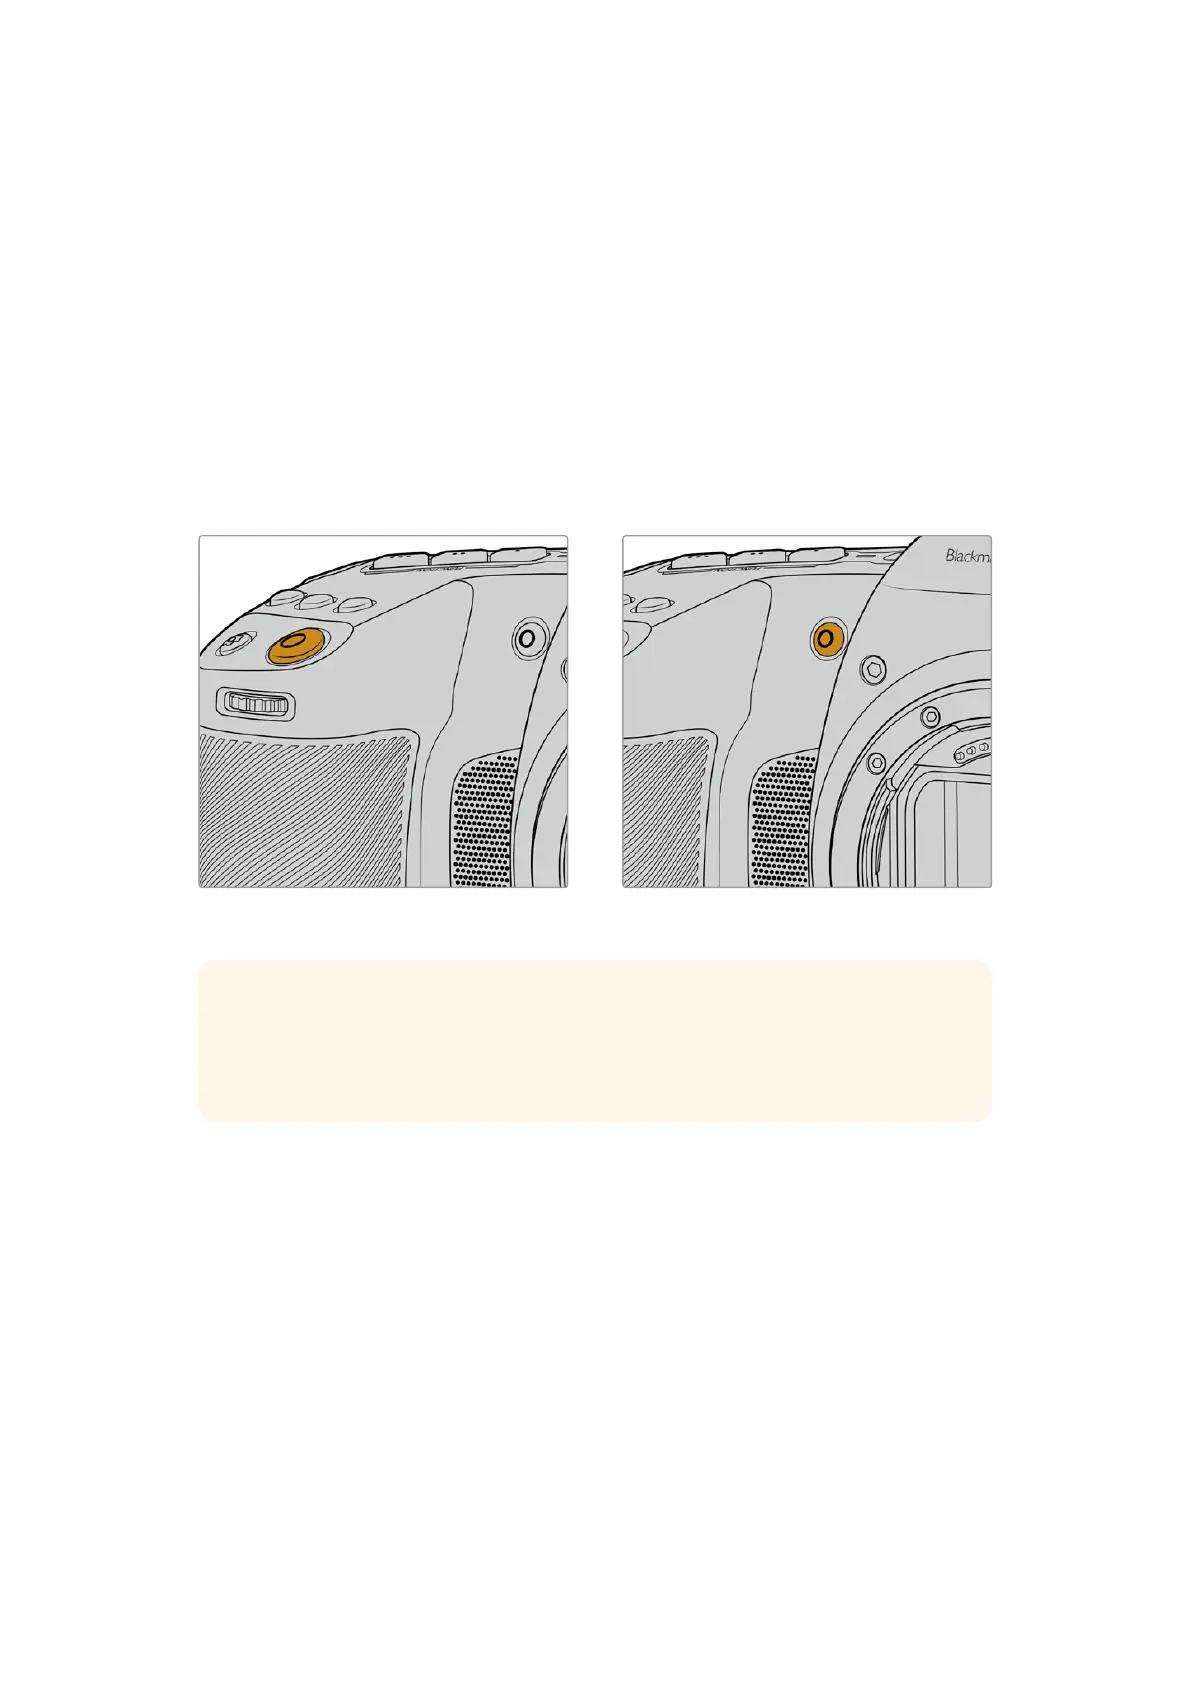
Blackmagic Cinema Camera 6K features two record buttons. The primary record button is
located on the top of the handgrip for triggering with your index finger when holding the
handgrip of the camera with your right hand.
The second record button is located on the front of your camera to allow you to begin recording
while holding the camera with one hand in situations where you want to record yourself. The
button is located in an easy to reach position, ideal if you are recording yourself for video blogs.
Press one of the ‘record’ buttons on your camera to begin recording immediately. Press ‘record’
again to stop recording.
The ‘record’ button located on the
top panel of your camera
The ‘record’ button located on
the front of your camera
TIP Before you start recording, select the media you want to use by pressing and
holding the name of the CFexpress card or USB-C flash disk at the bottom of the
touchscreen. The storage indicator for the media you have selected turns blue to
indicate the camera is set to record to this media.
Choosing the Resolution and Sensor Area
Your Blackmagic Cinema Camera 6K records Blackmagic RAW using either a constant quality
or constant bitrate setting. Sensor frame rate options will vary depending on the quality and
resolution you choose. For more information, refer to the ’maximum sensor frame rates’ section
later in this manual.
Recording Proxy Files
While recording Blackmagic RAW, proxy media files are also recorded to a ‘proxy’ folder on the
same CFexpress card or USB-C flash disk.
Proxy media files are compressed versions of your camera’s Blackmagic RAW files and are
recorded using the H.264 codec at 1920x1080 resolution. They are ideal for remote collaboration
workflows and make it easy to exchange media online. Proxy files recorded on Blackmagic
Cinema Camera 6K are automatically recognized by DaVinci Resolve and linked to the Blackmagic
RAW original media files, so you have the option to edit with proxy media straight away. For more
14Recording