Getting Started
Getting started with your Blackmagic Cinema Camera 6K is as simple as mounting a lens and
powering your camera.
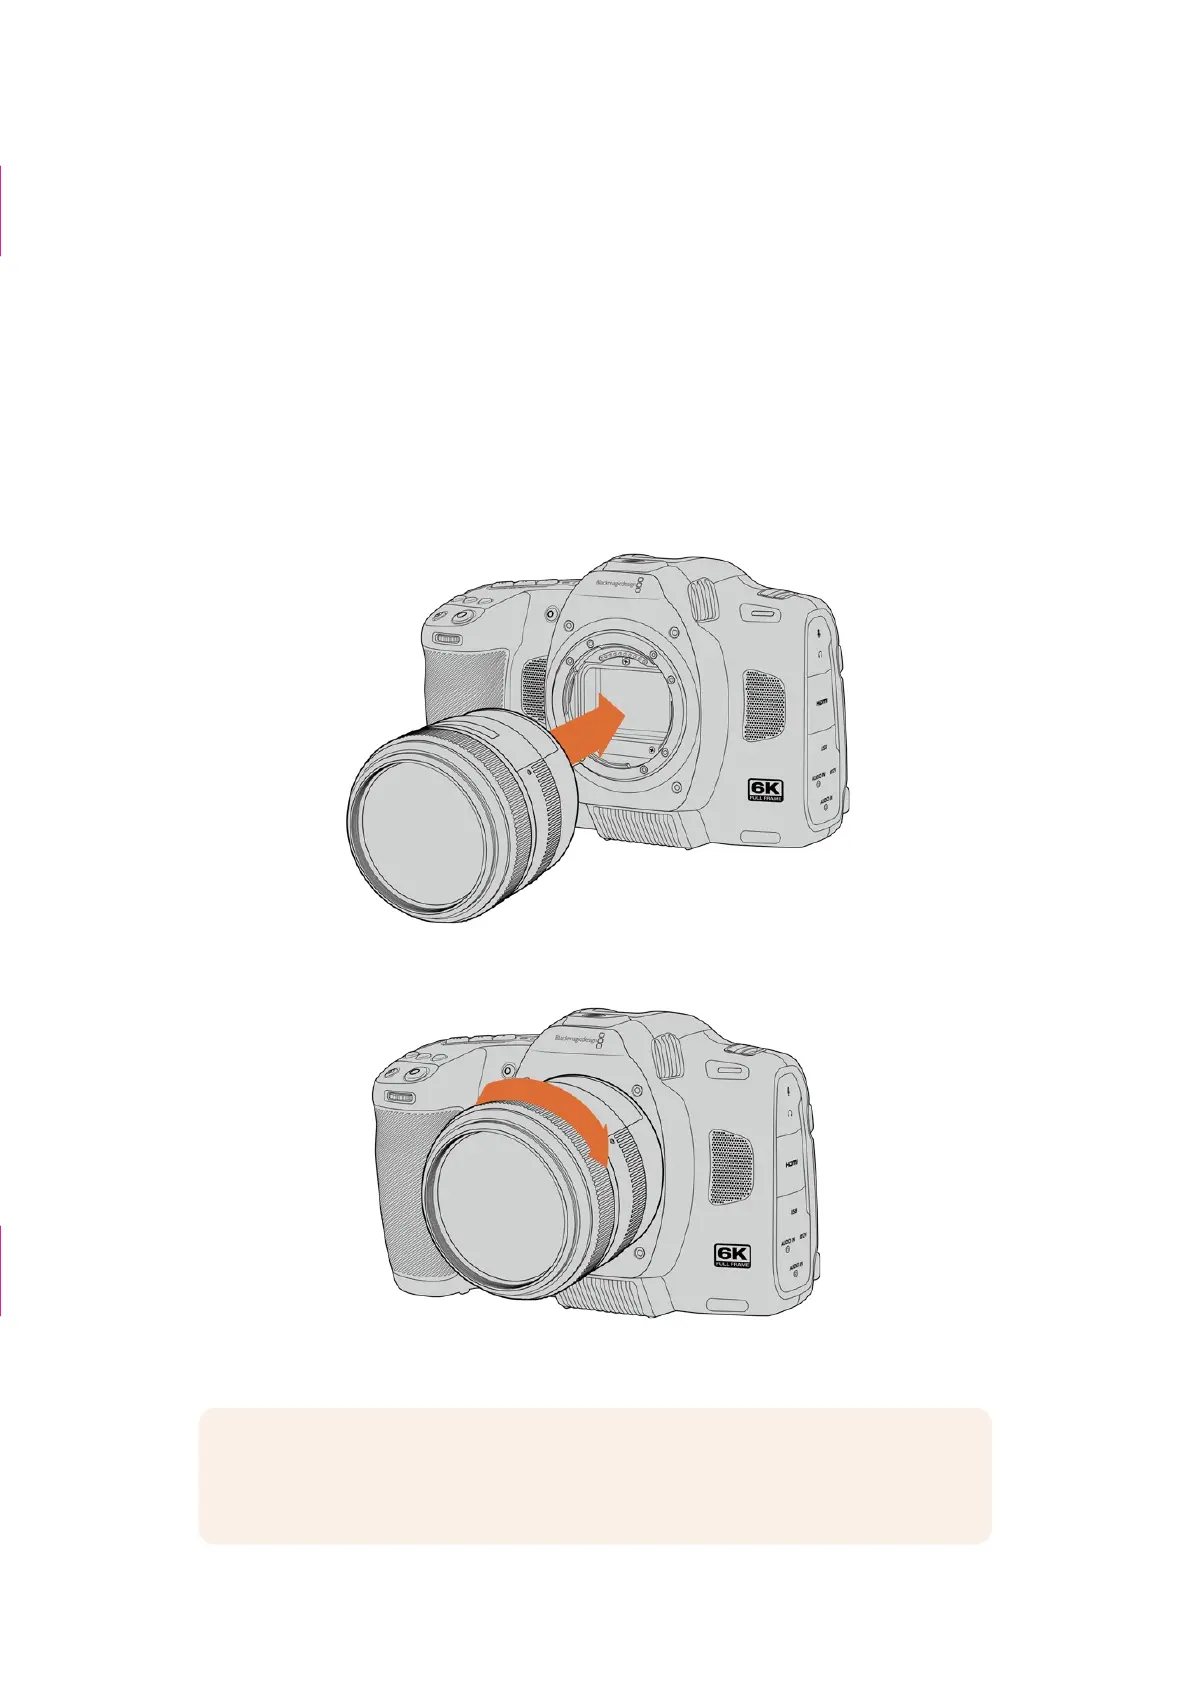
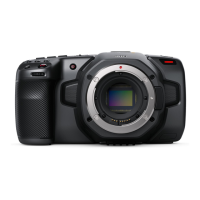
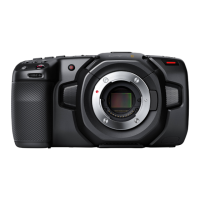
Attaching a Lens
Your Blackmagic Cinema Camera 6K uses L-mount lenses. To attach a lens to your camera,
begin by removing the protective dust cap. To remove the protective dust cap, hold down the
locking button and rotate the cap counterclockwise until it is released.
To attach a lens:
1 Align the dot on your lens with the dot on the camera mount. Many lenses have a visual
indicator, for example a blue, red or white dot.
2 Press the lens mount against the camera mount, and twist the lens clockwise until it clicks
into place.
3 To remove the lens, hold down the locking button, rotate the lens counterclockwise until its
dot indicator reaches the 7 o’clock position. Gently remove the lens from its mount.
NOTE When no lens is attached to the camera, the glass filter covering the
sensor is exposed to dust and other debris so you’ll want to keep the dust cap on
whenever possible.
“Which camera are
you using?” section
deleted
Caption deleted
5Getting Started