Using Blackmagic Camera Setup
Blackmagic Camera Setup is used to change settings and update the internal software
in your camera.
To use Blackmagic Camera Setup:
1 Connect your camera to your computer via USB.
2 Launch Blackmagic Camera Setup. Your camera model will be named in the setup
utility home page.
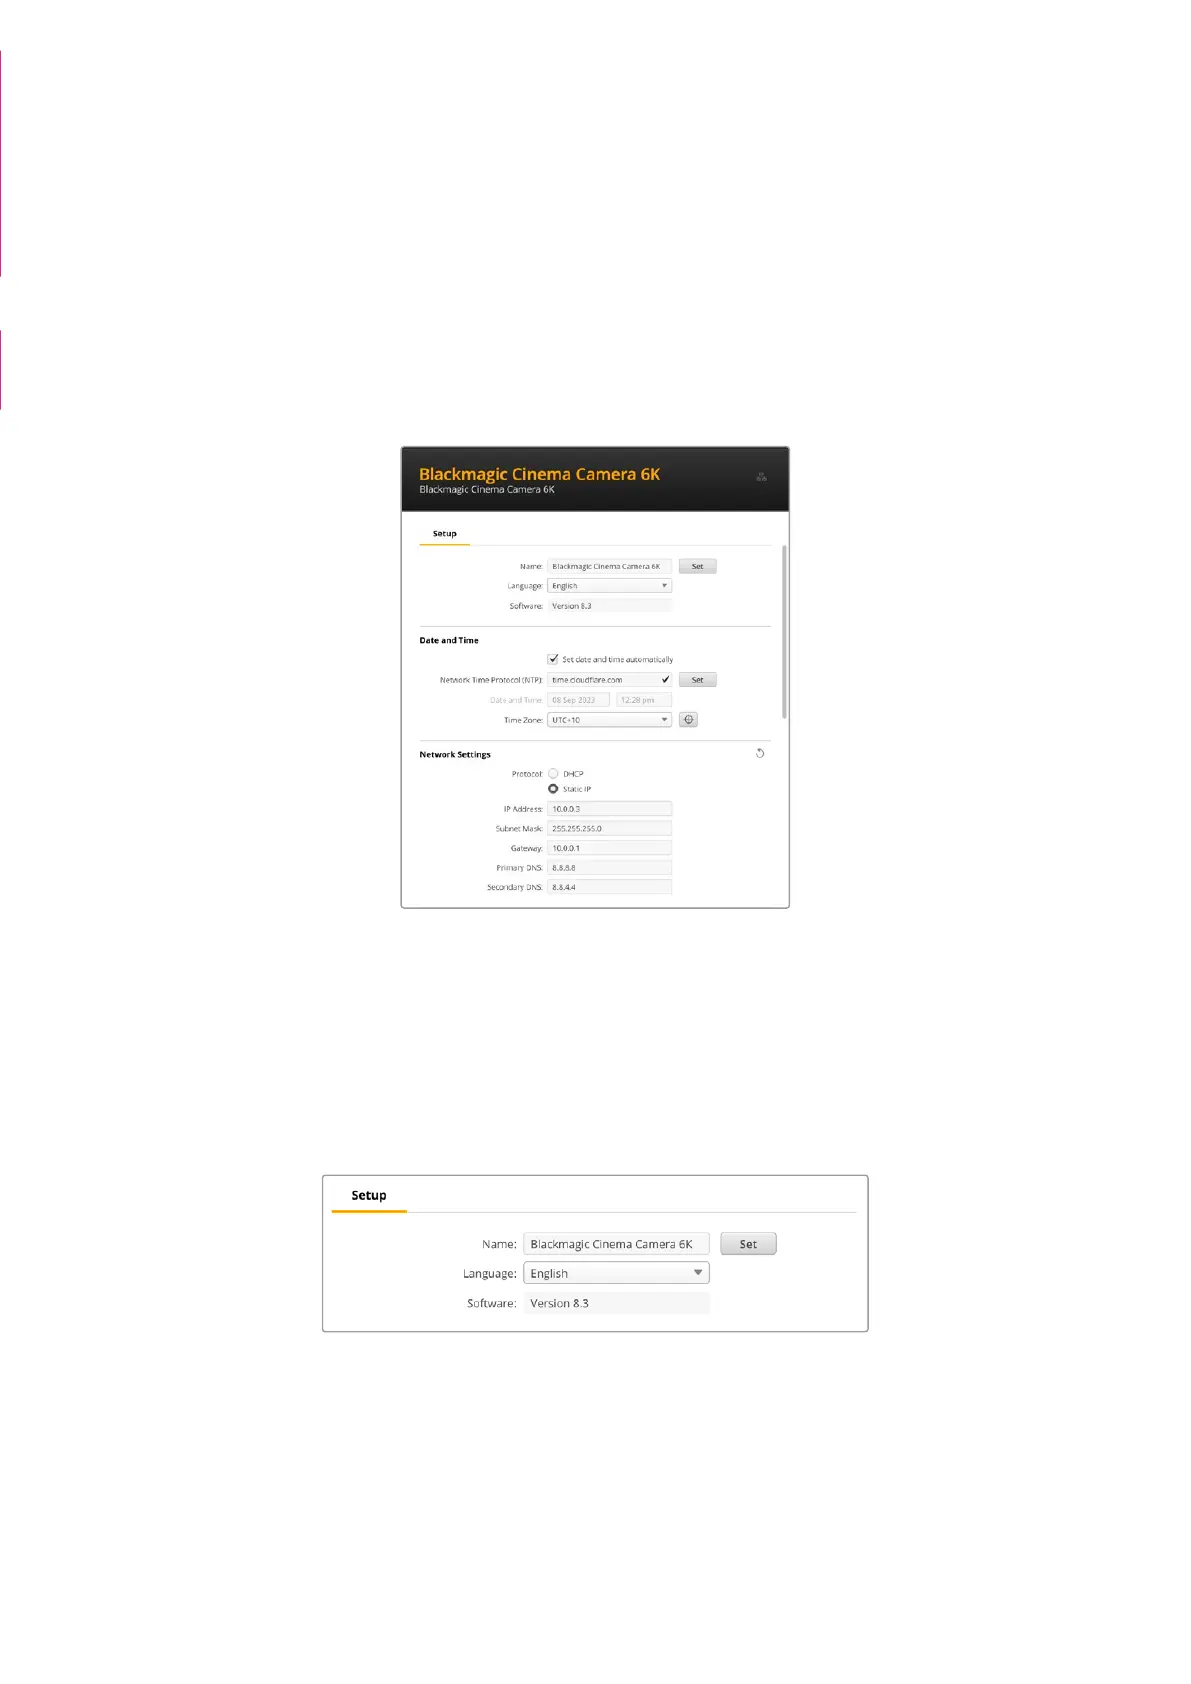
3 Click on the circular ‘setup’ icon or the image of your camera to open the setup page.
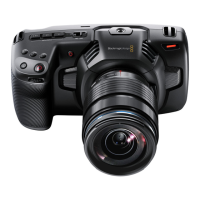
Setup
If you have more than one camera, you may wish to give each unit a discrete name to make
them easy to identify. You can do this by entering a new name into the name field and clicking
the ‘set’ button. It’s worth noting that changing the name of the camera will invalidate any digital
certificates in use, so it’s worth changing the name before generating a certificate signing
request or self signed certificate. More details on digital certificates is available in the ‘secure
certificate’ information later in this section of the manual.
Date and Time
Set your date and time automatically by ticking the ‘set date and time automatically’ checkbox.
When this checkbox is enabled, your camera will use the network time protocol server set in
the NTP field. The default NTP server is time.cloudflare.com, but you can also manually enter
analternate NTP server and then click on ‘set’.
This section is from:
Studio Camera manual insert
pages 118 - 126 - ‘Using
Blackmagic Camera Setup’
and ‘transfering files over a
network’
Some additional update/
changes apply!!
Camera Setup screenshot
deleted
129Blackmagic Camera Setup