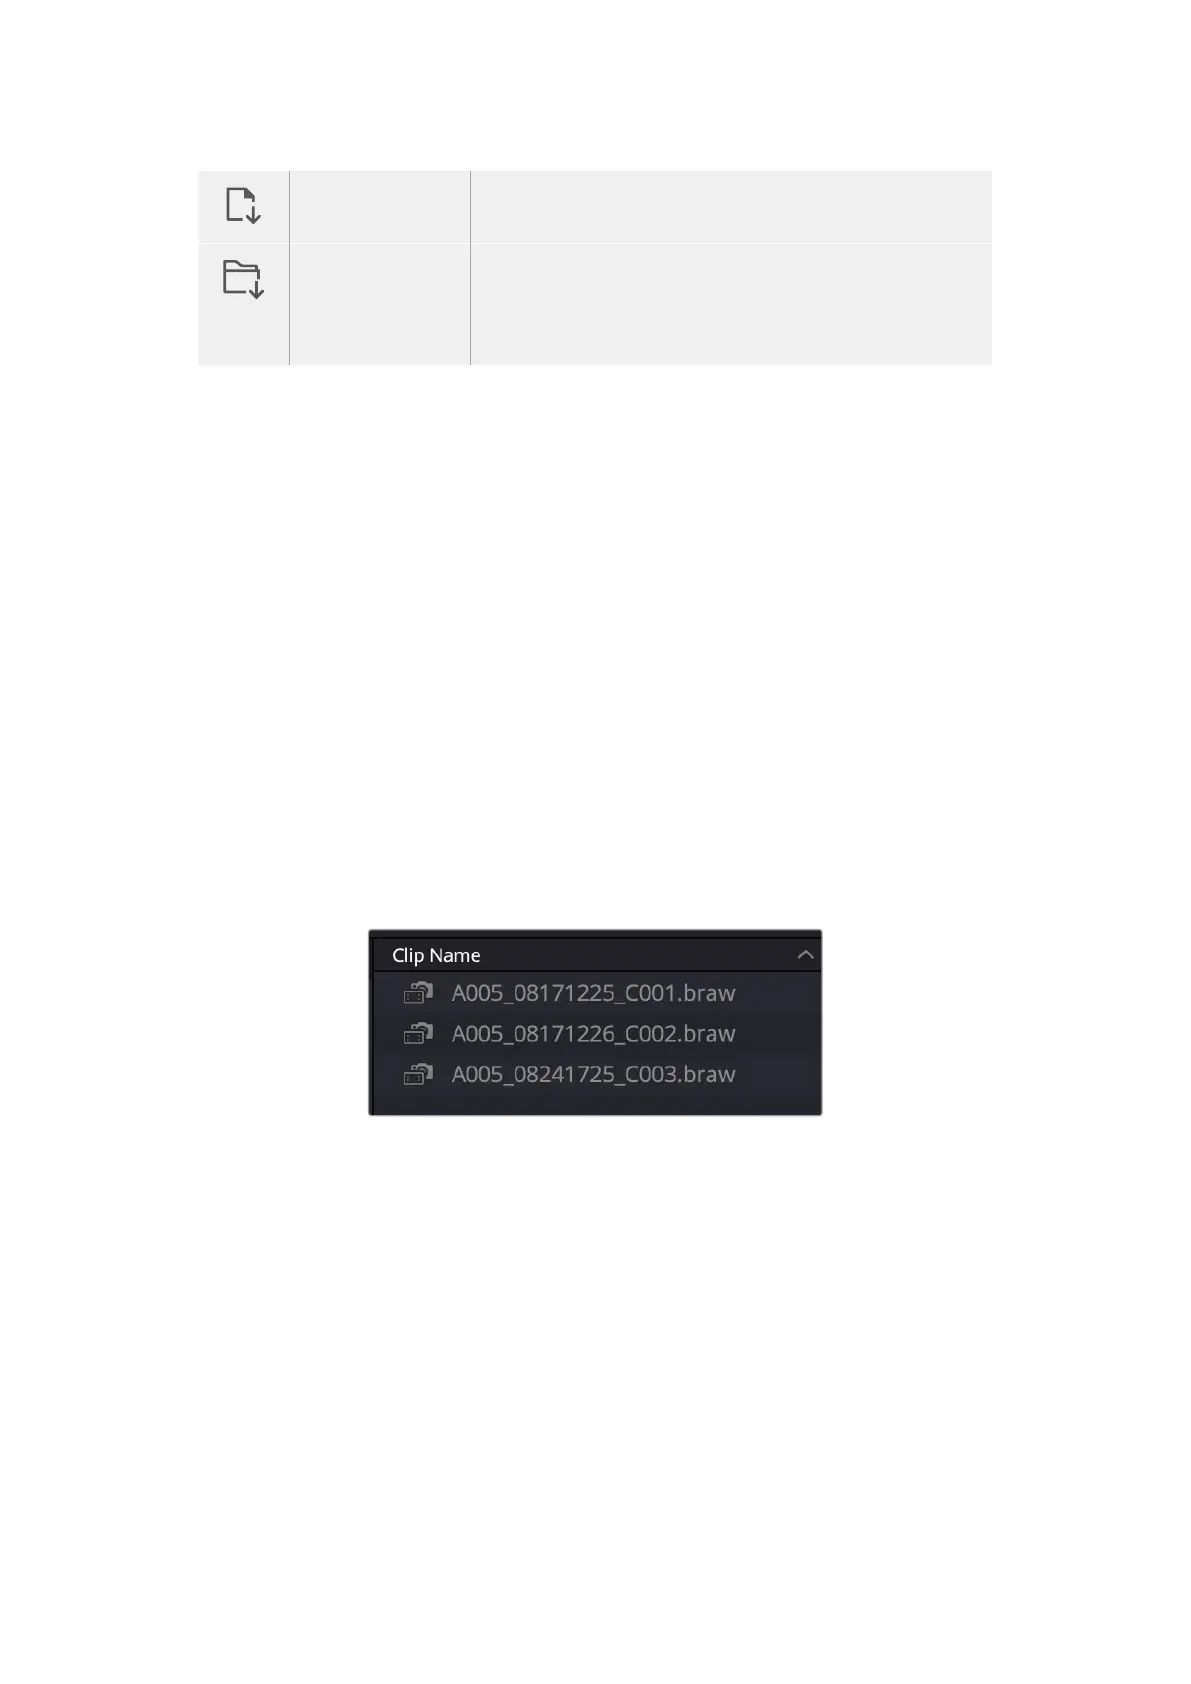
Import Media The import media option will import individual media files selected
from your storage location.
Import Media Folder To import a folder from your media storage, select the import
folder option. When importing a folder, DaVinci Resolve will keep
the file structure, treating each folder as a separate bin so you can
navigate between bins to find your videos and other media files.
To import media:
1 Click on the ‘import media’ or ‘import media folder’ icon.
2 Navigate to your media storage for the media you want to import.
3 Select the file or folder and click ‘open’.
Once you’ve added media to your project, it is a good time to save your changes. DaVinci
Resolve features a fast, on the go autosave called ‘live save’. Once you save you project once,
‘live save’ will save further changes as you make them, removing the risk of losing your work.
For more information on ‘live save’ and other auto save functions, refer to the DaVinci
Resolve Manual.
Using Proxy Media
Your Blackmagic Cinema Camera 6K simultaneously records proxy media files when recording
to Blackmagic RAW. Proxy media files are smaller, compressed versions of Blackmagic RAW
files that make it easy to edit projects remotely or using portable computers that may not have
the same power as a desktop PC.
When you import your camera original files into DaVinci Resolve, the proxy media files are
automatically synced to the full resolution Blackmagic RAW files. This means you can switch
between proxy and full resolution media as needed.
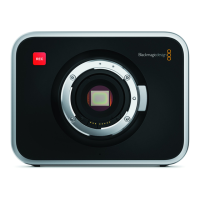
When a proxy file is synced to a Blackmagic RAW file, a small camera
icon is displayed next to the clip name
Switching between Proxy Media and Blackmagic RAW
To switch between proxy media and Blackmagic RAW using the Playback menu:
1 Click on the ‘playback’ menu in the menu bar at the top of your screen.
95Using DaVinci Resolve