DIVAR IP all-in-one 6000 Rack installation | en 21
Bosch Security Systems B.V.
Installation manual
2022-10 | V02 | F.01U.407.903
5 Rack installation
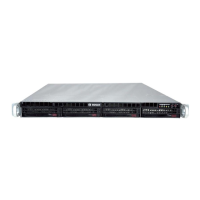
This chapter describes the installation of DIVAR IP all-in-one 6000 in a rack.
You can also watch a video showing the rack installation. To get to the video, scan the
following QR code:
Applicable racks
There is a variety of racks on the market, so that the installation procedure slightly differs
depending on the rack type.
The rack mount kit is adaptable for installation in following rack types:
– Square-hole rack
– Round-hole rack
– Round-hole threaded rack
The delivered rails fit a rack with a depth of 25.6inches (65.02cm) to 33.5 inches (85.09cm).
Notice!
For more information, refer to the documentation of the rack that you use.
Prerequisites
To install DIVAR IP all-in-one 6000 in a rack, you need:
– The rack mount kit delivered with the device. The rack mount kit includes:
– Two outer rails (each outer rail consists of two sections, a long section and a short
section).
– Two inner rail extensions (in accessory box).
– A bag of screws (in accessory box).
– A standard Phillips screwdriver.
Procedure
To install DIVAR IP all-in-one 6000 in a rack, you must do the following:
1.
Installing the inner rail extensions on the chassis, page 21
.
2.
Installing the outer rails to the rack, page 22
.
3.
Installing the chassis in the rack, page 26
.
5.1 Installing the inner rail extensions on the chassis
Caution!
Do not pick up the chassis with the front handles. They are designed to pull the system from
a rack only.
To install the inner rail extensions:
1. Place the inner rail extension on the side of the chassis so that it faces "outward" just like
the pre-installed inner rail.
2. Align the holes on the inner rail extension with the hooks on the chassis.
3. Slide the inner rail extension toward the front of the chassis.
4. Optionally: secure the inner rail with one M4x6L screw (delivered in the accessory box).

 Loading...