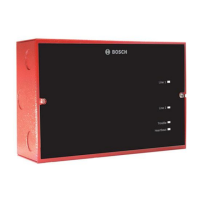
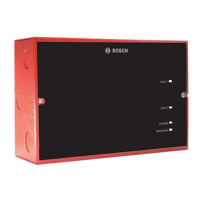
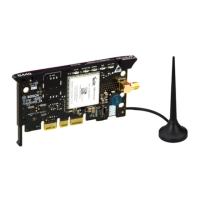
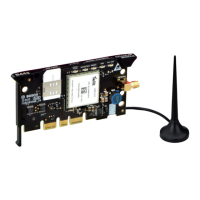
EN | 39FPT-DACT | Operation & Installation Guide |
1/05 | F01U002505B
5.0 Programming
7. Press [# Command] to verify your selection. Press
[* Clear] to return to the Phone Control Submenu.
8. Use the Phone 1 Tone instructions when setting
Phone 2 Tone.
9. Press [5] to enable or disable sending text with
reports.
PHONE 1 SEND TEXT
NO:(1)YES(0)NO
10. Press the number key that corresponds to your
selection. The current setting appears in parentheses
on the first line.
11. Press [# Command] to verify your selection. Press
[* Clear] to return to the Phone Control Submenu.
Event text is only sent for the Modem IIIa
2
format, and only when the serial link to an
analog FACP is used.
4: RPT STEERING
To access RPT STEERING, select [0]: PROGRAM
--->[5]: PROG ACC’NTS--->[4]: RPT STEERING.
You can direct the various classes of reports to specific
telephone numbers. The report classes are:
• Non-supervisory Alarms: Include fire alarms,
waterflow alarms, and monitor alarms.
• Supervisory Alarms: Come from points that are
configured as a supervisory type.
• Non-supervisory Restorals: Include fire, waterflow,
and monitor restorals.
• Supervisory Restorals: Come only from points
that are configured as a supervisory type.
• Trouble Reports: Include all point and system
troubles and restorals. The tests include Auto Tests,
Manual Tests, and Off-normal at Test Reports.
Refer to Appendix E on page 55 for the
appropriate routing of each report.
To direct reports to particular telephone numbers:
1. From the PROG ACC’NTS Submenu, press [4] to
select 4: RPT STEERING. The window shows:
REPORT STEERING
1: NONSUP ALRM
2: SUPVSY ALRM
3: ALM RSTR, RST
4: SUPVSY RSTR
5: TESTS
6: TBL, TBL RSTR
2. Press the number key that corresponds to your
selection. The window that appears depends on your
choice. In this example, the non-supervisory alarm is
selected. The window shows:
NONSUP ALRM (__)
1- PHONE 1 ONLY
2- PHONE 2 ONLY
3- PHON 1 AND 2
4- PHN 2 BACKUP
The options on this window are:
• PHONE 1 ONLY: Sends the report only to
Phone #1.
• PHONE 2 ONLY: Send the report only to
Phone #2.
• PHONE 1 AND 2: Send the report to both
Phone #1 and Phone #2.
• PHONE 2 BACKUP: Sends the report to
Phone #1 and then to Phone #2 if Phone #1
fails. The FPT-DACT attempts to send the
report to Phone Number 1 first, and if that
attempt fails, the FPT-DACT sends the report
to Phone Number 2.
3. Press the number key that corresponds with your
selection followed by [# Command]. Then press
[* Clear] to return to the Report Steering Submenu.
Report Steering Menu choices 2 to 6 have
the same menu options as Report Steering
1: NONSUP ALRM. Use the instructions for
NONSUP ALRM to set Report Steering
Menu choices 2 through 6.
5: LINE CONTROL
To access LINE CONTROL, select [0]: PROGRAM
--->[5]: PROG ACC’NTS--->[5]: LINE CONTROL.
This option allows you to set the dialing type and line
supervision for each telephone line.
To set the dialing type and line supervision for telephone
lines:
1. From the Prog Acc’nts Submenu, press [5] to select
5: LINE CONTROL. The window shows:
LINE CONTROL
1: LINE #1
2: LINE #2
2. Press the number key that corresponds with the line
you want to configure. The example here is LINE
#1. The window shows:
LINE 1 CONTROL
1: DIALING TYPE
2: MONITOR LINE
3: WAIT DIALTONE