144 Brocade FastIron X Series Chassis Hardware Installation Guide
53-1001723-02
Installing or replacing a power supply
6
Installing an original power supply
This section describes how to install an original power supply.
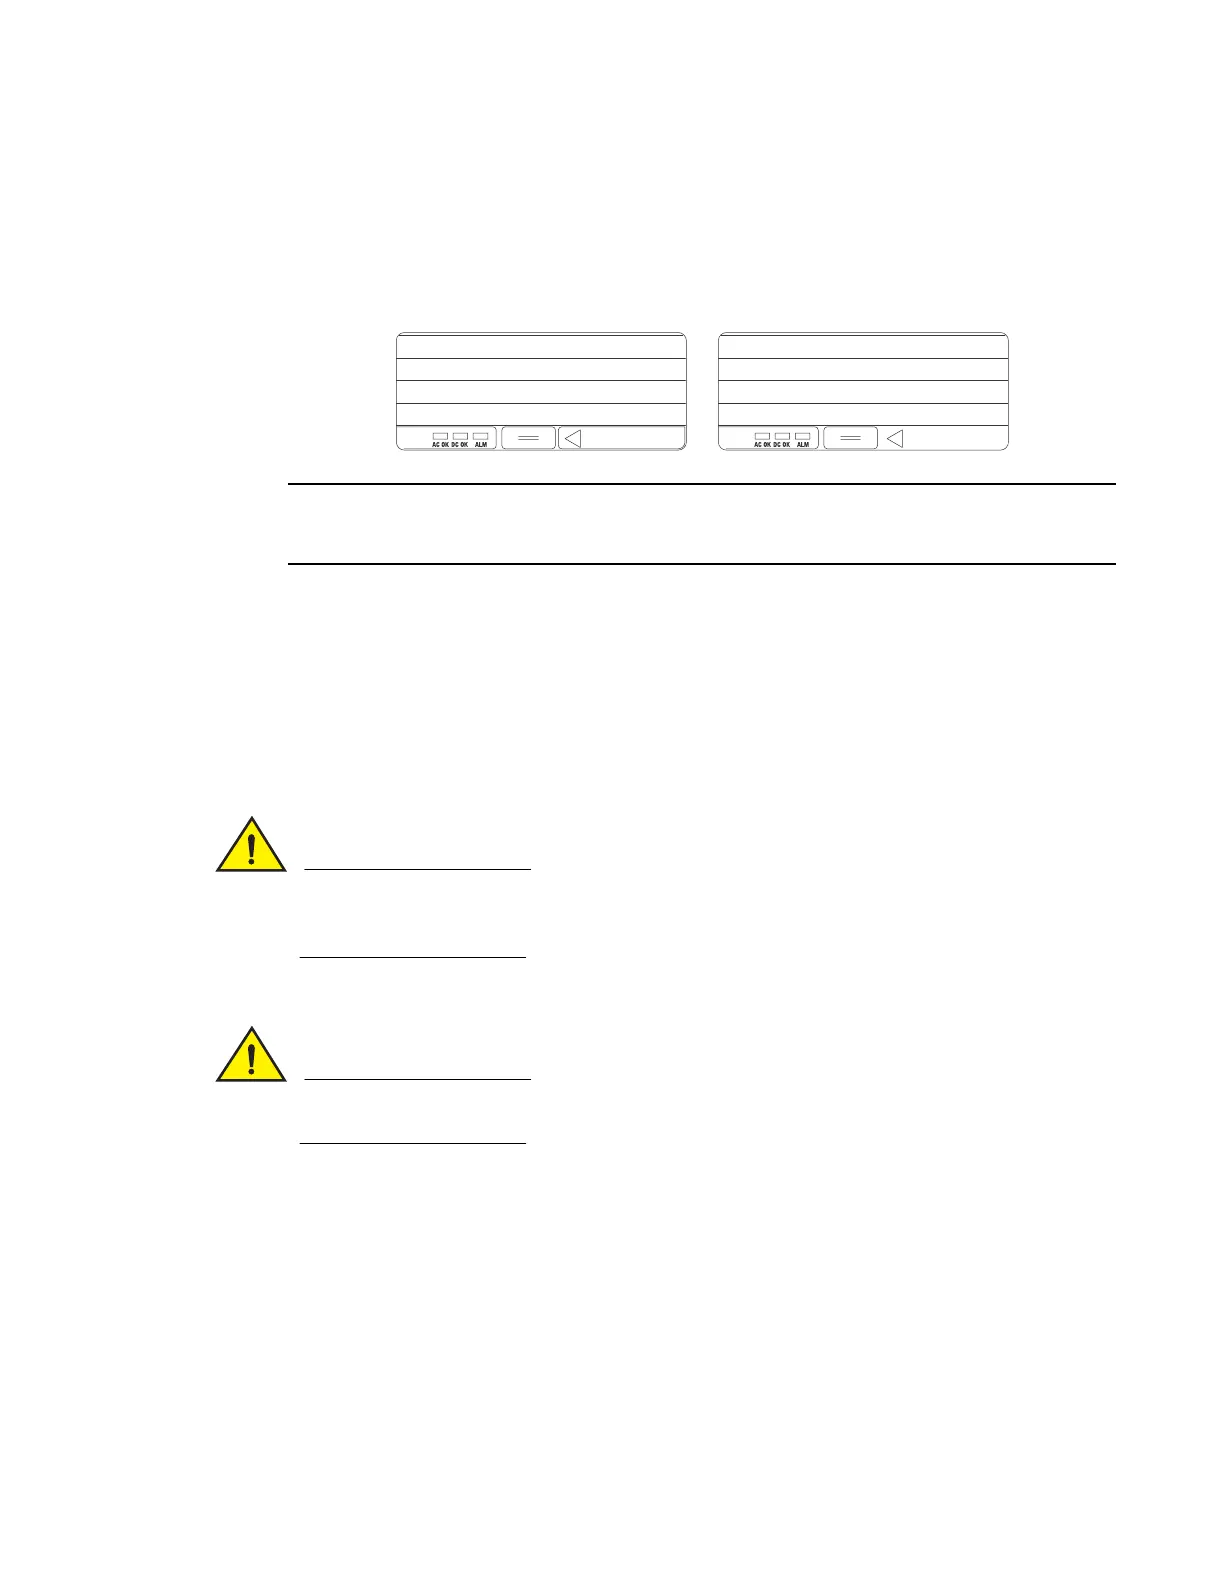
The following illustration shows the original power supplies.
For the differences between the replacement and original power supplies, refer to “About
replacement power supplies” on page 34.
To install an original power supply, perform the following tasks.
1. Release the latch on the front of the new power supply to unlock it:
• Locate the 1/2 in tab (latch release) on the bottom center of the front of the power
supply
• Firmly press on the latch release
• The latch should spring open
• Gently push the latch to the right
Do not attempt to install the power supply without first releasing the latch on the front of the
power supply. Attempting to install the power supply with a closed latch will result in mechanical
damage to the power supply and power supply slot.
2. Insert the new power supply into the empty power supply slot.
Make sure the power supply is properly inserted in the slot. Never insert the power supply upside
down.
3. When the power supply is fully seated, the power supply latch will catch onto a tab located on
the right side of the power supply slot. Once the power supply is fully seated, push firmly on the
power supply latch until it locks the power supply into place.
4. Connect power to the chassis. Refer to “Connecting AC power to the chassis” on page 145 or
“Connecting DC power to the chassis” on page 147.
EJECT SYS
EJECT POE
 Loading...