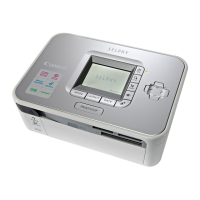
Printing Maintenance
3 Align the Print Head.
(1)
Look at the print out.
From
the patterns
on
the
column
A,
select the most even, least irregular
patterns and
use
the
<llIlIII
~
buttons to select the
number that corresponds.
Enter the
number
of
the pattern with fewest
white
1/4
~"'';''_$'W,;"",v/,w,,,,=,,~q_M"_Q//
__
~,
I
Less
noticeable white stripes More noticeble white stripes
(2)
Press
the"
button to move the cursor
on
the column B and select the most even,
least irregular patterns and
use
the
<llIlIII
~
buttons to select the number that
corresponds.
Repeat the operation for the column Cand
D.
(3)
Press
the
OK
button.
The
Print
Head
position is adjusted.
W Note
Printing a current setting
of
the Print
Head
position
1
Turn
on
the printer.
See
"Turning
On
the Printer"
on
page 16.
2
Load
the supplied paper or
Canon
4
11
x6
11
/ 101.6x1S2.4mm paper into the Paper
Support.
See
"Loading Paper"
on
page 20.
3
Press
the Menu button.
4 Select Tool box and then press the
OK
button.
S Select Maintenance and then press the
OK
button.
6 Select
Head
alignment
print
and then press the
OK
button.
The
pattern print confirmation screen is displayed.
7 Select
Yes
and then press the
OK
button.
The
Head
alignment value
is
printed.
7°