Hardware
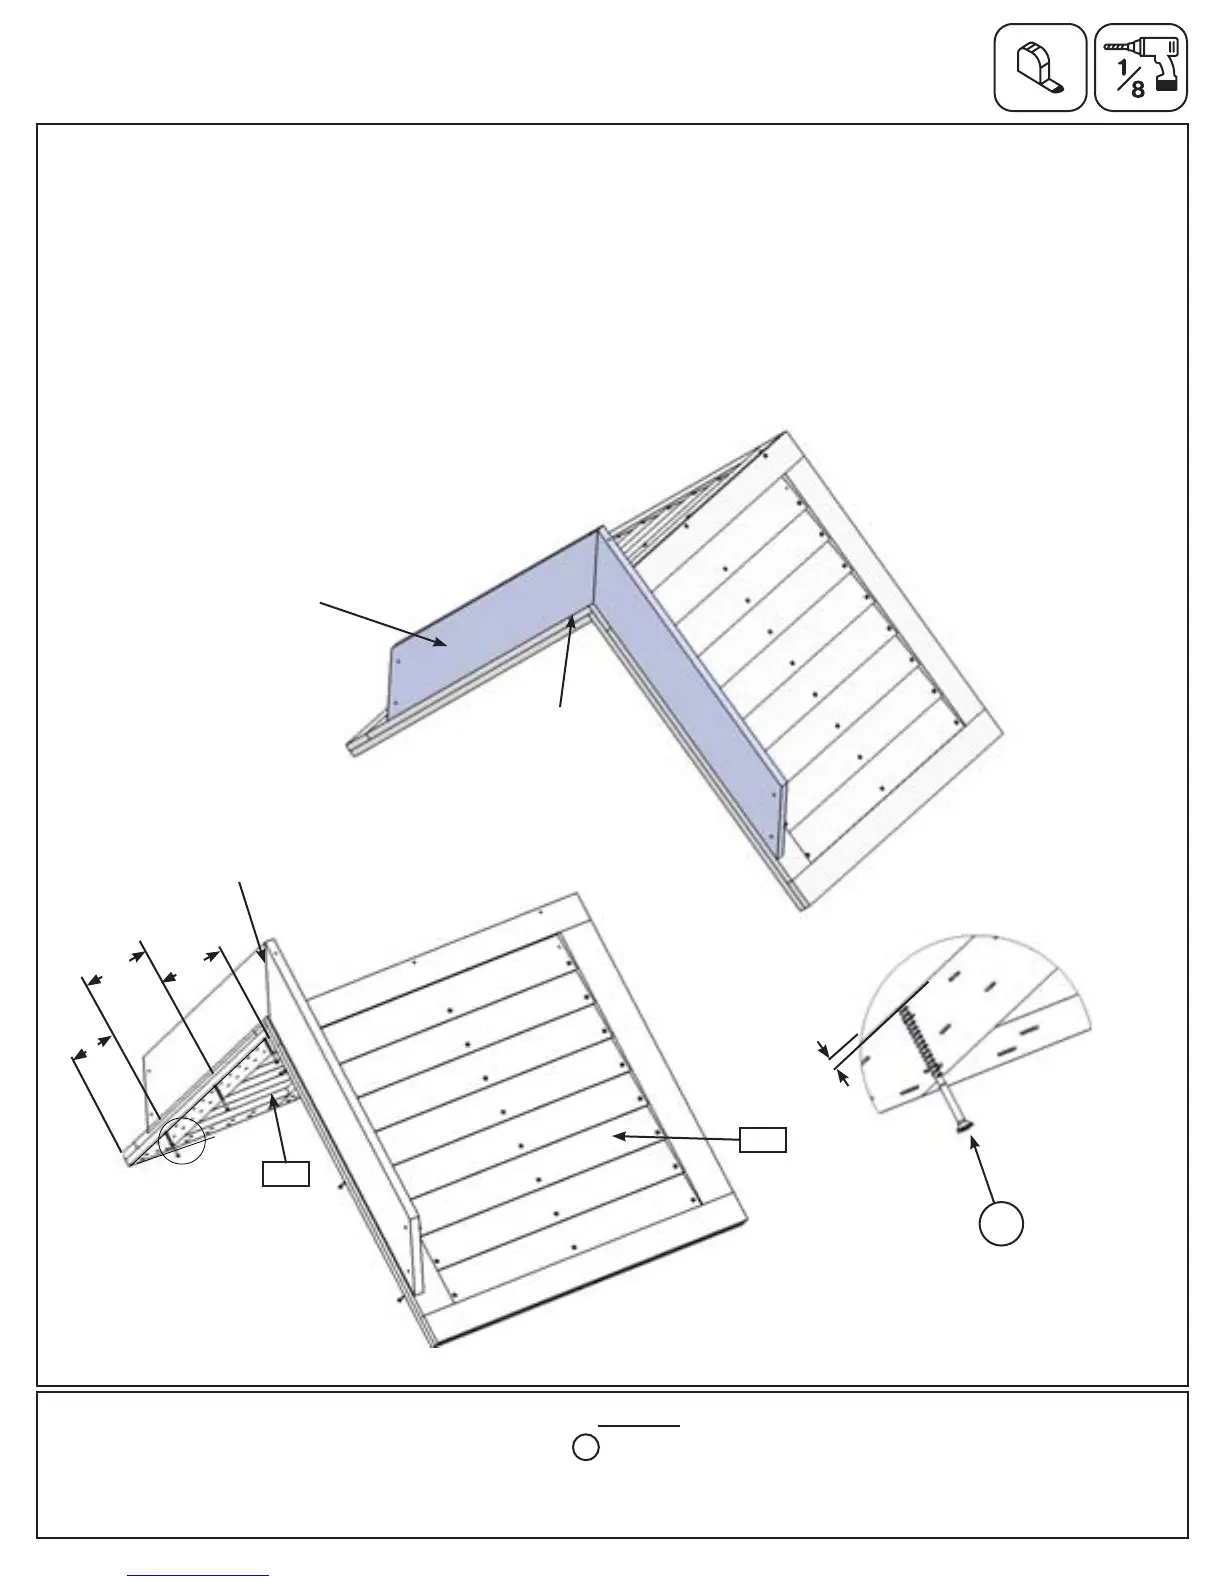
C: Place Roof Spacer Assembly from Step 20, on top of the Small Roof Assembly, ush to the edge as shown in
g. 21.5.
D: Measure 1/2” in from the edge and 7” up from the bottom of each (211) Small Roof Panel and mark. Follow
with 11” up from the rst mark and then 11” up from the second mark. Pre-drill with a 1/8” drill bit at all 6 marks.
(g. 21.6 and 21.7)
E: Attach Roof Spacer Assembly to Small Roof Assembly with 3 (S3) #8 x 2-1/2” Wood Screws per side. (g.
21.6 and 21.7)
6 x #8 x 2-1/2” Wood Screw
S3
Step 21: Small and Large Roof Assemblies
Part 3
Fig. 21.5
211
Fig. 21.6
Fig. 21.7
S3
211
7”
11” 11”
1/2” Screw to
Panel End
Roof Spacer Assembly
Roof Spacer Assembly
Flush
x 3 per side
84 support@cedarsummitplay.com