44 Calibrations
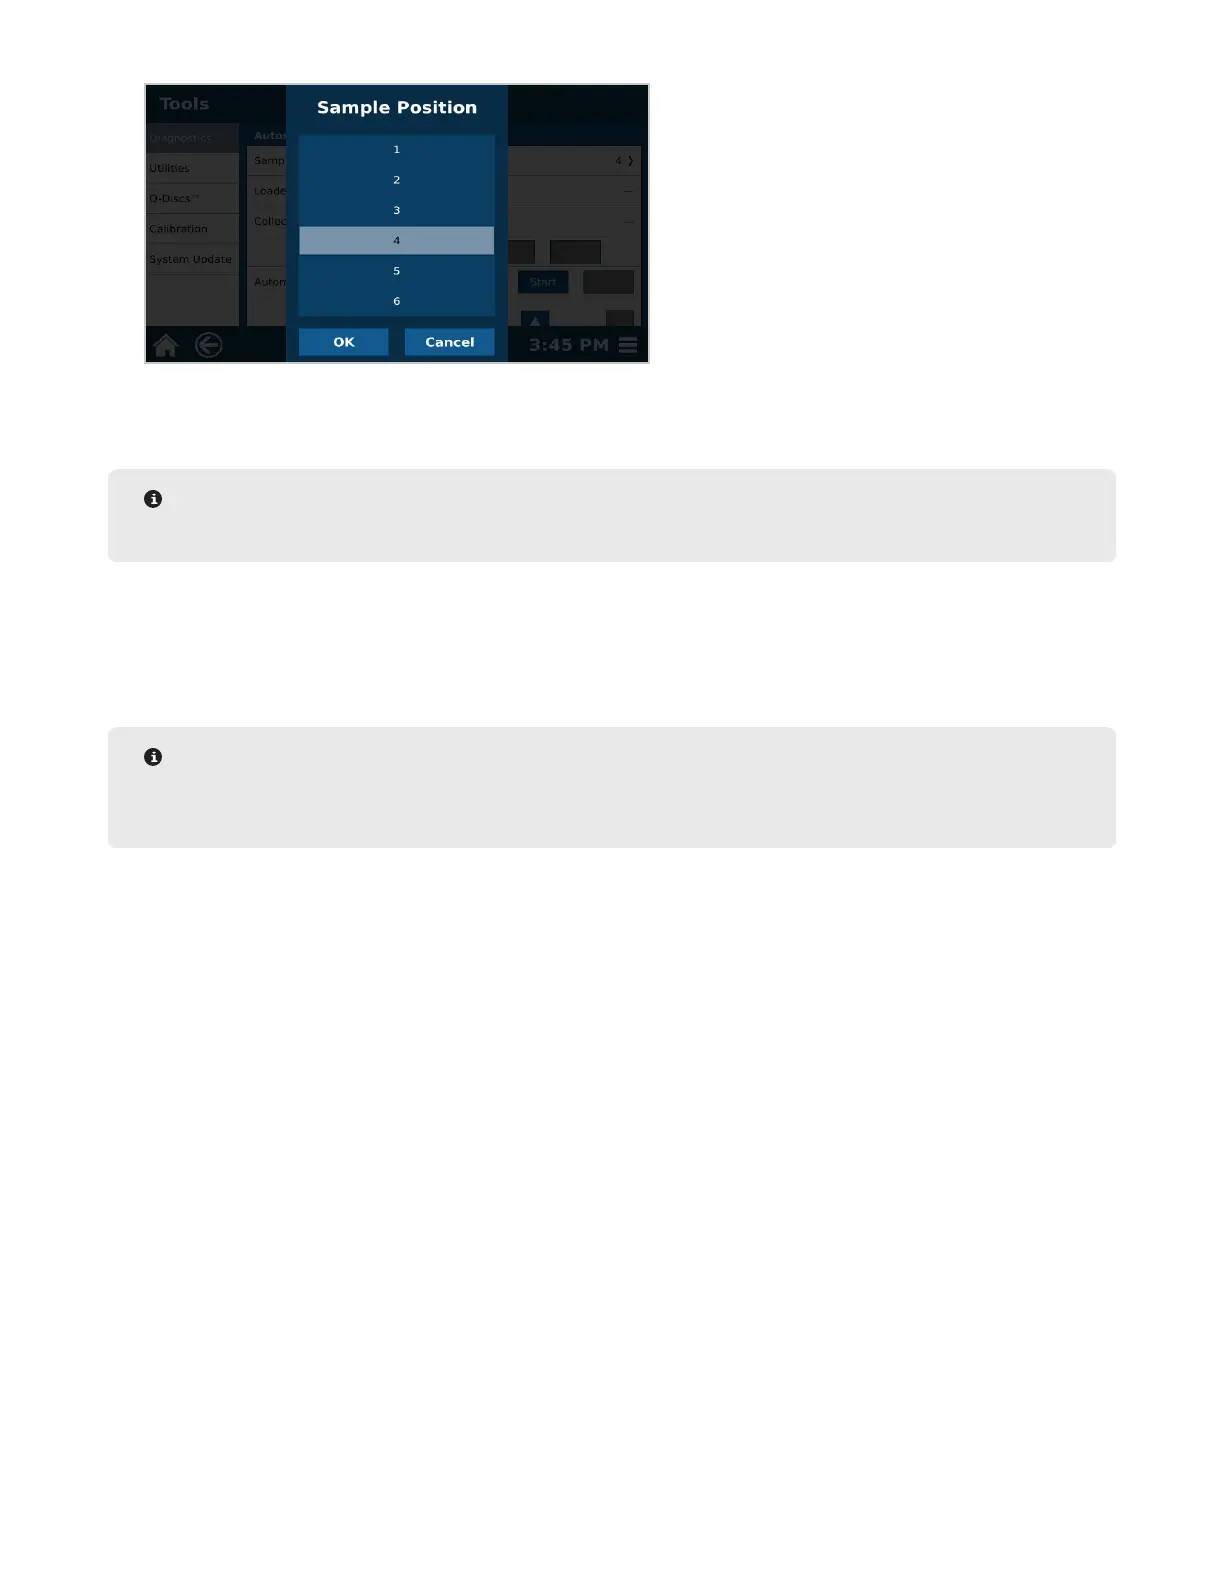
6. Select “OK.”
7. Select “Load.” The autosampler will load the Q-Cup into the vessel chamber.
NOTE
Pay attention to the Q-Cup during this time; the loading process should be very smooth.
8. Select “Collect.” The dispense needle on the autosampler will move to the collection vial in position 4 of the
rack.
9. Select “Unload.” The autosampler will unload the Q-Cup from the vessel chamber and place it back into posi-
tion 4 of the rack.
NOTE
If the autosampler crashes at any point during the verication, the autosampler will need to be calibrated.
Please see “Autosampler Calibration.”
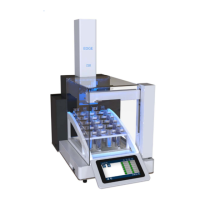
Autosampler Calibration
The Autosampler may require adjustment if movement is not smooth. For detailed instruction on calibrating the
autosampler, please see the “Autosampler Calibration” video located in the System Menu or follow the instruction
below.
There are 3 coordinates for the Autosampler: X, Y, and Z.
• X: Moves the autosampler fork right and left
• Y: Moves the autosampler forward and back
• Z: Moves the autosampler arm up and down
There are three settings for each coordinate: Coarse, Fine, and Ultrane.
• Coarse: Moves the autosampler a large distance
• Fine: Moves the autosampler a moderate distance
• Ultrane: Moves the autosampler tool a short distance
There will be 3 selections along the top of the screen: Back, Estimate, Skip.
• Back: Will home autosampler (if not already home) and go to the previous position; ie. position 7->1
• Estimate: Takes the autosampler to an estimated position based on the position that is currently being
calibrated. Once austosampler moves, Home will appear.
• Skip: Skips a position if a position is not in need of calibration