46 Calibrations
NOTE
If the tool crashes at any point, leave the system alone until it nishes moving, select “Home,” and restart
calibration.
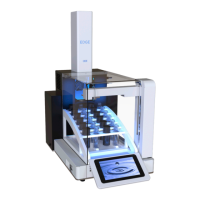
10. Select “Estimate.” The system will move the autosampler fork to an approximate location over to the position
being calibrated.
11. Use the arrows and settings to adjust the tool or Q-Cup. The “OK” button will be grayed out until the tool is
within the specied range.
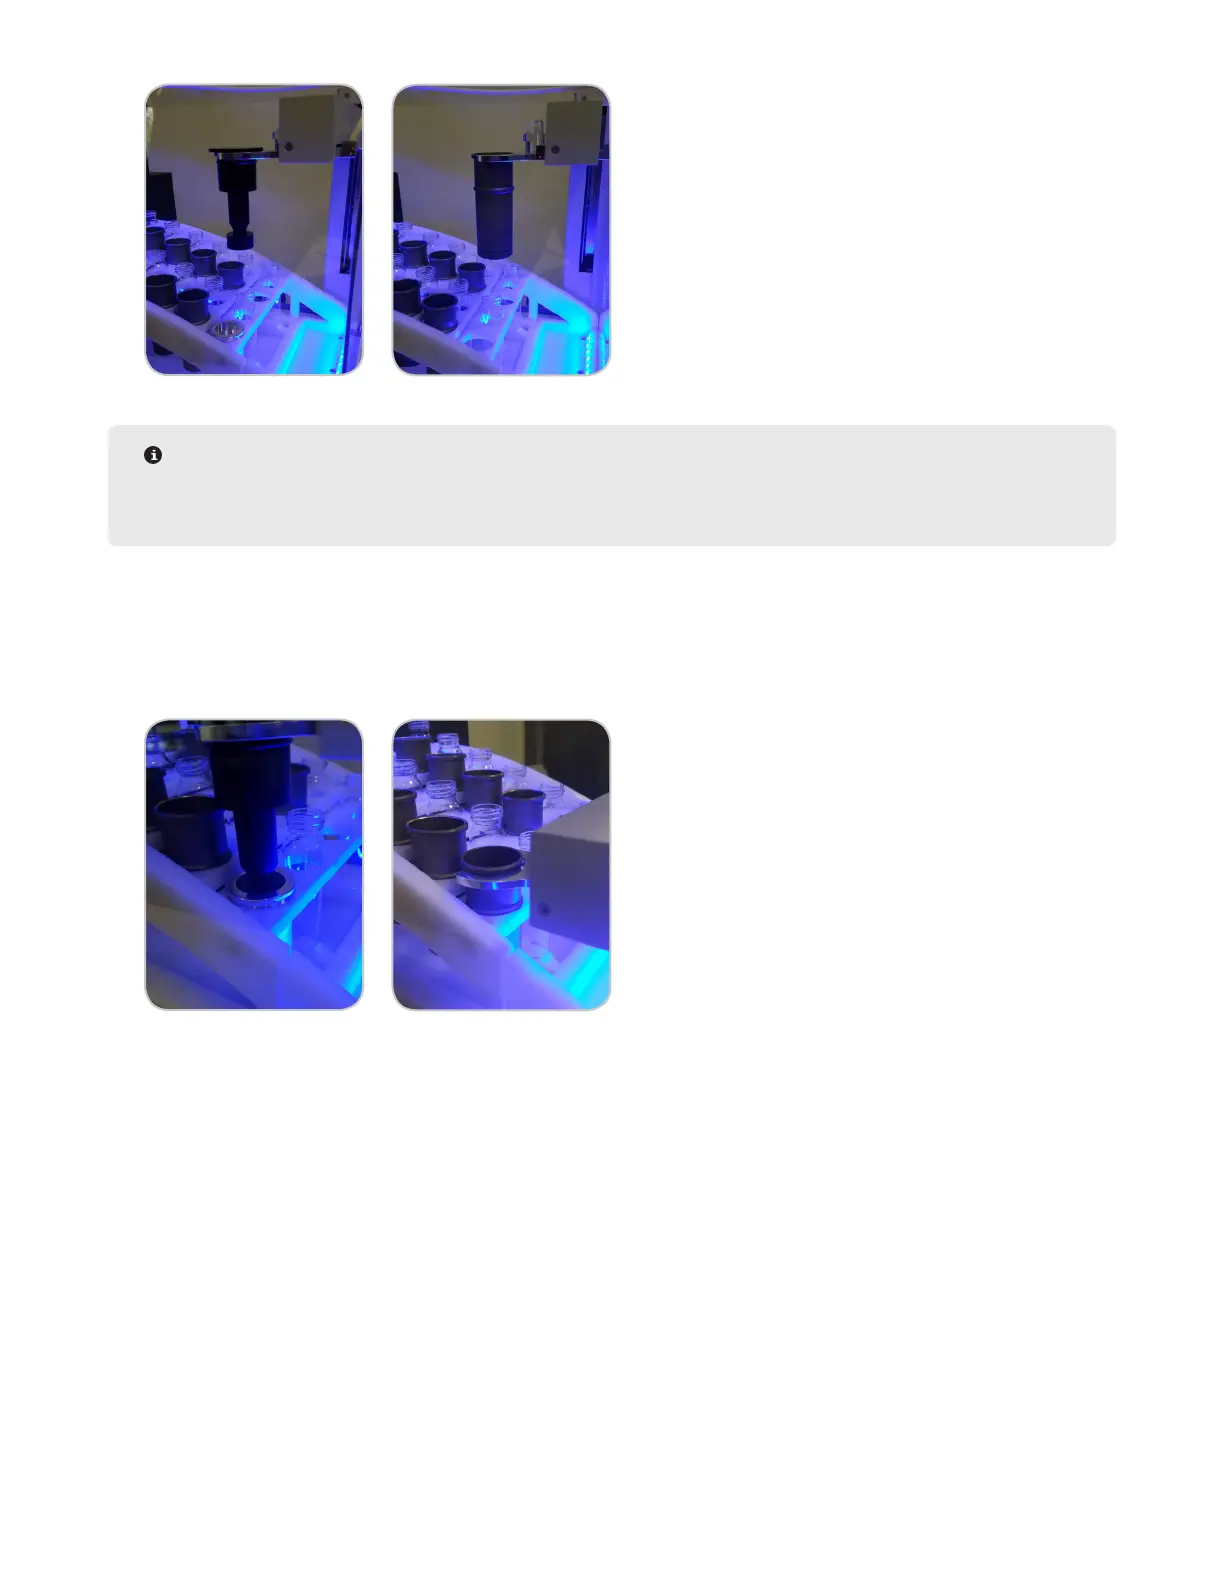
12. Once in the specied range and the tools are ush or autosampler fork sits below Q-Cup lip, select “OK.”
13. You will then calibrate positions 7 and 12 the same way.
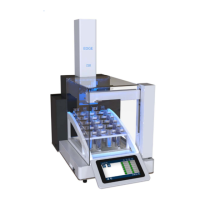
14. Calibrate the drop off position.
• If using the calibration tool, place the bottom piece of the tool in the chamber.
15. Press estimate, and follow the same alignment procedure as before.
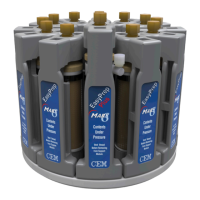
• If using the tool, the top piece of the tool should glide into the bottom piece without hitting the sides of the
tool. If the top piece of the tool moves as you are moving the Z-axis, the Y and Z coordinates are not properly
aligned. Once the system is nished moving, select “Home,” ensure that the top piece is sitting on the fork
correctly, select “Estimate,” and try again.