Emotron VS Series Quick Start Guide
- 145 -
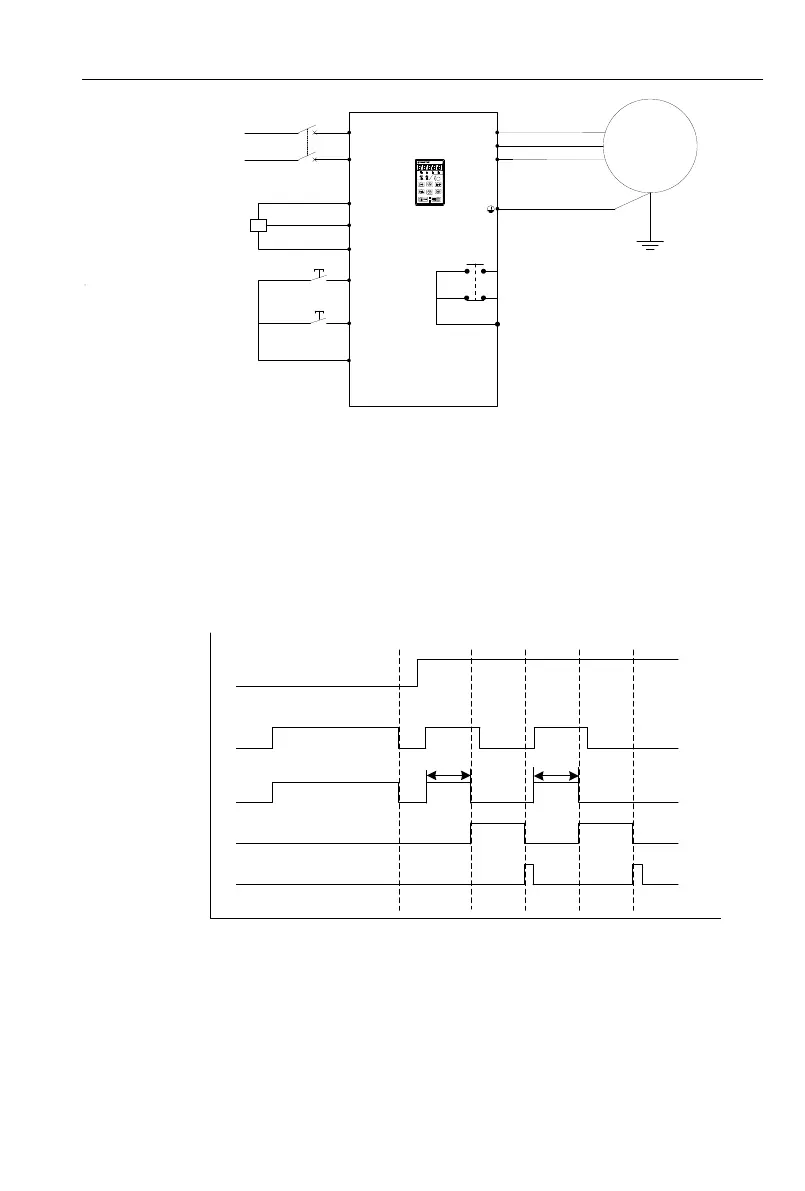
Below is the wiring:
DI1
GND
Operation
Panel
L1
L2
U
V
W
QF
M
24V
R1A
R1B
R1C
Sensor
24V
DI2
Man/Auto
Inching Motor
Single Phase
220V 50/60Hz
DI3
Reset Inching motor
Fig 6-37 Incense making machine wiring
Commissioning Steps:
(1) Connecting power lines and signal lines as Figure 6-35, and also note that proximity sensor
connected to DI1 and 24V terminals as figured;
(2) Motor disengages load for dynamic learning or with load for directly static learning, dynamic
learning here suggested;
(3)Setting terminal functions, C0.00=1(Running), C0.01=51(Manual/Auto switch),C0.02=52(Reset
inching motor), C1.02=60(Inching motor). Others such as acceleration or deceleration setting on
actual situation;
(4) Add powder; manually supply bamboo-stickers to test the current on acceleration;
(5) After finish manually adjustment, add bamboo-stickers supply machine, linkage operation;
(6) T1 in Figure 6-36 means that delay time of stopping at fixed time, set by y0.01.
T1
T1
DI2
Man/Auto
Man
Auto
DI1 Run
command
Run state
Inching output
signal(R1)
Inching signal
reset(DI3)
Fig.6-38 Incense machine Timing Chart
Description:
a)Manual mode(DI2 is invalid): when DI1 is valid, then running; when DI1 is invalid, then stop.
b)Auto mode(Di2 is valid): when DI1 is valid, inverter will run, and stop after running time (y0.01
set it), in addition, output R1 signal; when DI1 is invalid, press DI3 to reset inching motor, R1 stop
output;


 To Next Page