Mounting the Quantum Maestro Orchestrator MHO-175 in a Rack
Quantum Maestro Getting Started Guide|64
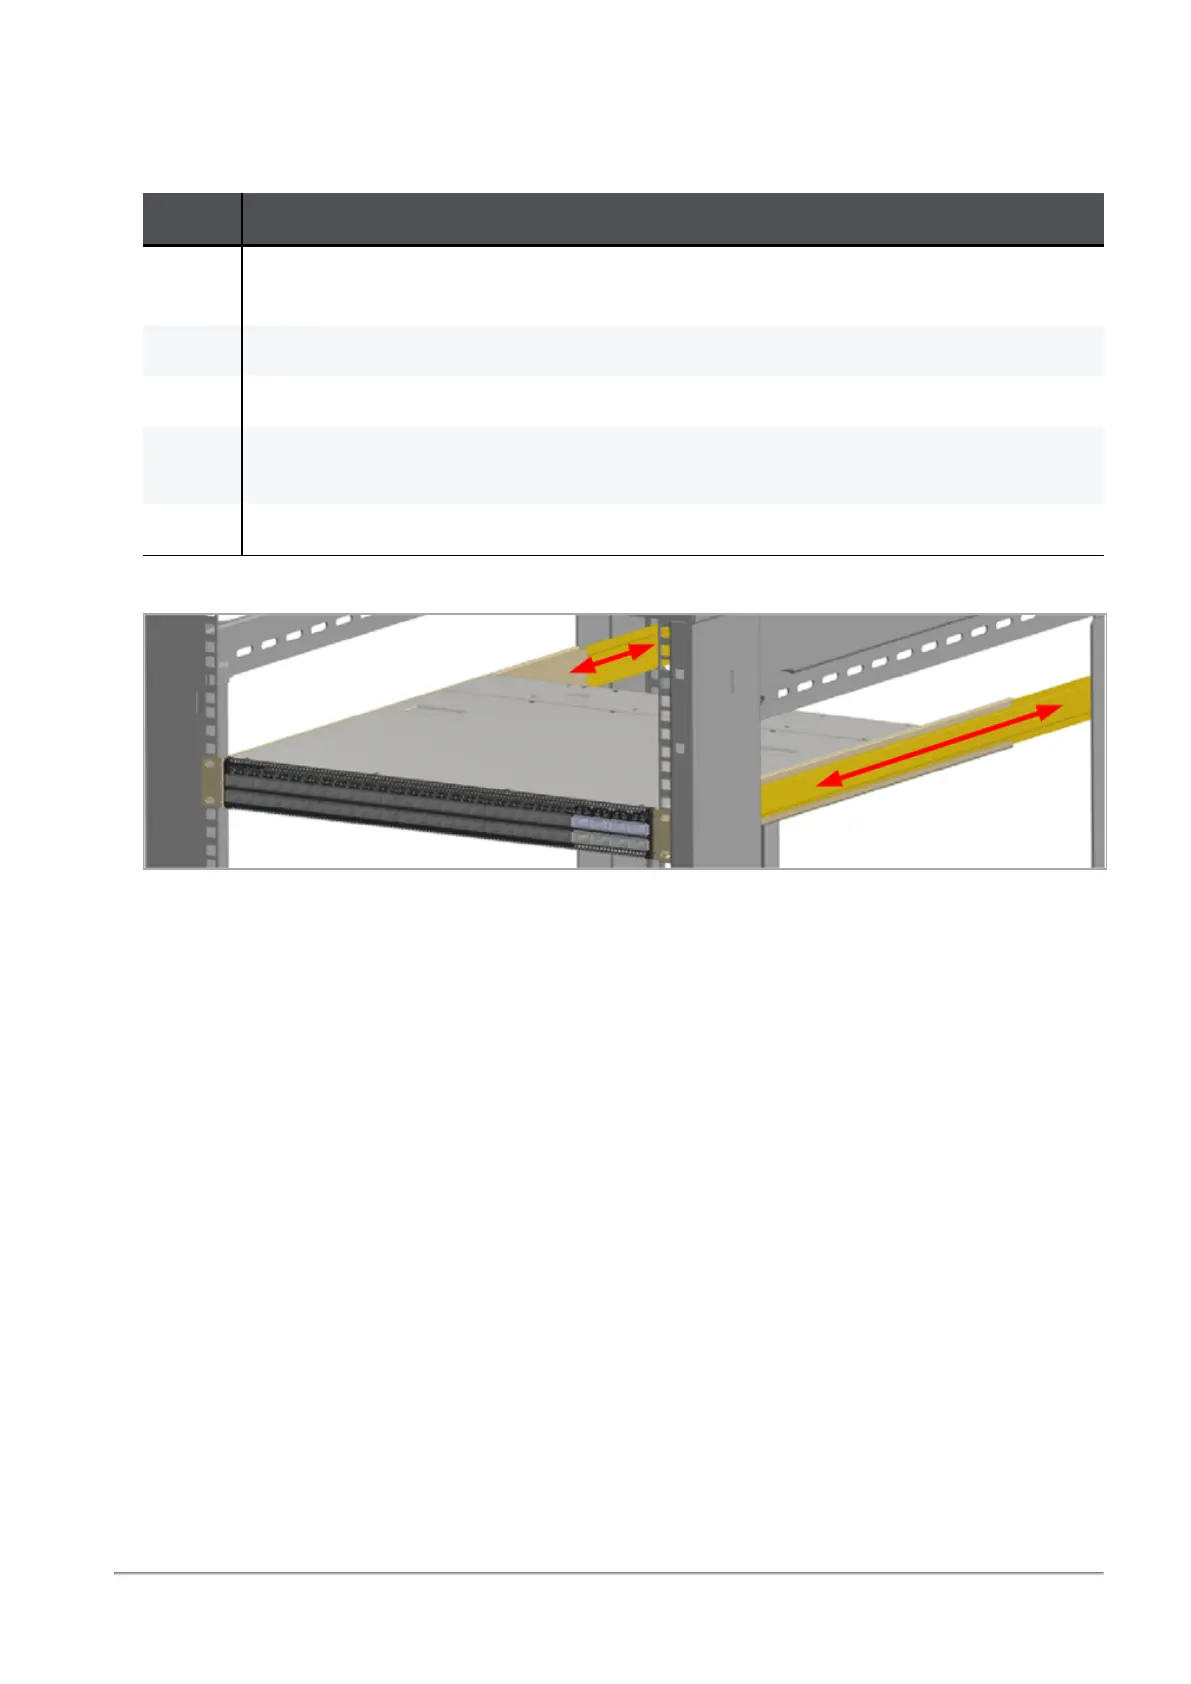
Step 5: Sliding the Blades in the Rails
While your installation partner is supporting the Quantum Maestro Orchestrator, perform these steps:
Step Instructions
1 Slide each rack mount rails (A) into the corresponding rack mount blade (B).
Note - Make sure the rack mount rail ears (C) face the rack's posts correctly.
2 Slide the rack mount rails (A) inside the rack mount blades (B) to fit your rack's depth.
3 Attach the rack mount rail ears (C) to the rack's posts.
4 Use the four Phillips pan head screws (E) to secure each rack mount rail ear (C) to each
side of the rack.
5 Do not tighten the screws yet.
Example:
Step 6: Tightening the Screws
While your installation partner is supporting the Quantum Maestro Orchestrator, tighten the eight Phillips
pan-head screws (E) you inserted in the previous steps.
To tighten the screws, use a torque of 4.5±0.5 Nm.