4.0 CONFIGURATION MENU
4-6 Cheetah Xi Programming Manual
Rev 1, 09/2013 P/N: 06-651
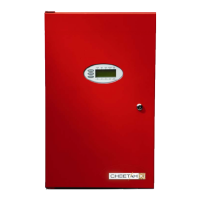
MODULE FUNCTIONALITY - SELECT DEVICE
This function setting requires a state broadcast matching the activation state to come from the selected
device loop-address shown in Row A before the control modules output will activate.
1 2 3 4 5 6 7 8 9 0 1 2 3 4 5 6 7 8 9 0
A
1 - 0 0 1 : C O N T R O L M O D U L E
B
F U N C : * S E L E C T D E V I C E
C
C U S T O M M E S S A G E 1 - 0 0 1
D
L O O P : 0 ADR : 0 0 1P:*
Exhibit 4-8: Select Device Function Screen
• Row D -These fields allow you to select the loop and address of a specific SLC device that will
activate the selected control module. Use the ◄► arrow keys to position the cursor under any of
the fields; then use the +/- keys to change to a different loop or address number.
P:X allows you to select the activation pattern for the modules output, where X signifies:
0 = OFF F = FAST
1 = ON T = TEMPORAL
S = SLOW W = WALKTEST)
Use the ◄► arrow keys to position the cursor under pattern field; then use the +/- keys to change
the activation pattern.
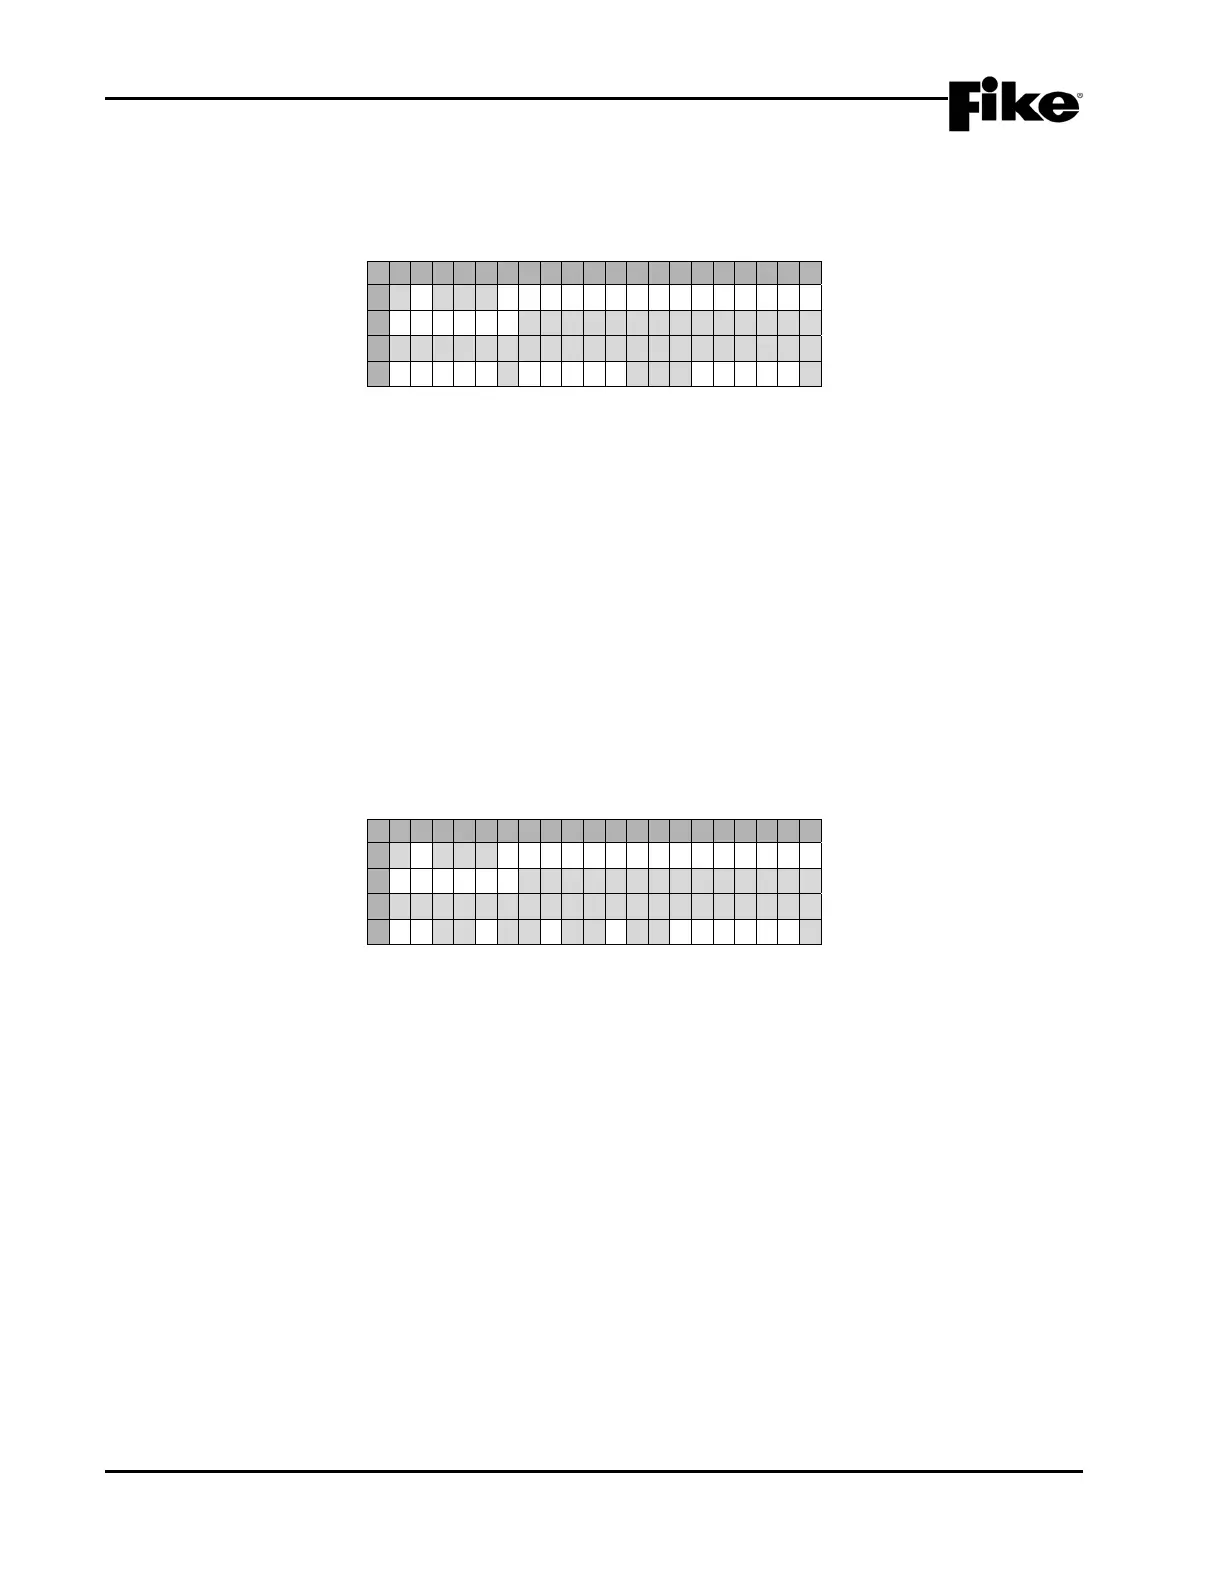
MODULE FUNCTIONALITY - ROW ANDING
This function setting requires all of the priority rows specified in Row D to become active before the control
modules output will activate.
1 2 3 4 5 6 7 8 9 0 1 2 3 4 5 6 7 8 9 0
A
1 - 0 0 1 : C O N T R O L M O D U L E
B
F U N C : * R O W A N D I N G
C
C U S T O M M E S S A G E 1 - 0 0 1
D
R : 0 0 0 0 0 0 0 0P:*
Exhibit 4-9: Row Anding Function Screen
• Row D - These fields allow you to select the priority rows that must be active before the output of the
selected control module activates. Use the ◄► arrow keys to position the cursor under any of the
fields; then use the +/- keys to set the priority row.
P:X allows you to select the activation pattern for the modules output, where X signifies:
0 = OFF F = FAST
1 = ON T = TEMPORAL
S = SLOW W = WALKTEST)
Use the ◄► arrow keys to position the cursor under pattern field; then use the +/- keys to change
the activation pattern.