4.0 CONFIGURATION MENU
4-34 Cheetah Xi Programming Manual
Rev 1, 09/2013 P/N: 06-651
4.5.2.1 HOW TO SET VESDA ALARM FEATURES
The VESDA Alarm Features option lets you configure the panel to recognize an air sampling detector via a
High Level Interface (HLI) module connection to the panel.
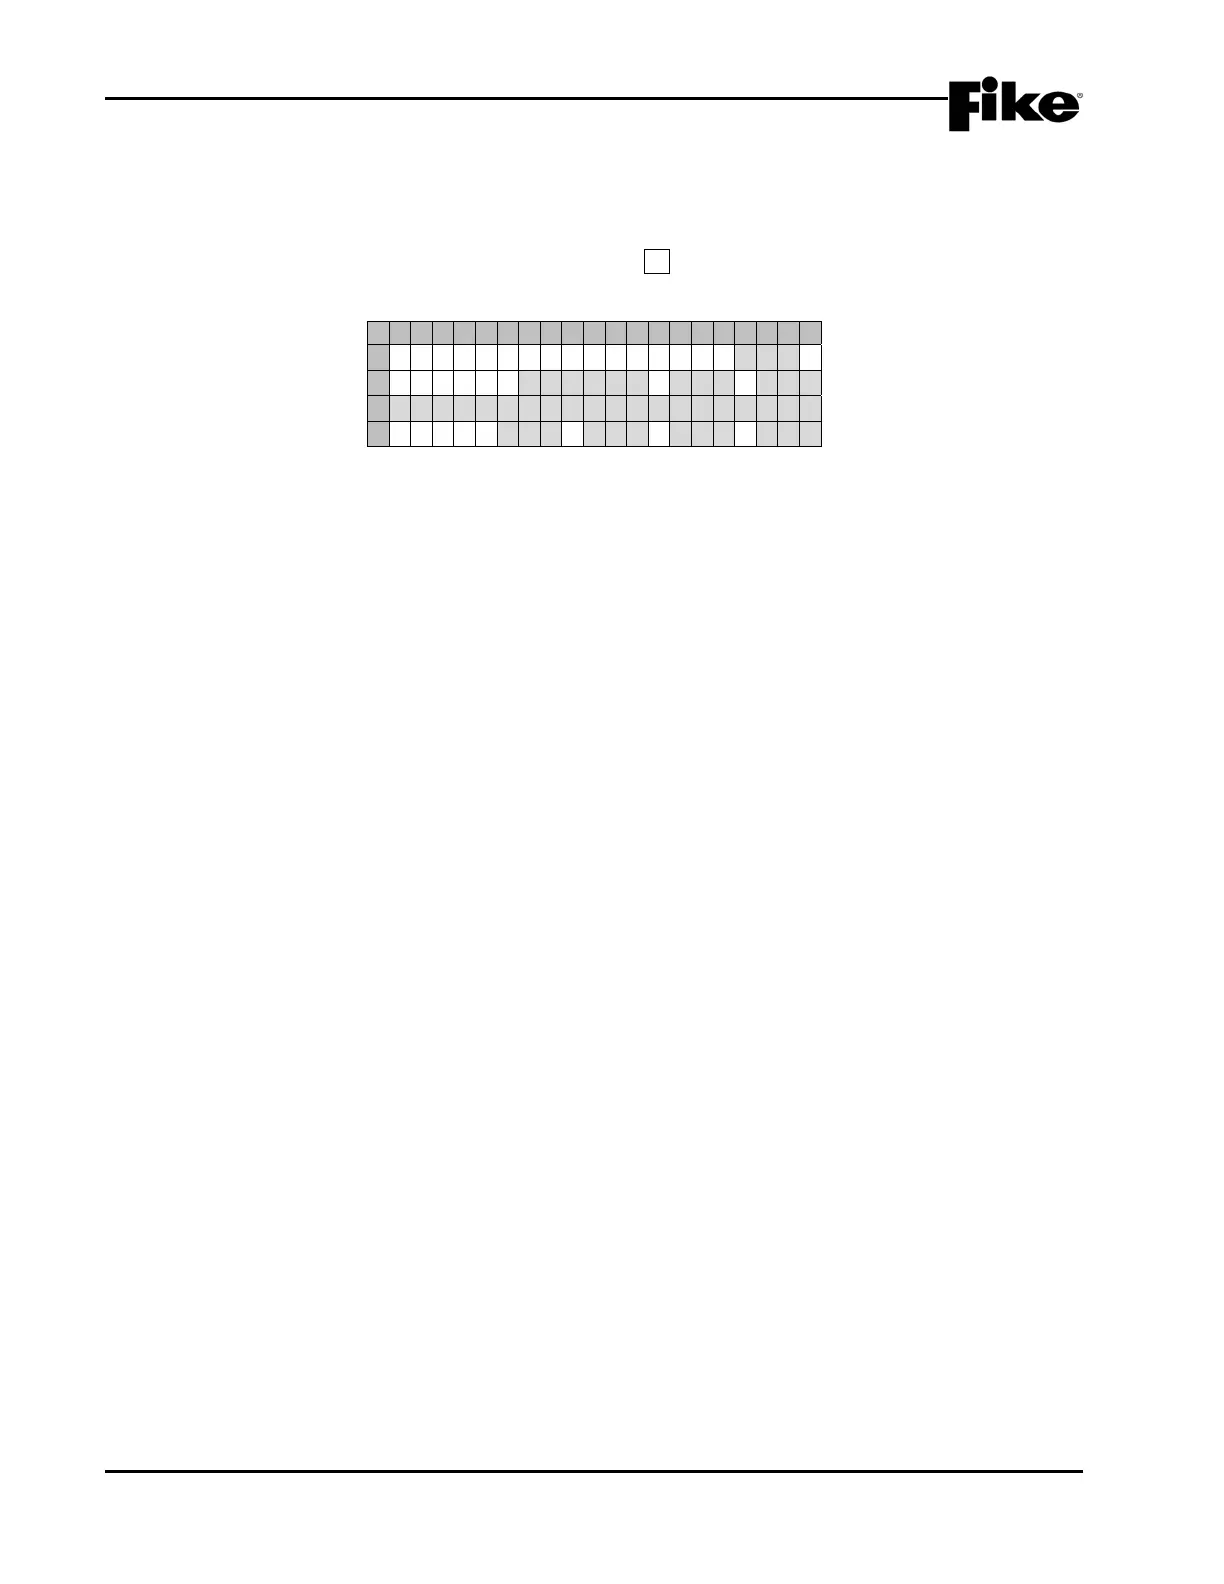
From the “VESDA Configuration Menu” screen, press the F1 key to access the “VESDA Alarm Features”
screen, as shown below:
1 2 3 4 5 6 7 8 9 0 1 2 3 4 5 6 7 8 9 0
A
V E S D A Z O N E N U M : 0 0 1
B
T Y P E : A L M E N A
C
C U S T O M M E S S A G E V Z 0 0 1
D
Z O N E: 0 0 0 0 0 0 0 0 0 0 0 0
Exhibit 4-54: VESDA Alarm Features Screen
• Row A - This field allows you to select the VESDA Detector Zone number to be configured. Use the
◄► arrow keys to position the cursor under the field; then use the +/- keys to change to a different
zone number.
LNote: The zone number set here corresponds to zone number assigned to the VESDA detector
during programming.
• Row B - The TYPE field allows you to select the VESDA Detector type associated with the selected
zone number from Row A. Use the ◄► arrow keys to position the cursor under the field; then use
the +/- keys to select the desired detector type.
The ALM field allows you to select the state of operation for the detector (ALM default). Use the
◄► arrow keys to position the cursor under the STATE field; then use +/- keys to select the state of
operation for the detector.
The ENA field allows you to select the Enable/Disabled state of the detector. Use the ◄► arrow
keys to position the cursor under the ENA field; then use the +/- keys to enable or disable that
detector
• Row C - This range of fields allows you to assign a Custom Message for detector that will be
displayed on the Cheetah Xi panel. Use the ◄► arrow keys to position the cursor under the field;
then use the +/- keys to cycle through all ASCII characters and display the desired character.
Repeat for each field until custom message is completed.
• Row D - These fields allow you to select up to four Cheetah Xi zones that this detector will
participate in. Use the ◄► arrow keys to position the cursor under each field; then use the +/- keys
to change zones to that desired. Repeat for each of 4 zones required. Remember, Zone 255 is
ANY Zone.