4.0 CONFIGURATION MENU
4-16 Cheetah Xi Programming Manual
Rev 1, 09/2013 P/N: 06-651
• Row C (00/00) - This field allows you to select specific voice message ID’s (primary/secondary) to
play during the PAS investigative period. Use the ◄► arrow keys to move cursor under the field;
then use the +/- keys to increment or decrement the field.
• Row D - This field allows you to set the Loop Wiring Style used for all 4 addressable loops (Style 4,
6 or 7). Use the +/- keys to change the field.
LNote: This is a system wide setting. All loops will be configured to use the selected wiring style.
If Style 6 or 7 is chosen and the loop is unused, jumpers must be installed to prevent open circuit
troubles.
4.2.3.1 HOW TO SET SLC COMMAND MODE FUNCTIONS
This screen allows you set how the Cheetah Xi will respond to SLC devices that have been inadvertently
locked into the “Command Mode”.
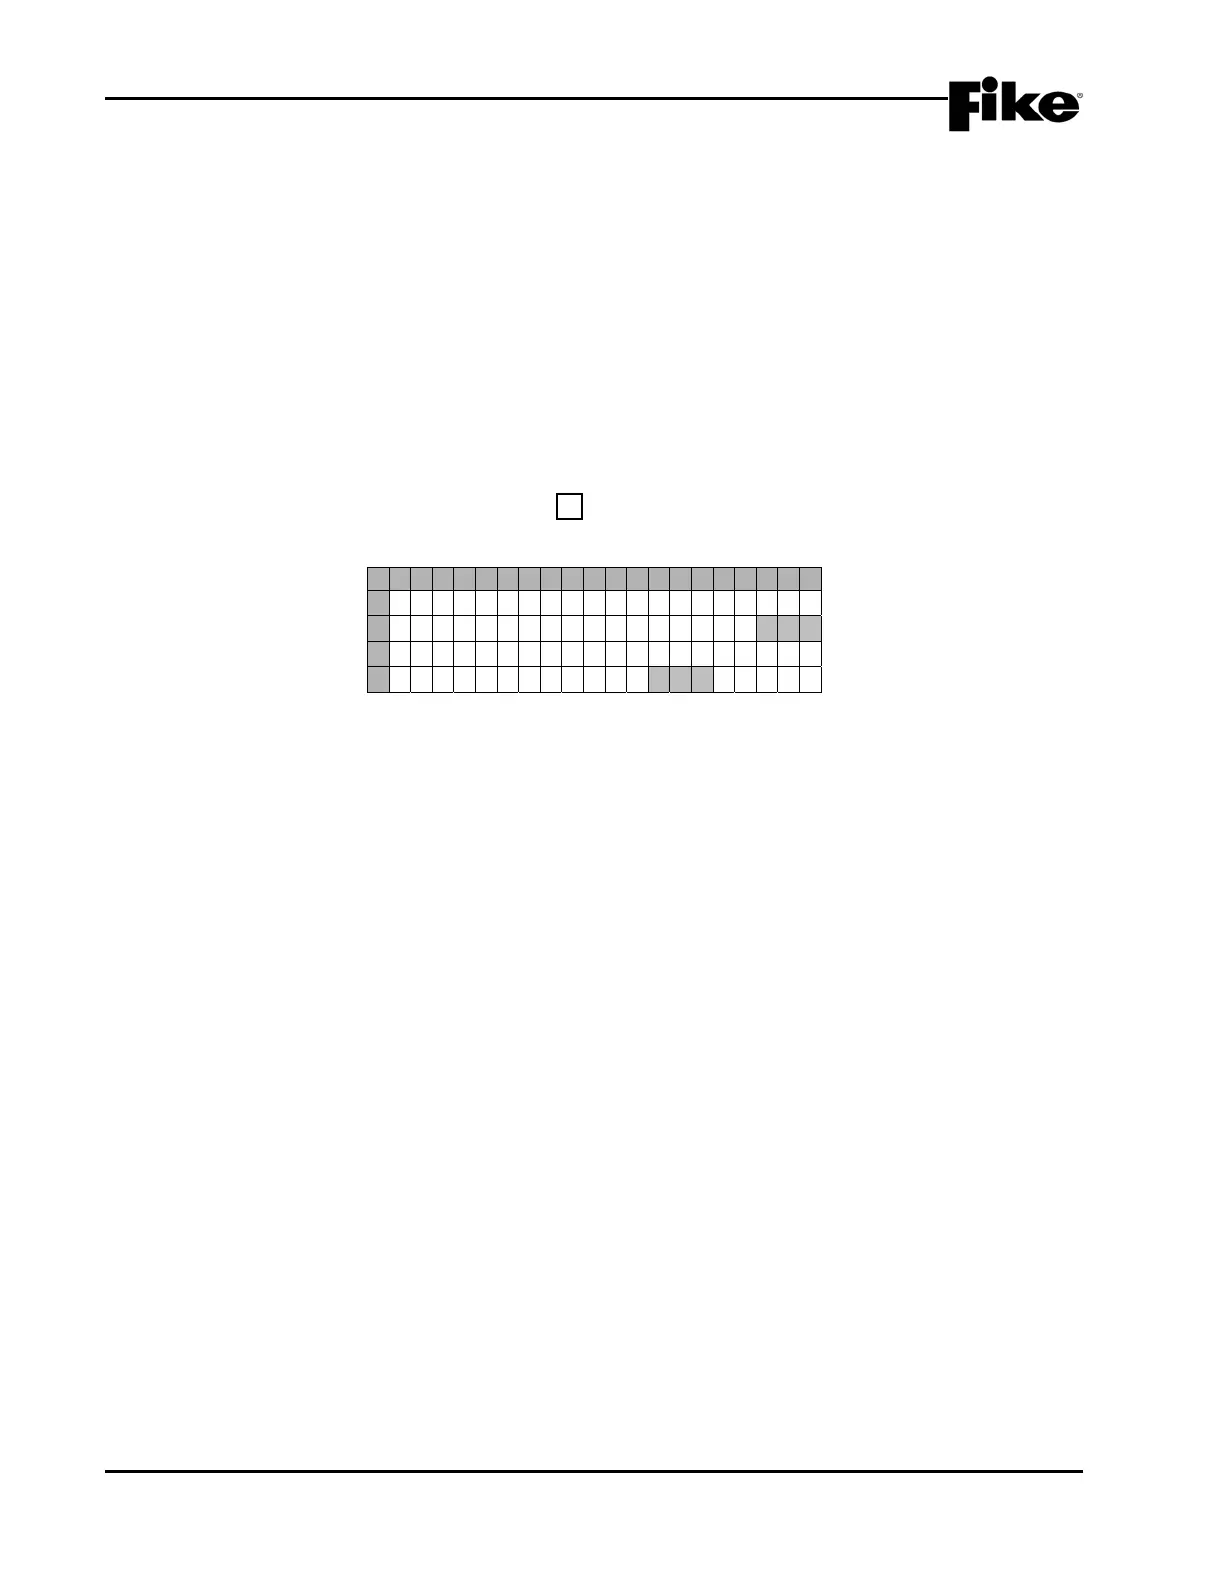
From the “SLC Configuration” screen, press the F1 key to access the “SLC Command Mode” screen, as
shown below:
1 2 3 4 5 6 7 8 9 0 1 2 3 4 5 6 7 8 9 0
A
S T O R E T R O U B L E F O R N O
B
N E W DEV I CE EVENT : N O
C
S E N D AUTO COMMAND
D
A T M I D N I G H T : N O
Exhibit 4-22: SLC Command Mode Screen
• Row B - This field allows you to set whether the panel will record a “DEVICE NOT READY” trouble
for all output devices (i.e. Control, Relay, and Release modules) that fail to report a “New Device”
message following a reset (YES/NO). If the “New Device” message is received, then “DEVICE
RETURN” will be recorded. The factory default condition is NO. Use the +/- keys to change the
field.
• Row D - This field allows you to set whether the panel will transmit an “AUTO” command onto the
loops each midnight if no alarms, troubles, supervisory, pre-alarm, drill, or process states are active
(YES/NO). The factory default condition is NO. Use the +/- keys to change the field.
LNote: This feature ensures that output devices will act correctly in the event a device has been
inadvertently placed in the ‘Command Mode’.
 Loading...