4.0 CONFIGURATION MENU
Cheetah Xi Programming Manual 4-19
P/N: 06-651 Rev 1, 09/2013
4.3 CONFIGURATION MENU 2
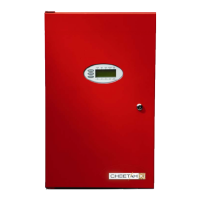
From the “Configuration Menu 1” screen, press the F6 key to access “Configuration Menu 2” screen, as
shown below:
1 2 3 4 5 6 7 8 9 0 1 2 3 4 5 6 7 8 9 0
A
C O N F I GURAT I ON MENU 2
B
F 1 - T I M E F 4 - D A Y S E N
C
F 2 - S I L E N C F 5 - Z O N E
D
F 3 - P O W E R F 6 - M E N U 3
Exhibit 4-28: Configuration Menu 2
F1 = System Time Control Screen
F2 = System Silence Screen
F3 = System Power Screen
F4 = System Day/Night Sensitivity Screen
F5 = Zone Enable/Disable Screen
F6 = Configuration Menu 3
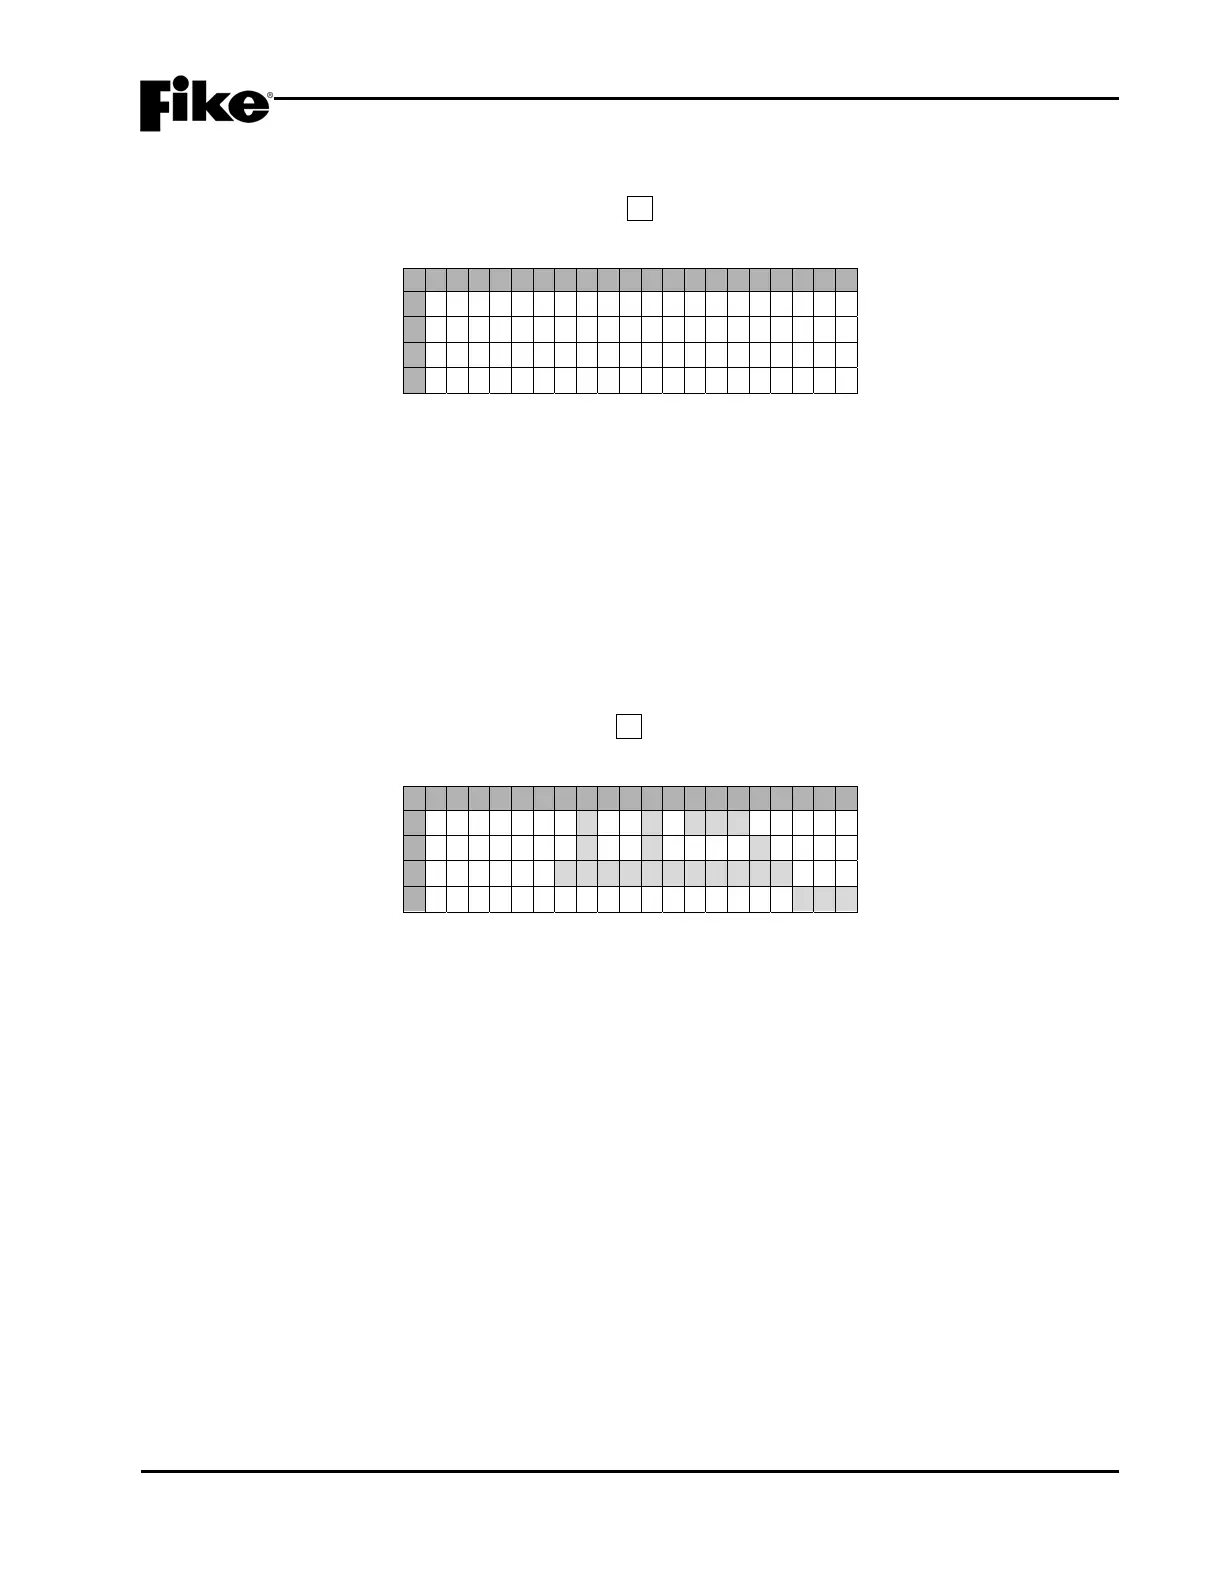
4.3.1 HOW TO SET SYSTEM TIME AND DATE
The “Time Control” screen allows you to change the system time, date, day and daylight savings time.
From the “Configuration Menu 2” screen, press the F1 key to access the “Time Control” screen, as shown
below:
1 2 3 4 5 6 7 8 9 0 1 2 3 4 5 6 7 8 9 0
A
T I M E : H H:MM:S S AM
B
D A T E : M M/DD / YYYY
C
D A Y : D A Y O F W E E K
D
D A Y L I G H T S A V I N G S : Y E S
Exhibit 4-29: Time Control Screen
• Row A - This field allows you to set the Hour (HH), Minute (MM), Second (SS), and AM/PM values
for the system. Use the ◄► arrow keys to position the cursor under the field; then use the +/- keys
to increment/decrement the field to a different number.
• Row B - This field allows you to set the Month (MM), Day (DD), and Year (YYYY) values for the
system. Use the ◄► arrow keys to position the cursor under the field; then use the +/- keys to
increment/decrement the field to a different number.
• Row C - This field allows you to set the Day of the week for the system. Use the ◄► arrow keys to
position the cursor under the field; then use the +/- keys to increment/decrement the field to a
different day.
• Row D - This field allows you to set whether Daylight savings time will be recognized by the system
(Yes/No). Use the ◄► arrow keys to position the cursor under the field; then use the +/- keys to
toggle the status.