Section 3: Operation
Christie ACT User Manual 3-21
020-100129-05 Rev. 1 (02-2010)
When adding a subroutine to a library, the Subroutine Name window opens with the prefix of [device].
already populated in the text region. This is needed to connect the Subroutine to a selected device type. If you
remove this entry, the subroutine will not work as intended.
5. Click OK and then Save to save this new subroutine.
6. Select the Editor: Script tab.
7. Highlight a script from the Scripts list.
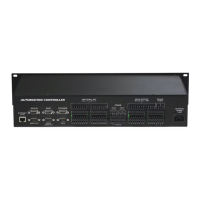
8. Click Add Action and then select CALL. The Call window opens.
9. Click the Subroutine button to open a list of options. The new subroutine will display (Figure 3-25).
3.9.3 Adding an Action to a Script or Library
The following instructions will guide you in adding various actions depending on the specific action selected.
To create an action, you must first create a Subroutine so that it appears in the Script area. Section 3.9.2 Adding
a Subroutine to a Script or Library.
1. Select the Editor: Script tab or the Editor: Library tab.
2. Highlight a subroutine or cue. Adding an action is only available when you have a subroutine or cue
selected.
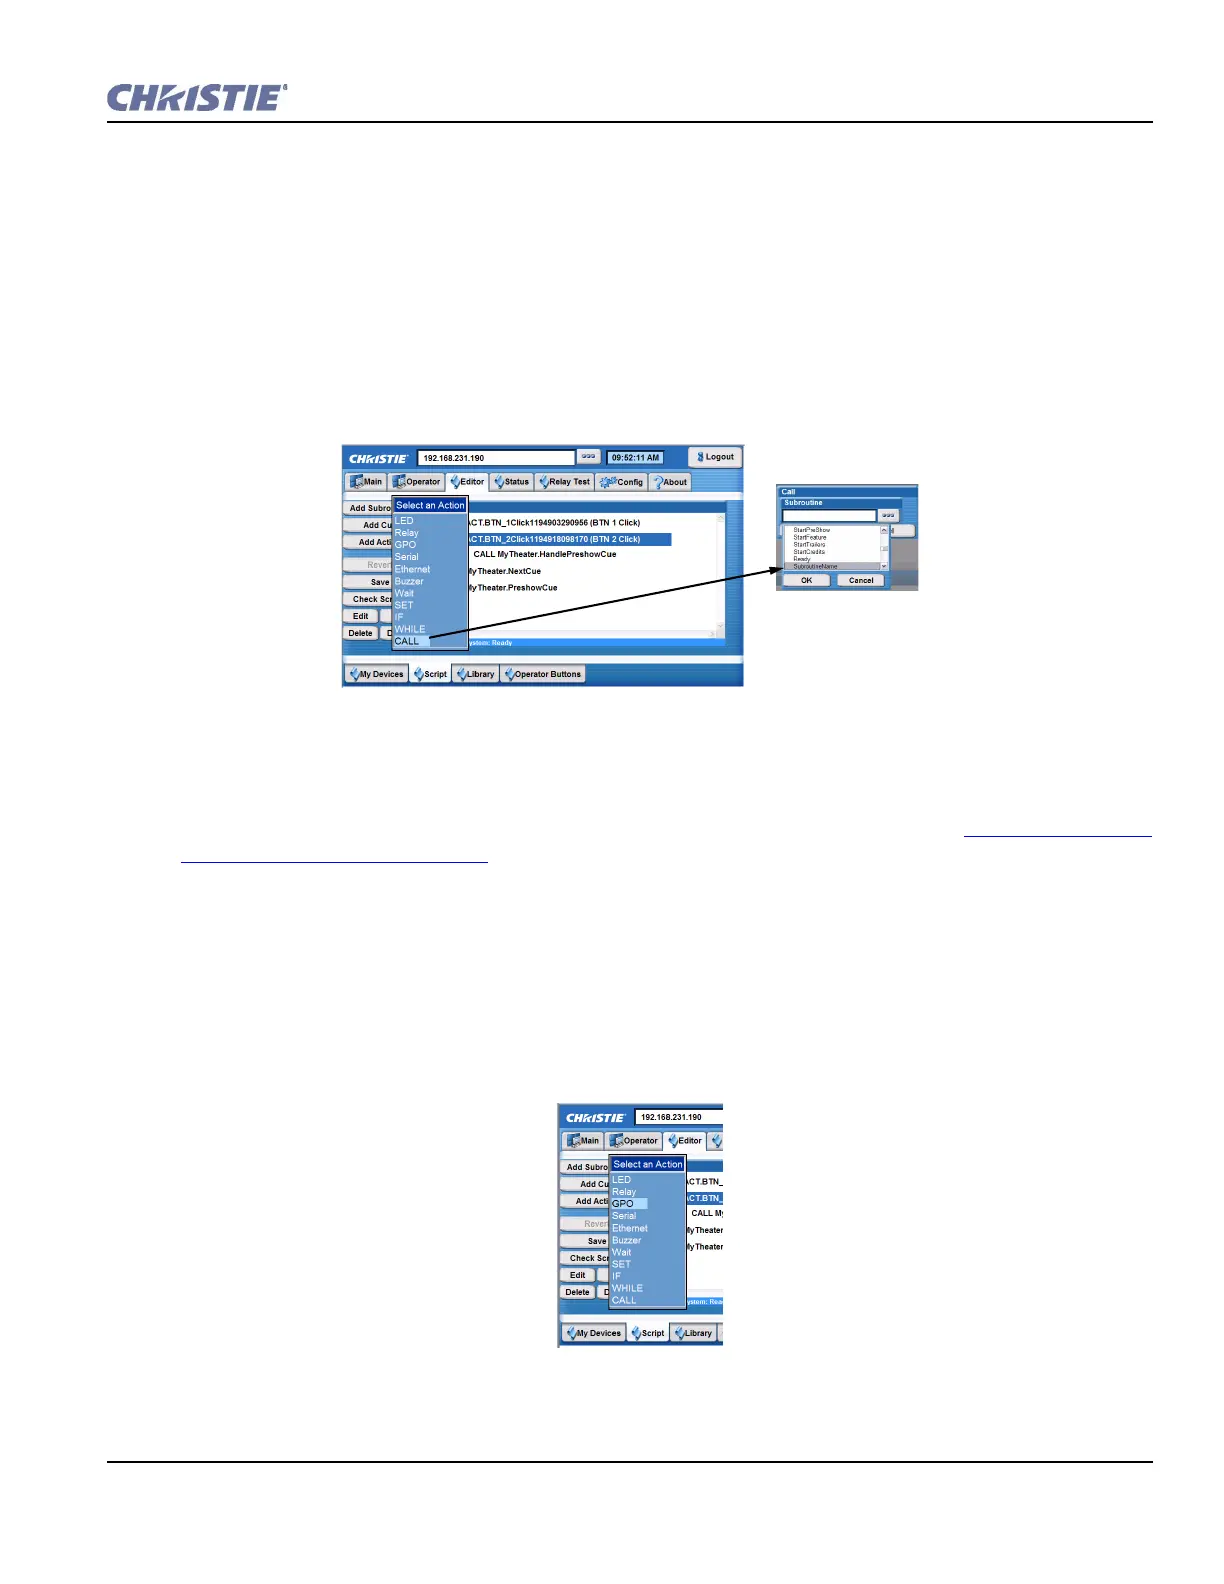
3. Click Add Action to open the Select an Action drop-down menu.
4. Select a specific action from the list to either open a window to configure that action (as in the GPIO
shown in Figure 3-26) or to select a predefined action (as in SubroutineName shown in Figure 3-25).
Figure 3-25 Displaying the New Subroutine
Figure 3-26 Adding a Call Action