33
Update
In order to establish a proper connection between computer and the scanner, it suggests
following these instructions –
1) Connect the scanner and computer with the provided interface cable. The scanner is
capable of detecting the interface.
If using the RS-232 cable, join the power supply cord.
If using the USB cable, it is set to USB HID by default.
If “USB Virtual COM” is desired, have the scanner read the setup barcodes.
Cable Auto-Detect
Defaults
Keyboard Wedge PCAT (US) for keyboard type
RS-232 115200 bps, 8 bits, No parity, 1 stop bit
USB USB HID and PCAT (US) for keyboard type
Note: Please make sure the cable using supports auto-detection. Check whether there is
a sticker on the cable, stating “Cable Detection Supported”.
2) Have the scanner read the “Enter Setup” barcode to enter the configuration mode.
3) Have the scanner read the associated barcodes to activate the desired interface.
See the following sections for output interfaces supported.
4) Have the scanner read the barcodes for related settings.
5) Have the scanner read the “Update” barcode to apply the settings and quit the
configuration mode.
IN THIS CHAPTER
2.1 Keyboard Wedge ....................................................... 34
2.2 RS-232 .................................................................... 44
2.3 Direct USB HID.......................................................... 49
2.4 Direct USB VCOM....................................................... 58
2.5 Direct USB VCOM_CDC ............................................... 60
Chapter 2
SELECTING OUTPUT INTERFACE
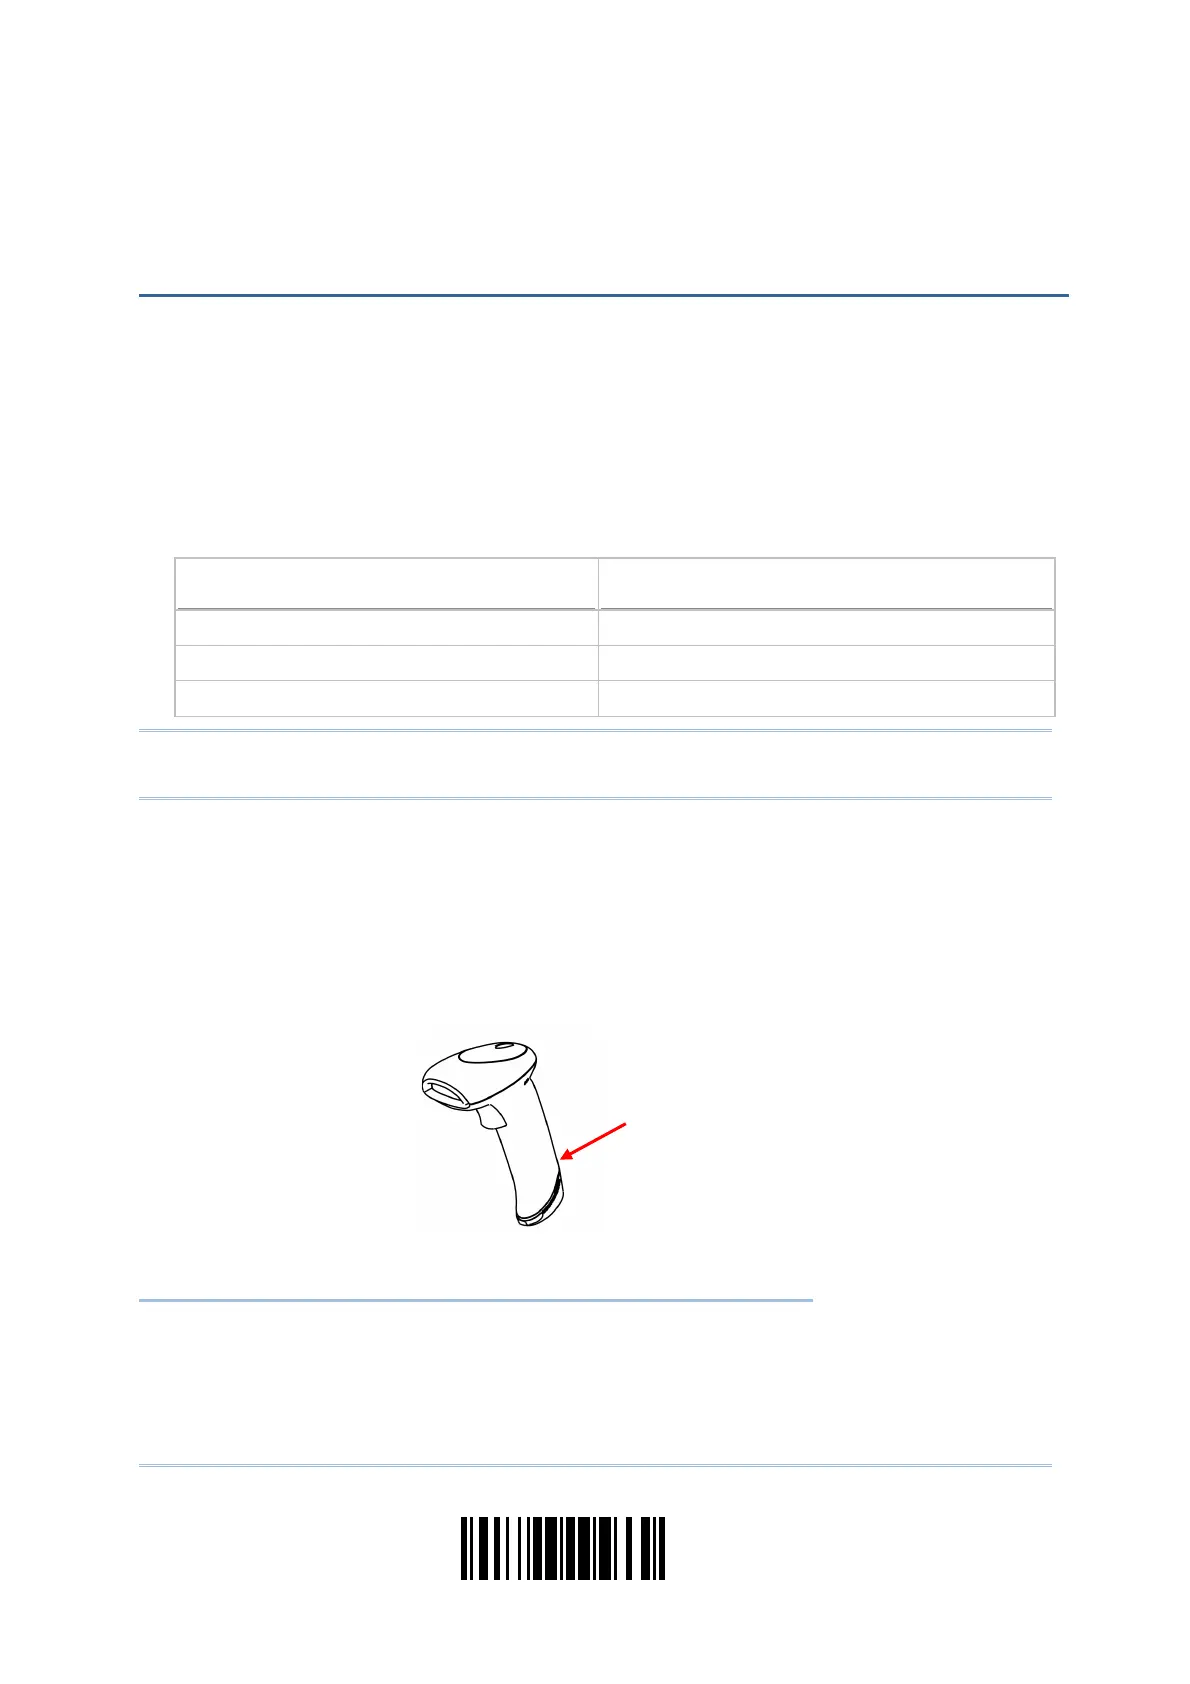
Insert a pin and press it hard to release
the interface cable.