Service Manual-CA60 38 Squeegee System (CA60 20B/24B) 78
11.
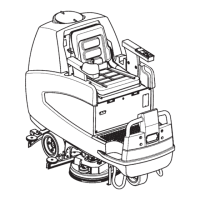
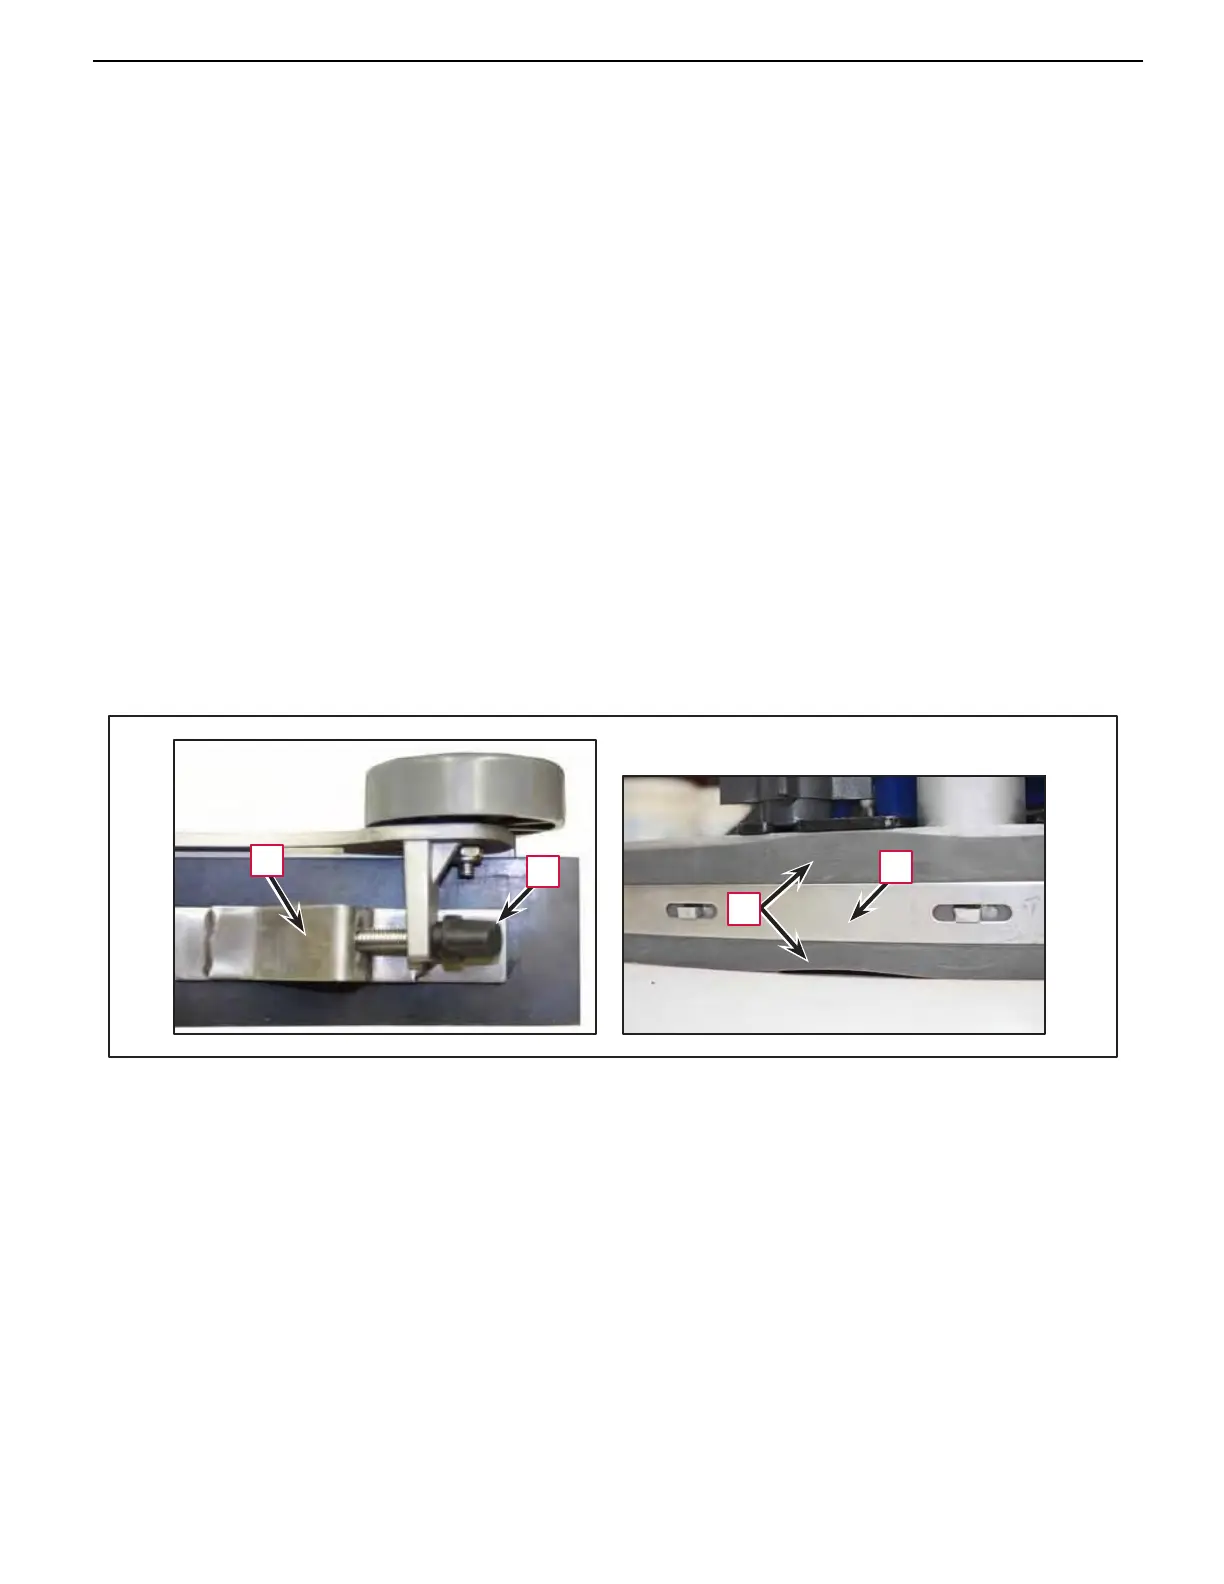
Loosen the clamping thumbscrew (P) on the rear strap (L), and remove the strap from the frame.
12.
Remove the rear squeegee blade.
– The squeegee can be rotated and/or flipped 3 times to expose a new edge (4 edges total) to the lower
front. If all 4 edges are worn, replace the squeegee blade with a new one.
13.
Lay the squeegee blade (M) over the frame (H), and make sure the tabs and slots (J) are aligned.
14.
Replace the strap (L) and retighten the clamping thumbscrew until the strap is tight against the frame.
15.
Rest the squeegee assembly flat on the floor and examine the edge of each blade (front/rear) to
make sure it is flat without any waves (N).
– Make this examination with the squeegee assembly still removed from the machine. There should be
no unnecessary downward force on the squeegee blades.
– If there are waves, loosen the strap and straighten the blade.
16.
Examine both front and rear squeegee blades to make sure they are the same height, and that both
blades rest flat on the floor when the squeegee frame is sitting level.
– Because the squeegee is curved, it is important that the blades be level with the frame, and then the
frame will be adjusted level to the floor in the next procedure.
17.
Reinstall the squeegee assembly to the machine.
18.
Perform the Squeegee Trim Adjustment Squeegee Trim Adjustment described on page 10
Instruction for Use.
L
P
G
N