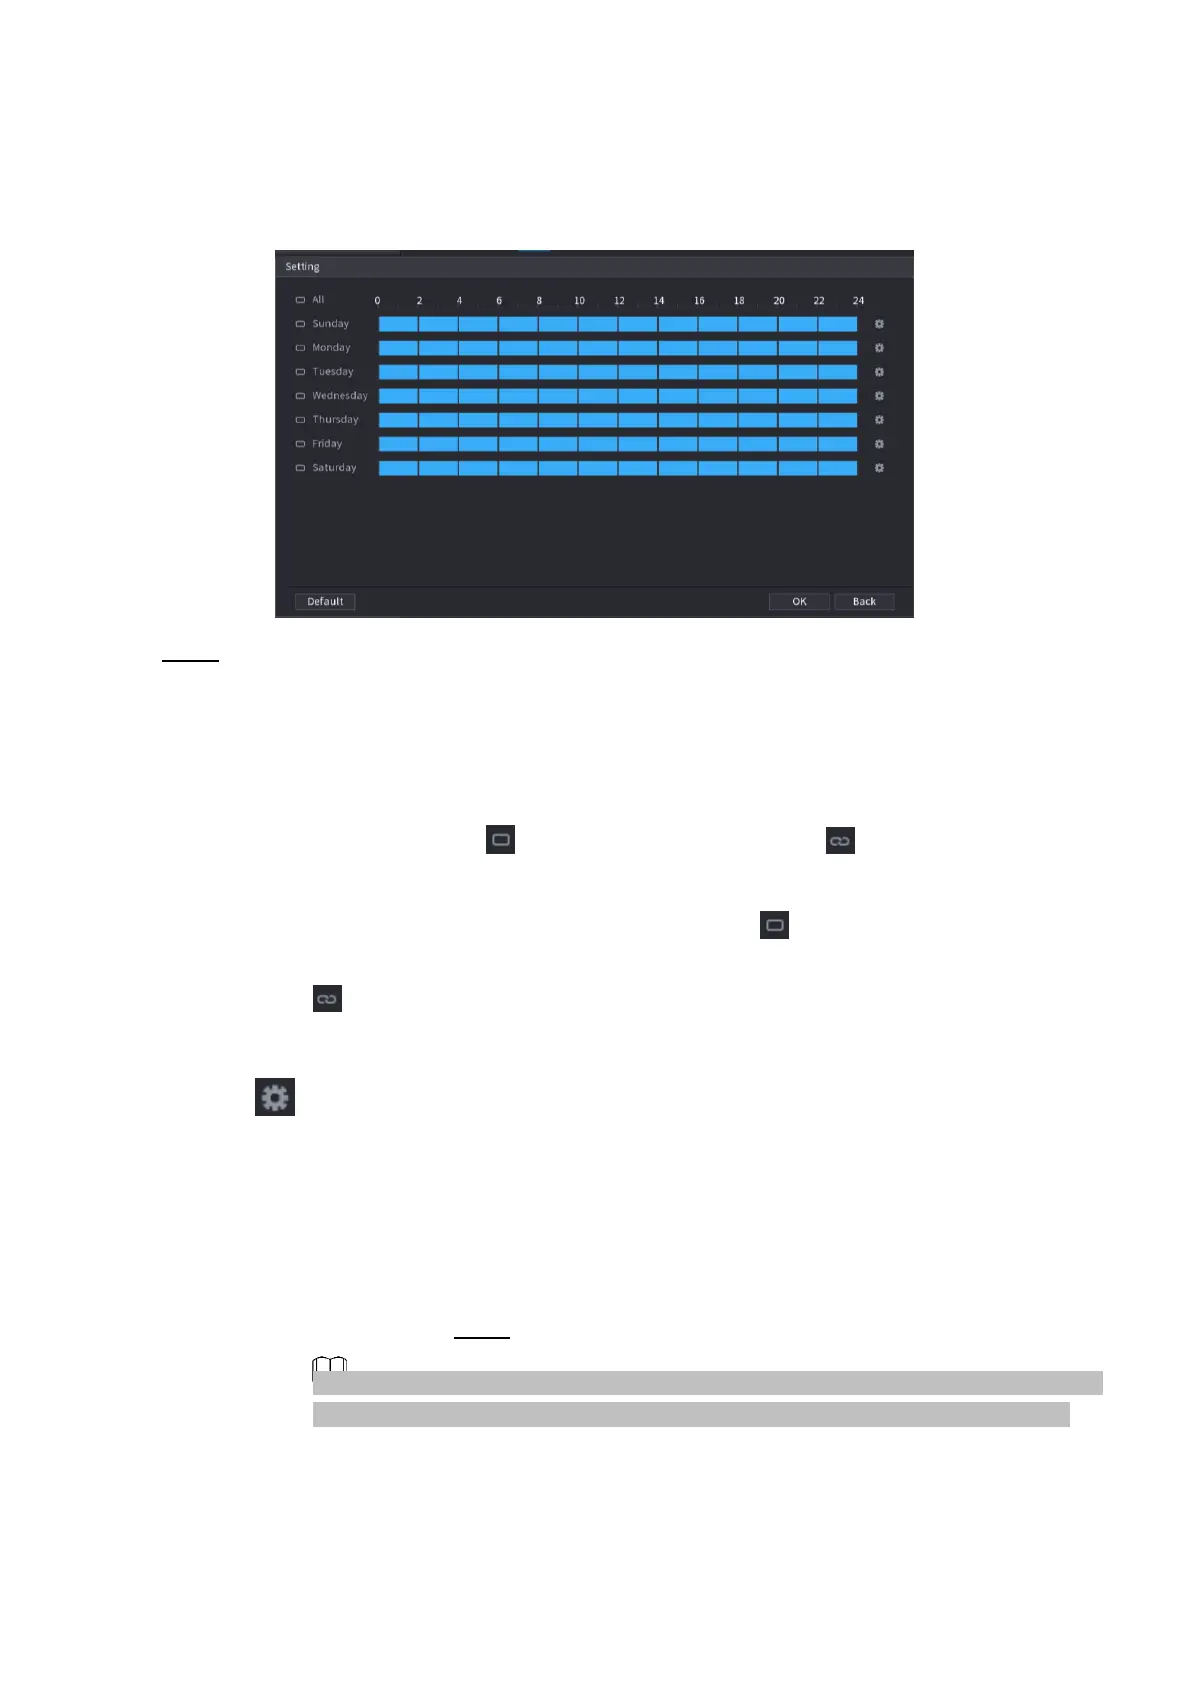
⚫ The Setting interface is displayed. See Figure 1-151.
⚫ Figure 1-151
⚫ Step 4 Set arm/disarm period. There are two modes for you to set the period so that the system can detect
the specified zone.
⚫ Define the period by drawing.
1. Select the corresponding date and then use mouse to drag the bar to set period. .
⚫ Define for the whole week: Click next to All, all the icon switches to , you can define the period
for all the days simultaneously.
⚫ Define for several days of a week: Click before each day one by one, the
⚫ icon switches to . You can define the period for the selected days simultaneously.
⚫ Define the period by editing.
1) Click the of the corresponding date, and then set the period on the pop-up interface. Click OK
to save.
⚫ There are six periods for you to set for each day.
⚫ Under Copy, select All to apply the settings to all the days of a week, or select specific day(s) that you
want to apply the settings to.
2) Click Apply to save the settings. Step 5 Click Apply button to complete setup.
1.7.2.7 ANPR
After set the heat map parameters, go to Main Menu > INFO > EVENT > HEAT MAP
to view heat map report. Refer to "4.7.1.8 Heat map" for detailed setup information.
⚫ System uses the video recognition technology to extract the plate number on the surveillance video and
then compare it with the specified plate information. System can trigger an alarm once there is a matched