Product Manual — Doc. 7750C TST-902 • 47
l
For preconstruction applications where mounting hardware (without a back box) will be
fastened to the left or right-hand stud of a framed wall prior to drywall installation, refer
to TST-902-DSW-PMK Installation on page 60.
l
For postconstruction applications where a back box will be installed into masonry or
concrete, refer to TST-902-DSW-BBI Installation on page 58.
l
For postconstruction applications where mounting hardware will be installed in an existing
framed wall or similar flat surface using a mud ring, refer toTST-902-DSW-WMKM
Installation on page 66.
l
For postconstruction applications where mounting hardware will be installed in an existing
framed wall or similar flat surface using a trim ring, refer to TST-902-DSW-WMKT
Installation on page 76.
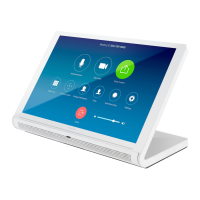
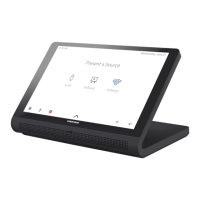
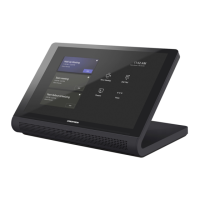
Install the TST-902-DSW
The following procedure assumes that the a TST-902-DSWmounting accessory has been
installed completely as described in Install the Mounting Hardware on page 46. For
preconstruction mounting hardware, it is also assumed that drywall is in place and a cutout for
the TST-902-DSWhas been made.
To install the TST-902-DSWwall dock:
1. Route the wiring for the TST-902-DSWpower connection through the rear of the
mounting hardware.
NOTE:The maximum wire size for the power connection is 18 AWG.
2. While holding the TST-902-DSW, connect the flying leads from the wiring to the 2-pin
power connector (24 G)on the rear of the TST-902-DSW.
3. Attach the TST-902-DSWto the mounting hardware using the four 6-32x1-1/2in. screws.
The following illustration shows the TST-902-DSWbeing attached to the
TST-902-DSW-BBback box as an example.
NOTE: The cradle for the touch screen on the TST-902-DSW should be in the closed
position during installation.