40D-Link DNR-322L User Manual
Section 3 - Conguration
Recording Schedule
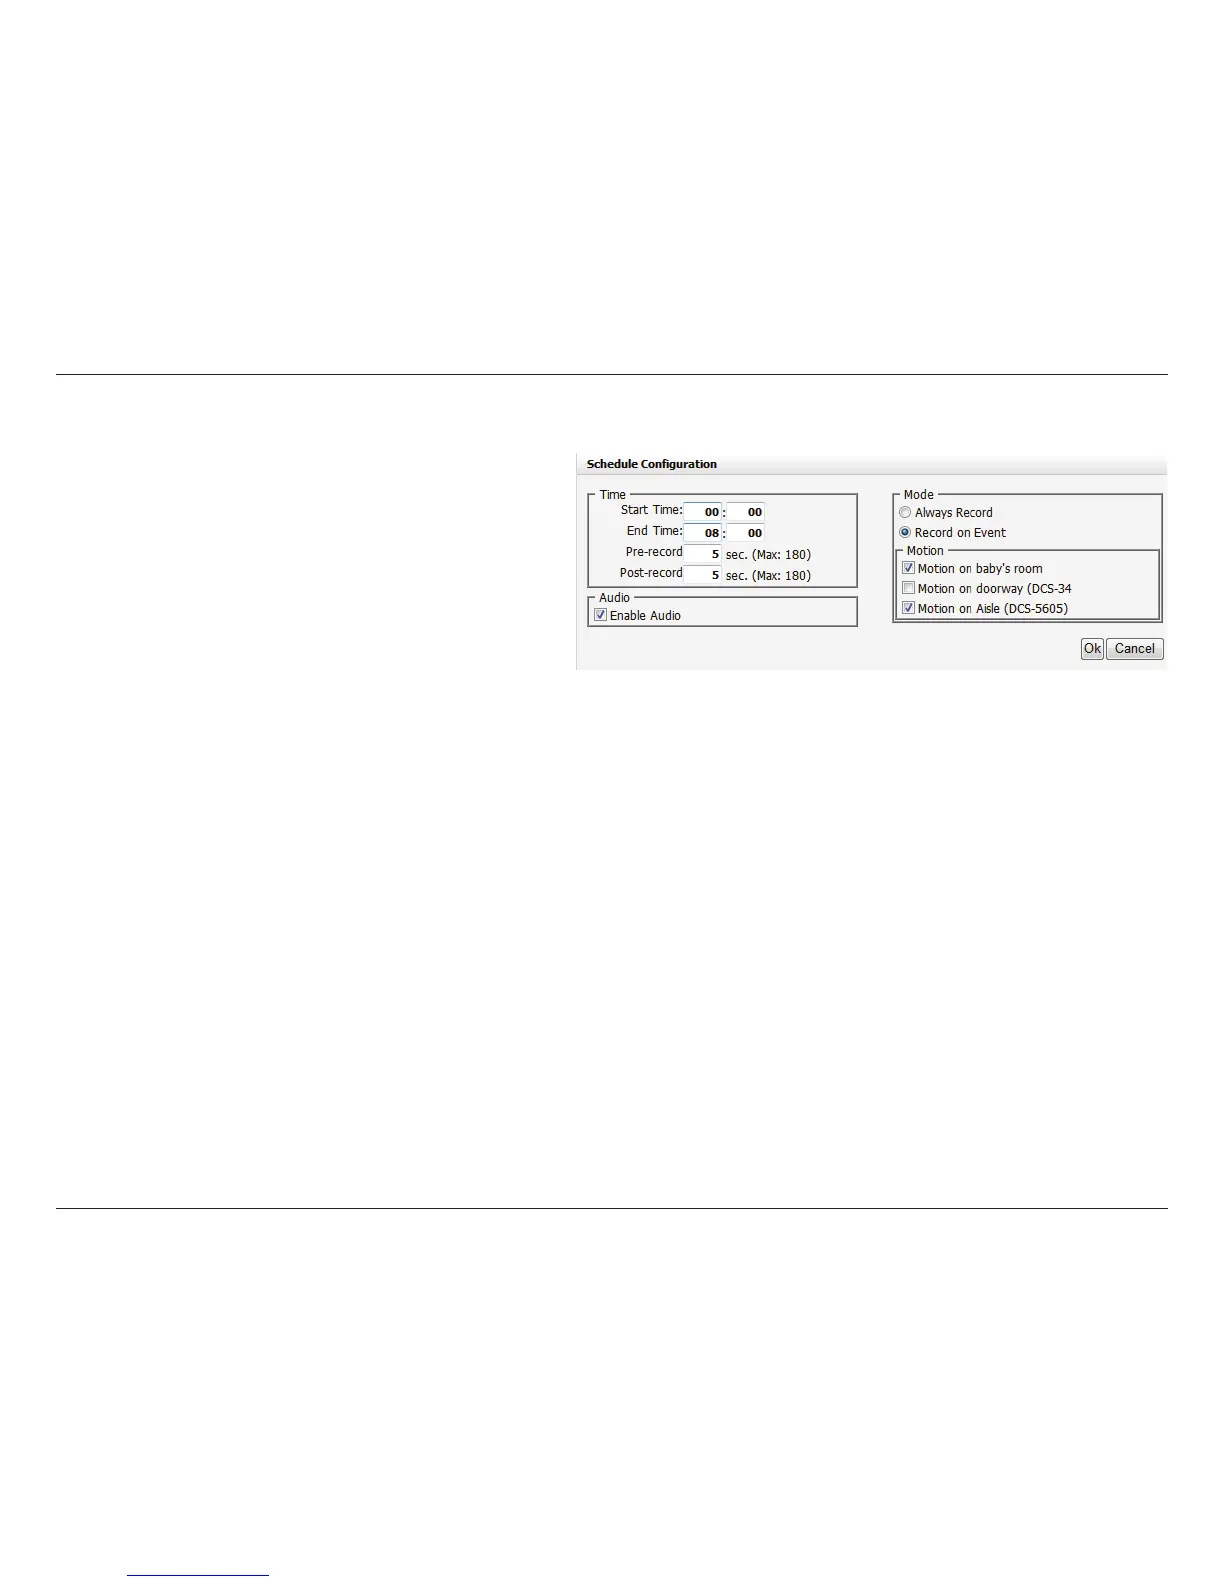
Set Recording Schedule Conguration
Step 1: Enter the desired Start Time and End Time.
Step 2: Enter pre-record period and post-record for event
trigger recording.
Step 3: Check the enable audio box to record audio from
your camera (if supported).
Step 4: Choose the recording mode and the trigger source.
Step 5: Press OK to add this new schedule.
Step 6: If you would like to add another new schedule, click the Insert button.
Note:
• WhenconguringtheMotionDetectionevent,besuretosetupthemotiondetectionfunctiononyourcamerarst.
• Afterchangingthemotiondetectionsettingsofyourcamera,besuretodisconnectthecamerafromtheNVRandthenre-connectittoupdate
all new changes.
• Alternativelyuserscandragthetimebartochangetherecordingperiod.TheredbarrepresentstheAlways Record feature and the blue bar
represents the Event Recording feature.
 Loading...