Local Configurations 140
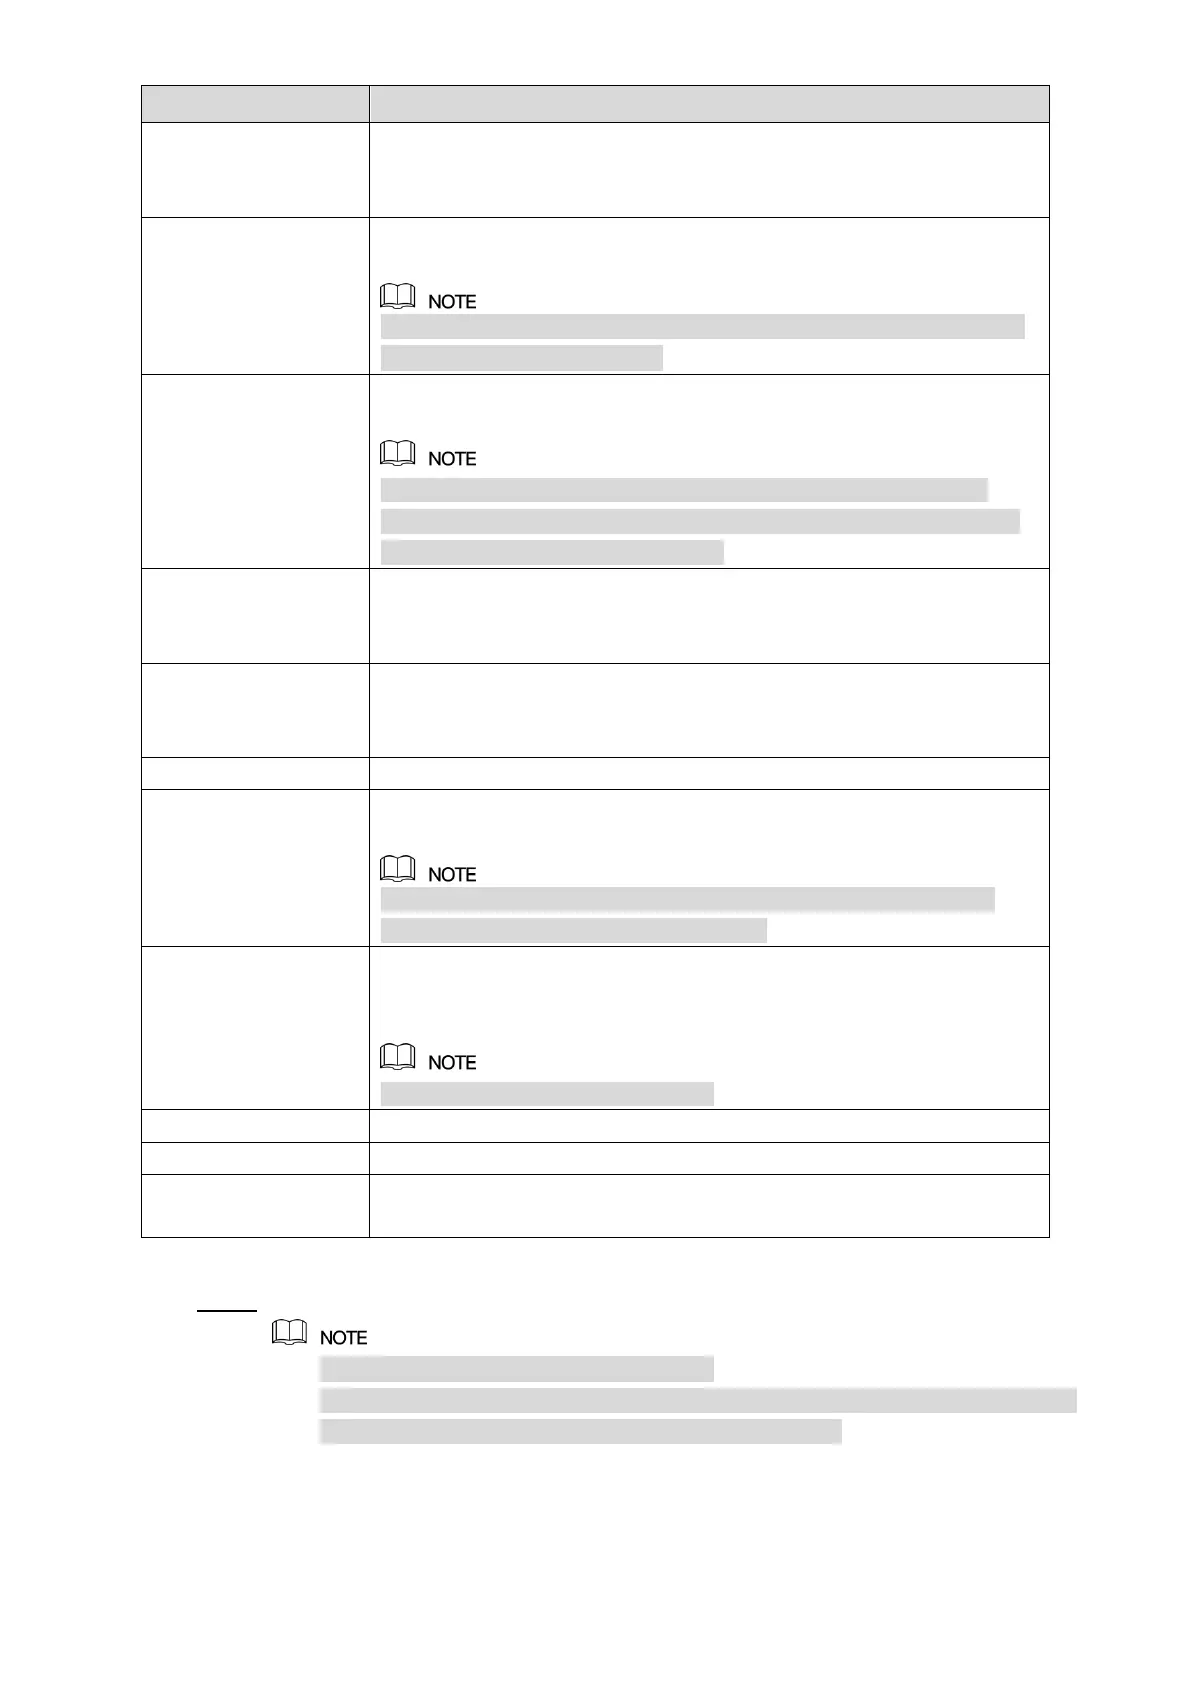
Select the Alarm Upload check box to enable the system to upload the
alarm signal to the network (including alarm center) when an alarm
event occurs.
Select the Send Email check box to enable the system to send an
email notification when an alarm event occurs.
To use this function, make sure the email function is enabled in Main
Menu > NETWORK > EMAIL.
Select the channel(s) that you want to record. The selected channel(s)
starts recording after an alarm event occurs.
The recording for alarm and auto snapshot must be enabled. For
details, see "5.1.4.9 Configuring Recorded Video Storage Schedule"
and "5.9.1 Enabling Record Control."
Click Setting to display the PTZ interface.
Enable PTZ activation function. For each PTZ camera, select the
preset that you want to be called when an alarm event occurs.
Set a length of time for the Device to delay turning off recording after
the alarm is cancelled. The value ranges from 10 seconds to 300
seconds, and the default value is 10 seconds.
Select the Tour check box to enable a tour of the selected channels.
Select the Snapshot check box to take a snapshot of the selected
channel.
To use this function, select Main Menu > CAMERA > ENCODE >
Snapshot, in the Mode list, select Event.
Select the check box to enable the function. When an alarm event
occurs, the video output port outputs the settings configured in "Main
Menu > DISPLAY > TOUR."
Not all models support this function.
Select the check box to activate a buzzer noise at the Device.
Select the check box to enable the Device to record a local alarm log.
Select to enable audio broadcast/voice prompts in response to a local
alarm event.
Table 5-35
Click Apply to complete the settings. Step 3
Click Default to restore the default setting.
Click Copy, in the Copy dialog box, select the additional channel(s) that you want
to copy the local alarm settings to, and then click Apply.
 Loading...