26 Installation Manual 3P291714-7H
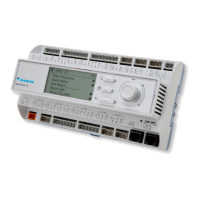
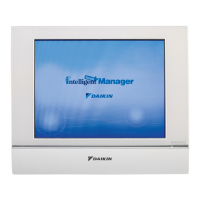
DCM601B51 intelligent Touch Manager
English
3 Installation
The intelligent Touch Manager can be installed in the following three ways:
• Wall mounting: The intelligent Touch Manager is hooked onto the wall mounting metal
plate secured to the wall.
• Flush wall mounting: The rear portion of the intelligent Touch Manager is embedded in
the wall.
• Direct mounting to control enclosure: The intelligent Touch Manager is directly installed
to the control enclosure using xing screws.
<Ways of installation>
Wall mounting Flush wall mounting Direct mounting to control enclosure
CAUTION
Install the intelligent Touch Manager at a height where the top of the intelligent
Touch Manager is within 2 meters of the oor.
3.1 Wall mounting
3.1.1 Parts to be used
To wall-mount the intelligent Touch Manager, use the following accessory mounting parts:
• Wall mounting metal plate, 1 pc.
• Round-head wood screw (φ4.1×25), 4 pcs.
• P-tight screw (φ3×8), 1 pc.
3.1.2 Installation procedure
Install the intelligent Touch Manager as shown in the gure below.
CAUTION
• The wall mounting metal plate has many holes for round-head wood screws.
Although you may use any of these screw holes, use ones closer to the edge
as much as possible to prevent wobbling.
• Secure the wall mounting metal plate at four points using the round-head wood
screws.
 Loading...
