Installation Manual 3P291714-7H
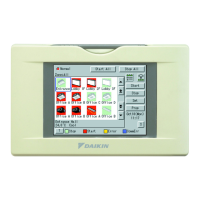
DCM601B51 intelligent Touch Manager
43English
5.1
Steps for enabling demand address setting and demand setting
Set the demand address.
1. Press the BS1 button for 5 seconds or more.
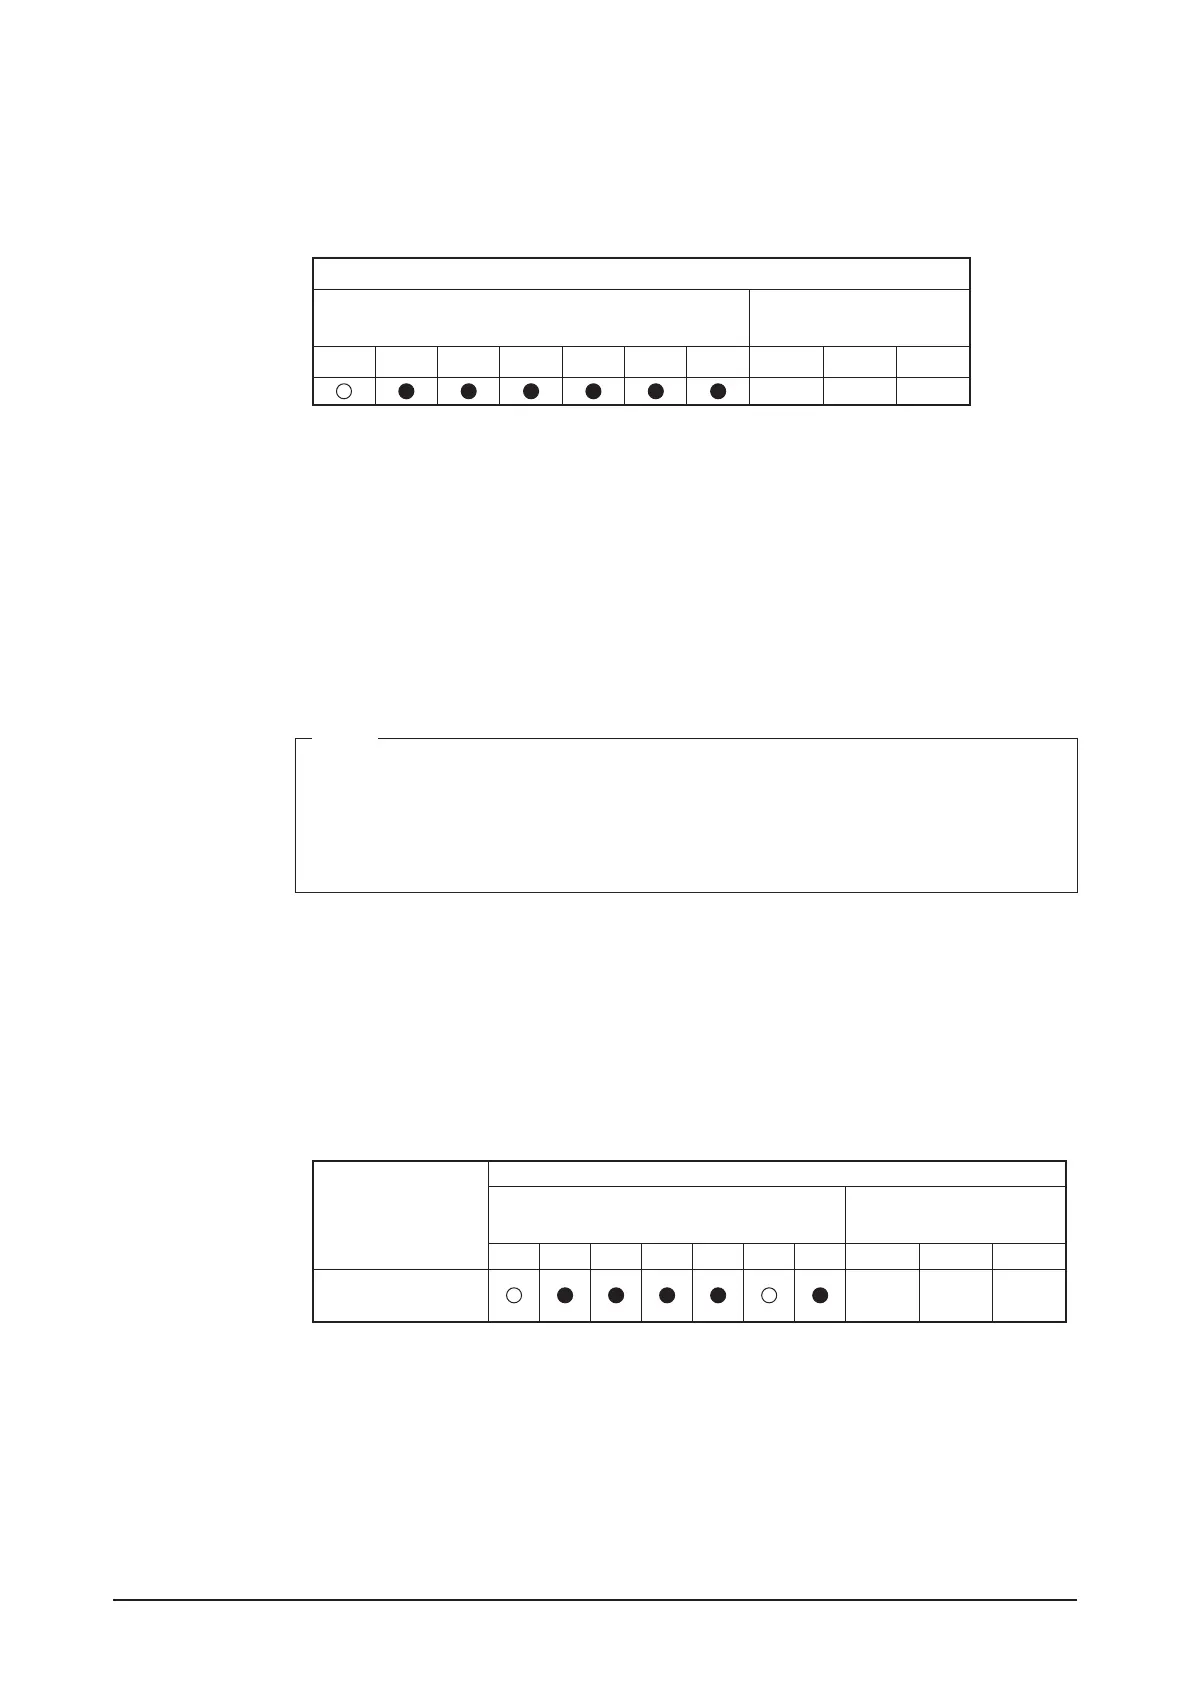
The LEDs and segments will be in the state shown below.
LED (segment) display
LED display’s outdoor unit
Segment display’s
outdoor unit
H1P H2P H3P H4P H5P H6P H7P SEG1 SEG2 SEG3
2 0 0
(Blinking)
2. Press the BS2 button 2 times. (Select the setting item.)
3. Press the BS3 button.
You can now conrm the current demand address setting by the LED (segment).
4. Press the BS2 button to change to any demand address.
(Set the demand address number within the range of 0 to 31.)
5. Press the BS3 button 2 times to x the demand address setting.
NOTE
• When using demand control and low noise control in a system that uses an External
Control Adaptor for Outdoor Unit, set either the iTM or the External Control Adaptor
for Outdoor Unit.
(For example, if you perform “demand control” with the iTM, do not perform “low noise
control” with the External Control Adaptor for Outdoor Unit.)
Next, enable the demand setting.
6. Press the BS2 button 12 times. (Select the setting item.)
7. Press the BS3 button. You can now conrm the current setting value (enabled/dis-
abled) by the LED (segment).
8. If disabled, press the BS2 button 1 time to change it to enabled.
The LEDs and segments will be in the state shown below.
Setting items
LED (segment) display
LED display’s outdoor unit
Segment display’s
outdoor unit
H1P H2P H3P H4P H5P H6P H7P SEG1 SEG2 SEG3
Demand setting
(enabled)
0 0 1
(Blinking)
9. Press the BS3 button 2 times to x the setting value.
10. Press the BS1 button 1 time to return to the normal mode.
 Loading...