Tally Dascom 5130P
11
1.6 Connecting the mains power
Checking the printer voltage
Make sure that the device has been set according to your country’s power supply voltage. To do this, check
the rating plate at the rear of the printer. Contact your dealer if the setting is incorrect.
Never switch on the printer if the voltage setting is incorrect; this may result in electrical
damage to the printer.
1. Make sure the printer and the computer are powered off.
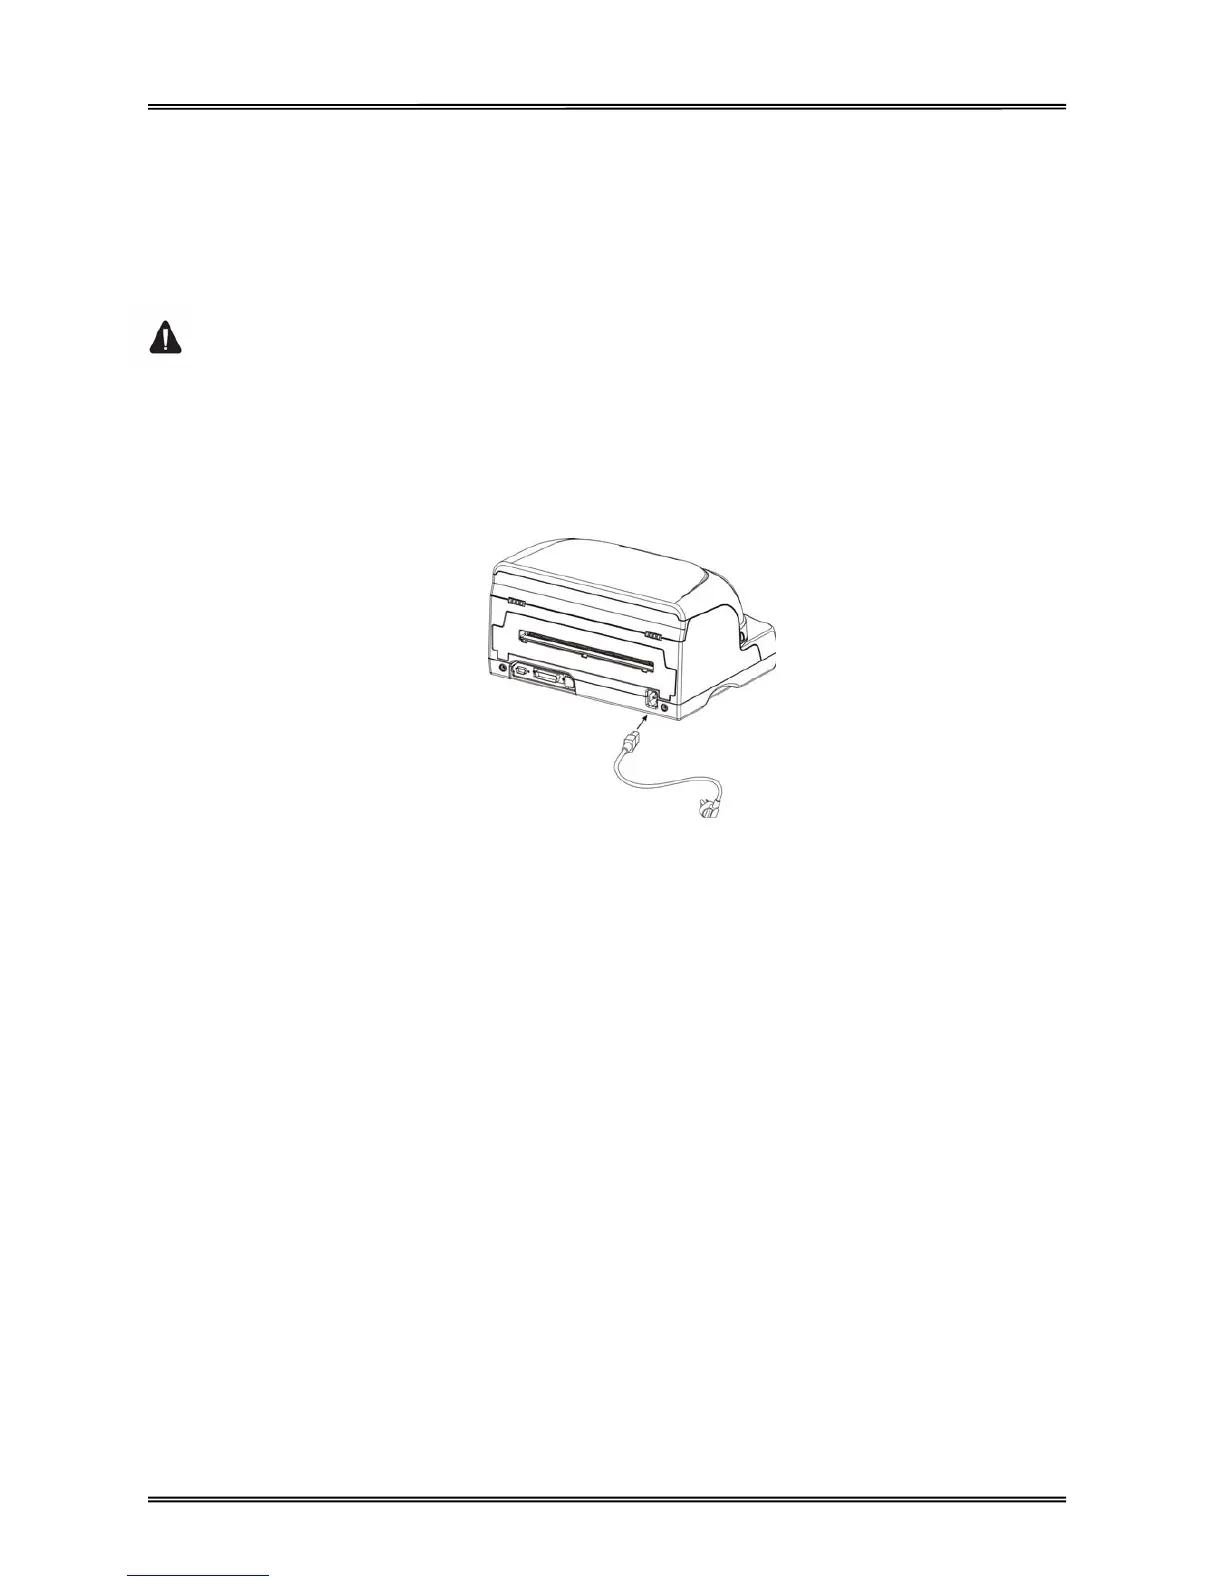
2. Connect the power cord to the power receptacle at the rear of the printer, shown as below. Ensure
the power cord is securely connected. Connect the power cord plug to a mains socket.
Power on and power off
1. Press the power switch to the “I” position to turn on the printer.
Upon power-on, all of the five LEDs light up briefly.
After initialization, only LED“ON/PAPER” retains ON in Olivetti emulation.
In Epson ESC/P2 and IBM emulation, LED“USER1” and LED“OFFLINE” retains ON while
LED“ON/PAPER” blinks.
2. Press the power switch to the “O” position to turn off the printer.
Note:
1. After switching off the printer, wait at least 5 seconds before powering on again. Otherwise, it may
cause damage to the printer.
2. Please disconnect the power cord if the printer will not be used for a long time.