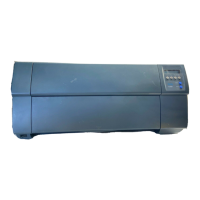
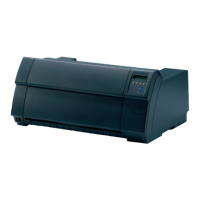
Tally Dascom 5130P
45
6 Troubleshooting and maintenance
Your printer is extremely reliable, but occasionally problems may occur. This chapter provides information
on some of the common problems you may encounter and how you may solve them. If you encounter
problems that you can not resolve, contact your dealer for assistance.
Read the following instructions before maintenance and avoid operating beyond your capacity, so as to
prevent injury to you and damage to the printer.
6.1 Troubleshooting
Print Quality Problems and Solutions
Problem Solution
Printing is too light or too dark.
• Make sure that the ribbon cartridge is properly installed and that
the ribbon fabric moves smoothly.
• Replace the ribbon cartridge if necessary.
Smears and stains appear on the
page.
• Check for ribbon wear. Replace the ribbon cartridge if necessary.
• Check whether the tip of the print head is dirty. Clean the head
with a soft cloth if necessary.
• The print head may need to be replaced.
Printing is erratic or the wrong
characters are printed. Many “?”
or unexpected characters are
printed.
• Make sure that the interface cable is securely connected to both
the printer and computer.
• Make sure that the printer driver selected in your software is the
same as the emulation selected on the printer.
• Check the length of the interface cable. (Maximum Parallel &
USB: 2 meters, Serial: 15 meters)
• Try another interface cable.
The page is blank. • Make sure that the ribbon cartridge is properly installed.
Printing is vertically misaligned
(jagged).
• Use the printer's vertical alignment function to check the vertical
print alignment. If necessary, adjust the print alignment.
The top margin is wrong.
• Check the application top margin setting.
• Adjust the Top Margin setting in Page Setup menu if necessary.
Lines are double spaced instead of
single spaced.
• Change the Auto LF setting in the System Setup menu to No.
The next print line starts where
the previous line ended instead of
at the left margin.
• Change the Auto CR setting in the System Setup menu to Yes.