Installing the system board tray
Prerequisites
1. Follow the safety guidelines listed in the Safety instructions.
2. Follow the procedure listed in the Before working inside your system.
3. Remove the air shroud.
4. Remove the front top cover.
5. Remove the cooling fan and fan cage assembly.
6. Remove the expansion card risers.
7. Remove the memory modules.
8. Remove the heat sink.
9. Remove the processors.
10. Remove the OCP card (if installed).
11. Remove the power supply units (PSU).
12. Remove the VSB
13. Disconnect cables that are connected to the components.
14. Remove the system board
Steps
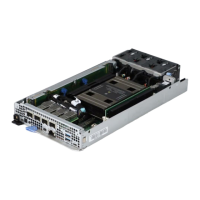
1. Holding the system board tray, align the holes on the system board tray with the guides on the chassis to ensure correct
orientation.
2. Lower the system board tray into place and press the touch points until the tray is fully seated on the chassis.
3. Flip in the blue release plunger to lock the system board tray to the chassis.
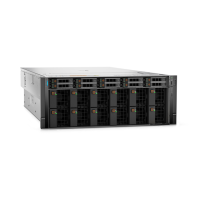
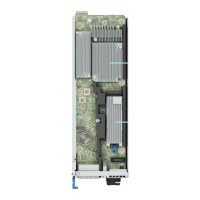
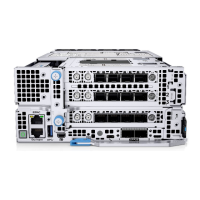
Figure 112. Installing the system board tray
Next steps
1. Replace the system board.
2. Follow the procedure listed in After working inside your system.
136
Installing and removing system components
 Loading...


