Installing the M.2 SSD module
Prerequisites
1. Follow the safety guidelines listed in Safety instructions.
2. Follow the procedure listed in Before working inside your system.
Steps
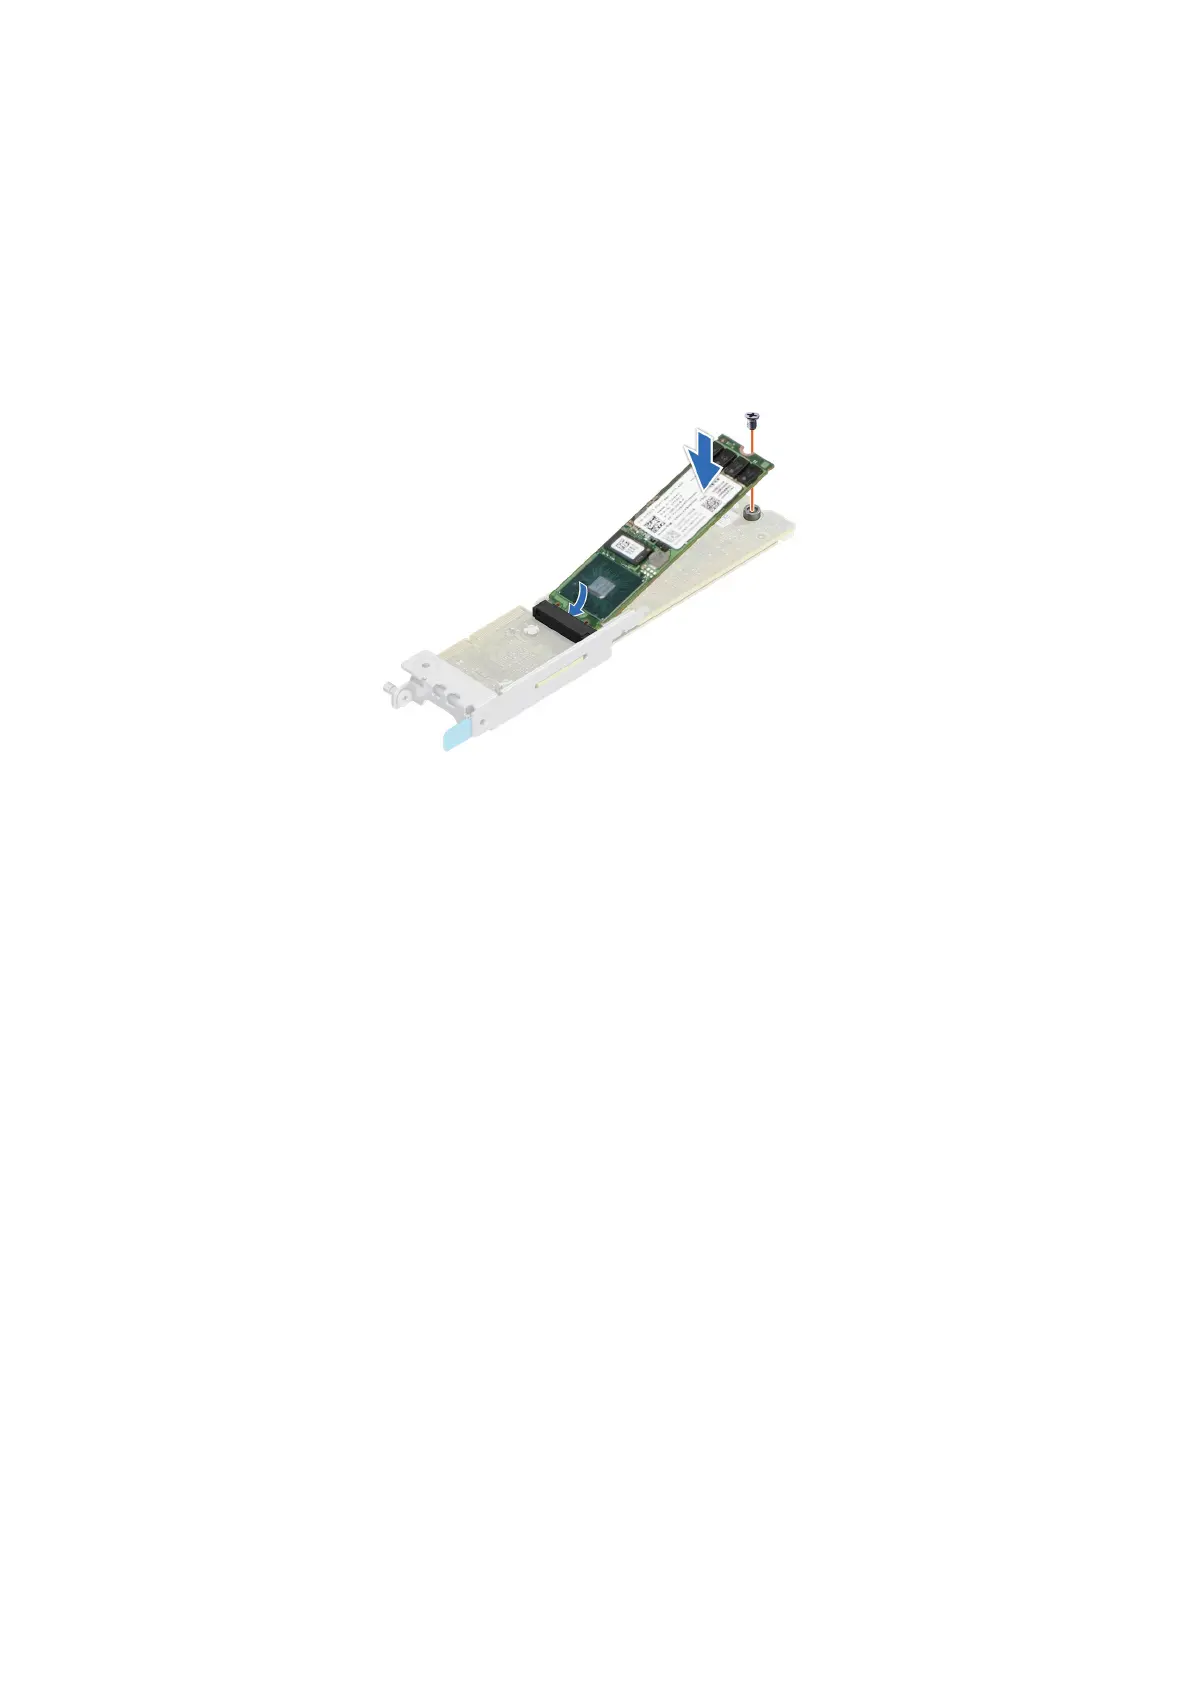
1. Align the M.2 SSD module connector with the connectors on the BOSS-N1 card.
2. Push the M.2 SSD module until the module is seated firmly on the BOSS-N1 card and secure it by installing the screw.
Figure 27. Installing the M.2 SSD module
Next steps
Follow the procedure listed in the After working inside your system.
M.2 riser module
Removing the M.2 riser module
Prerequisites
1. Follow the safety guidelines listed in Safety instructions.
2. Follow the procedure listed in Before working inside your system.
Steps
1. Using a Phillips 2 screwdriver, loosen the two captive screws that secure the M.2 riser.
2. Lift the riser using the blue touch point to disengage it from the connector on the system board.
Installing and removing system components
63

 Loading...


