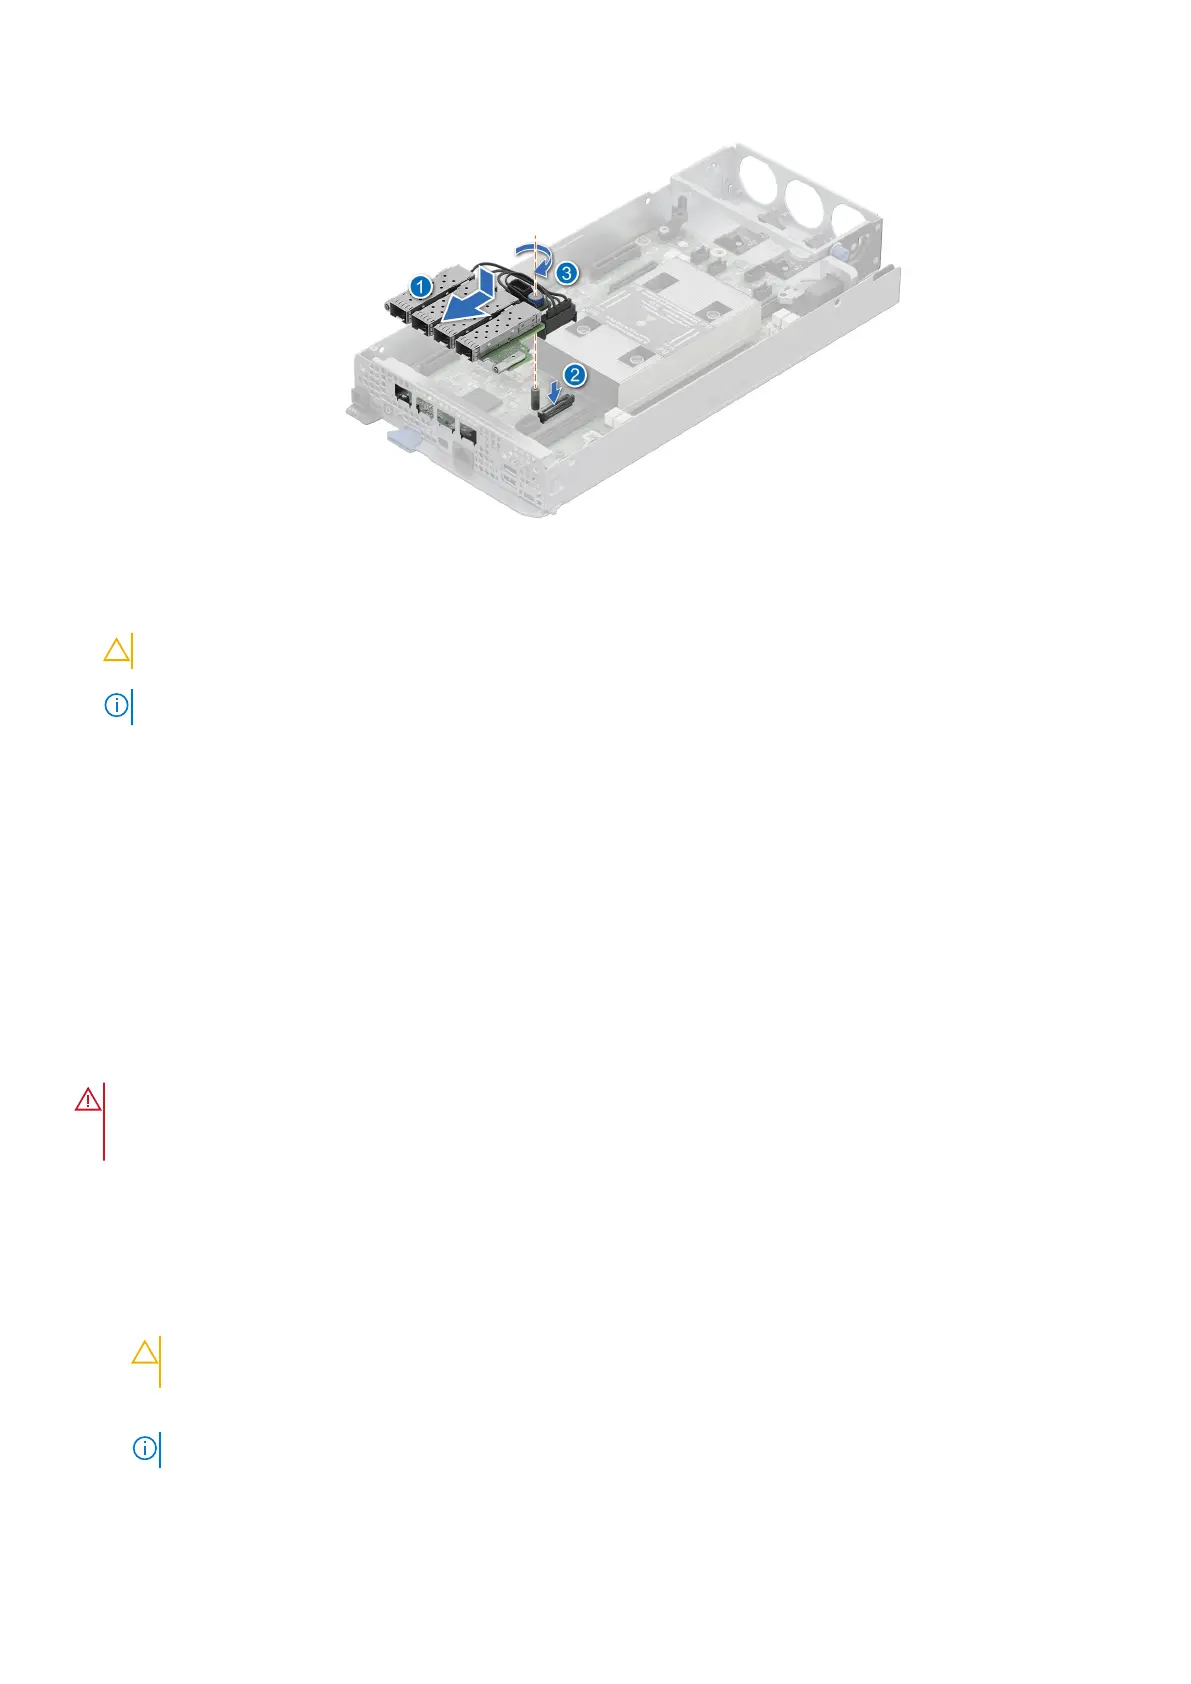
Figure 34. Install the Network I/O board
4. Using the Phillips 2 screwdriver, tighten the blue thumbscrew on the Network I/O Board and ensure it is installed correctly.
CAUTION: Follow the guiding pin to prevent damage to the Network I/O board.
NOTE: The numbers on the image do not depict the exact steps. The numbers are for representation of sequence.
Next steps
Follow the procedure listed in After working inside your system.
System battery
This is a service technician replaceable part only.
Replacing the system battery
Prerequisites
WARNING:
There is a danger of a new battery exploding if it is incorrectly installed. Replace the battery only
with the same or equivalent type recommended by the manufacturer. Discard used batteries according to the
manufacturer's instructions. See the Safety instructions that came with your system for more information.
1. Follow the safety guidelines listed in Safety instructions.
2. Follow the procedure listed in Before working inside your system.
Steps
1. To remove the battery:
a. Push the battery holder clip away from the battery.
CAUTION:
To avoid damage to the battery holder clip, ensure that you do not bend the battery holder clip
while installing or removing a battery.
b. Pull the battery out of the battery holder.
NOTE: Ensure that the + side of the battery is facing the battery holder clip.
68 Installing and removing system components

 Loading...


