13. Remove the system board from the palm-rest and keyboard assembly.
14. Remove the USB Type-C bracket from the upper-right side of the system board.
NOTE: The new replacement system board is preassembled with the USB Type-C brackets. Only the USB Type-C
bracket at the upper-right side of the system board must be removed.
15. Flip-over the system board and remove the four screws (M1.4x1.2) that secure the USH board FPC (for models that are
shipped with a USH board) and touchpad FPC to the system board.
16. Remove the USH board FPC (for models that are shipped with a USH board) and touchpad FPC away from the system
board.
NOTE: The USH board FPC and touchpad FPC must be transferred to the new replacement system board.
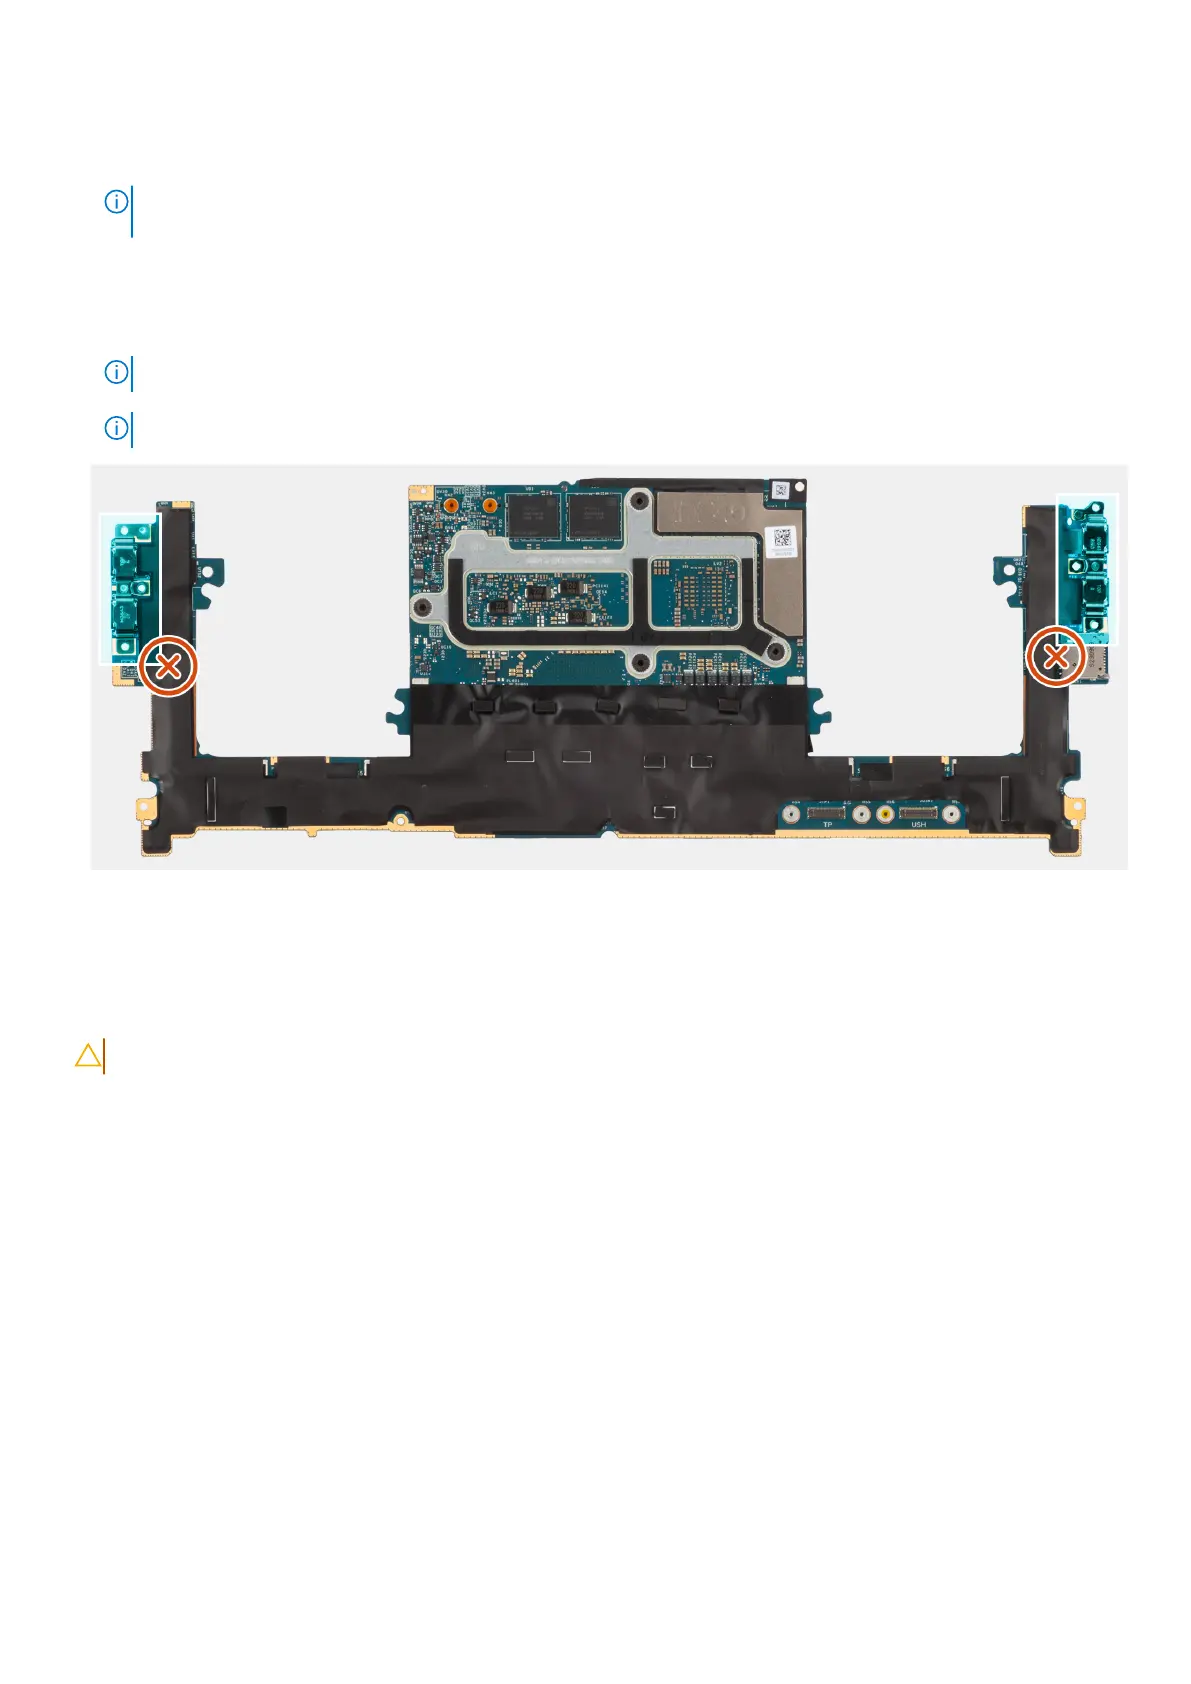
NOTE: Do not remove the USB Type-C brackets from the bottom side of the system board.
Figure 63. USB Type-C brackets at the bottom side of the system board
Installing the system board
CAUTION: The information in this installation section is intended for authorized service technicians only.
Prerequisites
If you are replacing a component, remove the existing component before performing the installation procedure.
About this task
The following image indicates the connectors on your system board:
84
Removing and installing Field Replaceable Units (FRUs)