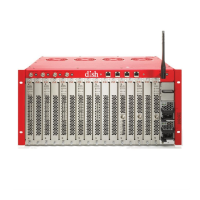
11
Mount Power Inserter and Connect Input/Output Cables to Power Inserter
An external power source and in-line surge protector(s) must be installed on the coax line(s) between SMARTBOX
and the satellite’s LNBF(s). The current recommended solution is the DISH 4-port high-capacity power inserter
with built-in surge protection (DN005050). This is only for situations where the LNBF is within 100 feet of
SMARTBOX.
CAUTION: For cable runs of greater than 100 feet, in-line amplifiers may be required.
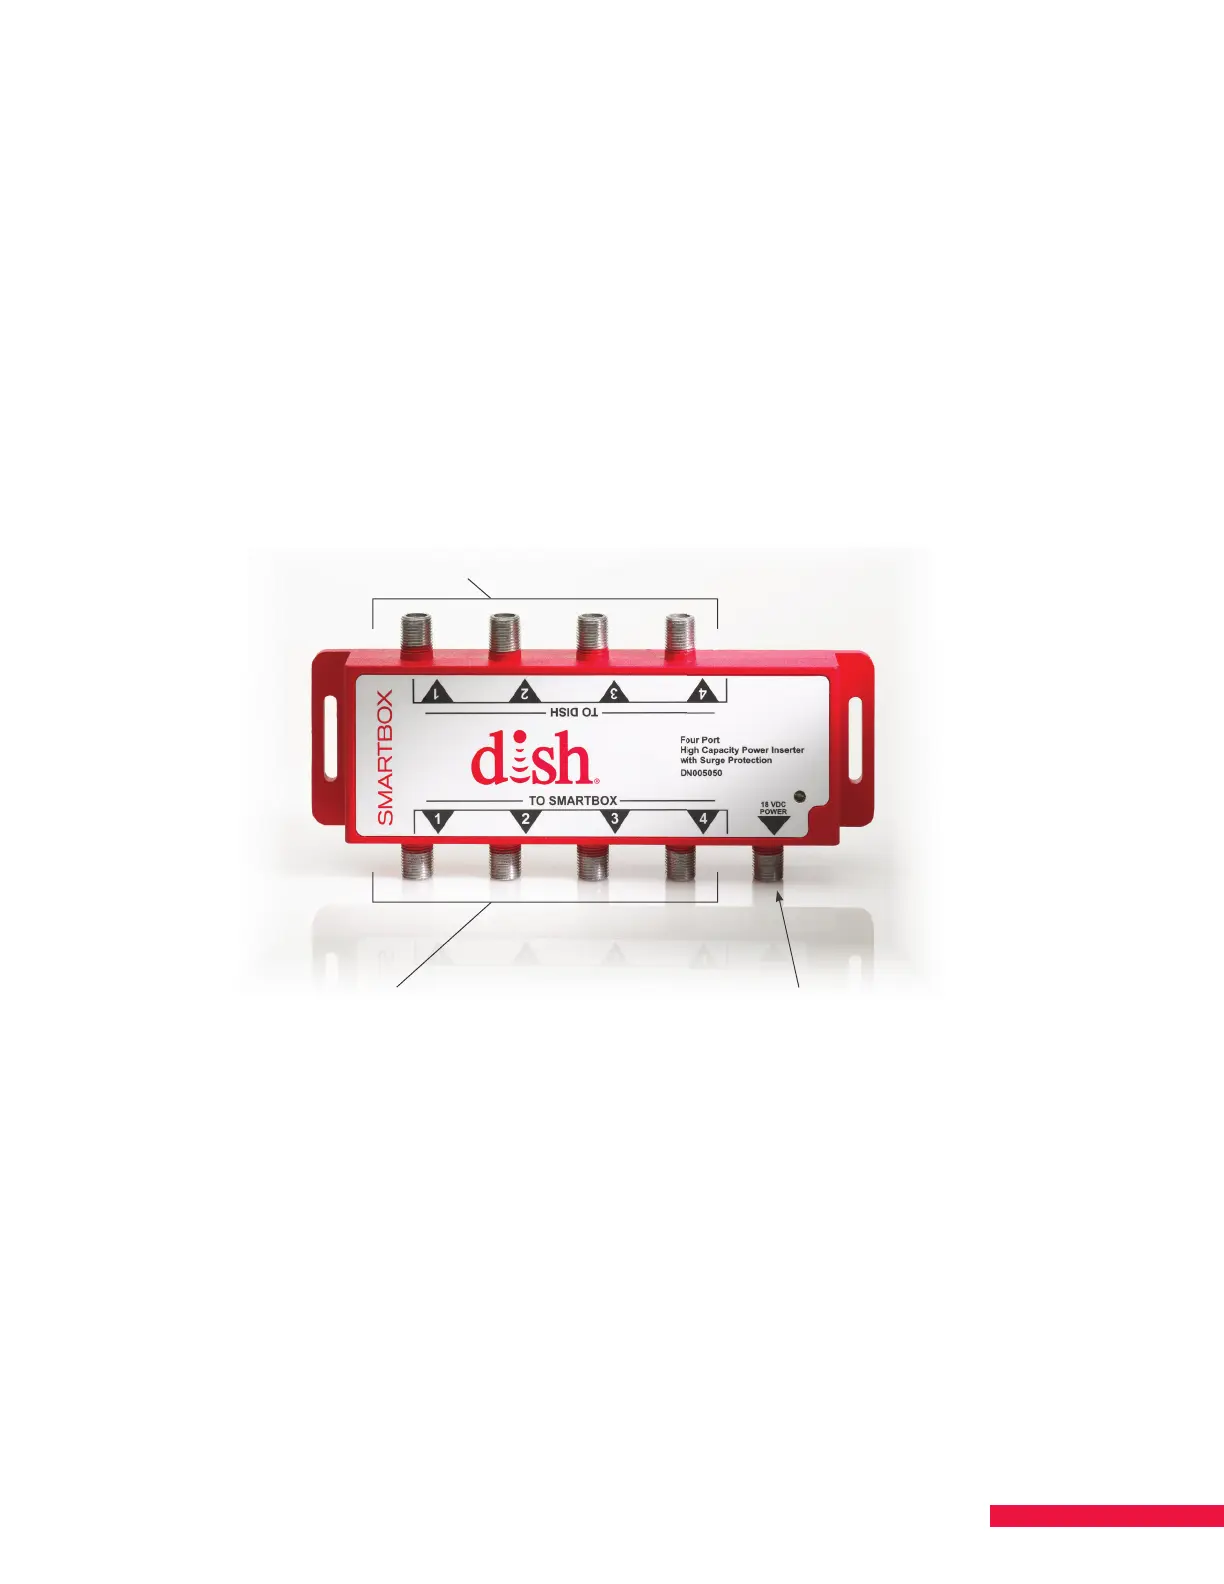
DISH 4-Port High-Capacity Power Inserter
1. Securely mount a DISH 4-port high-capacity power inserter/surge protector to an appropriate
wall or surface.
2. Connect cables from the LNBFs to ports 1, 2, 3, 4 (as needed); these are marked TO DISH on the power
inserter (See Figure 1.).
Figure 1. DISH 4-Port High-Capacity Power Inserter with Surge Protection
Connect LNBFs from satellites to “TO DISH” ports 1–4
Connect “TO SMARTBOX” ports 1–4 to
Sat 1, Sat 2, Sat 3, and Sat 4 connectors on front of SMARTBOX
Connect power adapter
to 18 VDC connector
3. Connect corresponding ports 1, 2, 3, 4 marked TO SMARTBOX on the power inserter to the Sat 1, 2, 3, 4
connectors on the front of SMARTBOX (See Figure 1.).
4. Connect the supplied AC adapter to the 18V DC power port on the power inserter.
5. Plug the AC adapter into a power source.
NOTE: If you have open ports, you can use the power inserter to power an OTA antenna’s amplifier.