58
CHAPTER 17 INSTALL ON CUSTOMER SITE
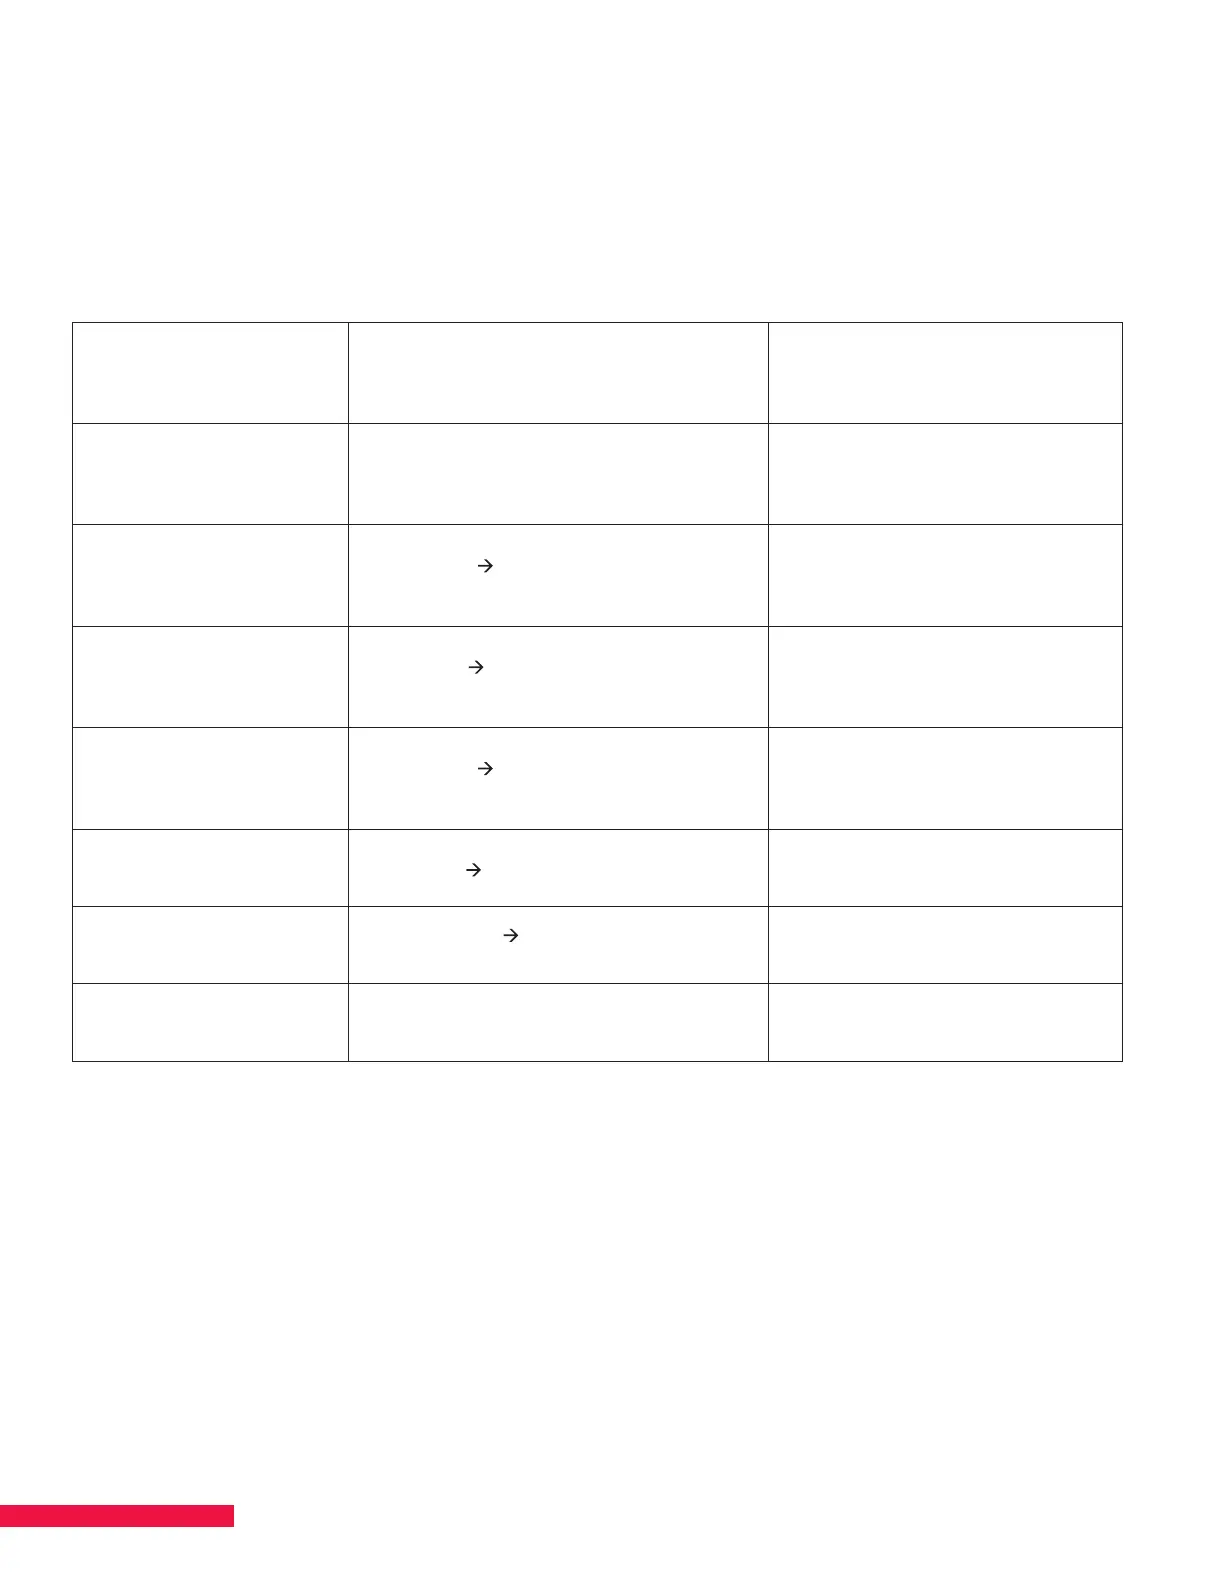
The following table includes a high-level “punch list” of tasks, actions, and references to assist you in setting up
SMARTBOX on a customer site. The instructions are very similar to an initial installation. The list assumes that
software was updated during testing on the integration site and is up to date. However, the software version
should be checked to ensure that it is the latest version.
TASK ACTION REFERENCE
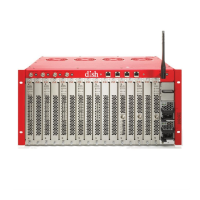
Unpack and
reassemble SMARTBOX
and connections.
Follow guidelines for installation.
CHAPTER 2 ASSEMBLE
CHASSIS, POWER SUPPLIES
AND POWER INSERTERS
Establish connection. Set up TCP/IP connection and login.
CHAPTER 4 UPDATE
SOFTWARE:
ESTABLISH COMMUNICATION
Refresh satellite feeds.
Chassis tab
Click Apply button under
L-Band Inputs.
CHAPTER 4 UPDATE
SOFTWARE:
ENABLE SATELLITE INPUTS
Verify tuners lock.
Blades tab
Verify tuners have locked
for each blade.
CHAPTER 4 UPDATE
SOFTWARE:
VERIFY TUNERS LOCK
Scan for spot beams
and satellite services.
Chassis tab
Start Spot Beam Scan,
then Scan for Satellite Services.
CHAPTER 7 SCAN FOR SPOT
BEAMS AND SATELLITE
SERVICES
Set up CAS Server
(if needed).
Admin tab
CAS Server.
CHAPTER 10 SET UP CAS
SERVER
Scan for ATSC services
(if needed).
Services page
Scan for
ATSC Services.
CHAPTER 11 MAP SERVICES
Configure or add new
services or channels.
Services page – various options. CHAPTER 11 MAP SERVICES