13
Controls and Functions
Chapter 2 Preparations
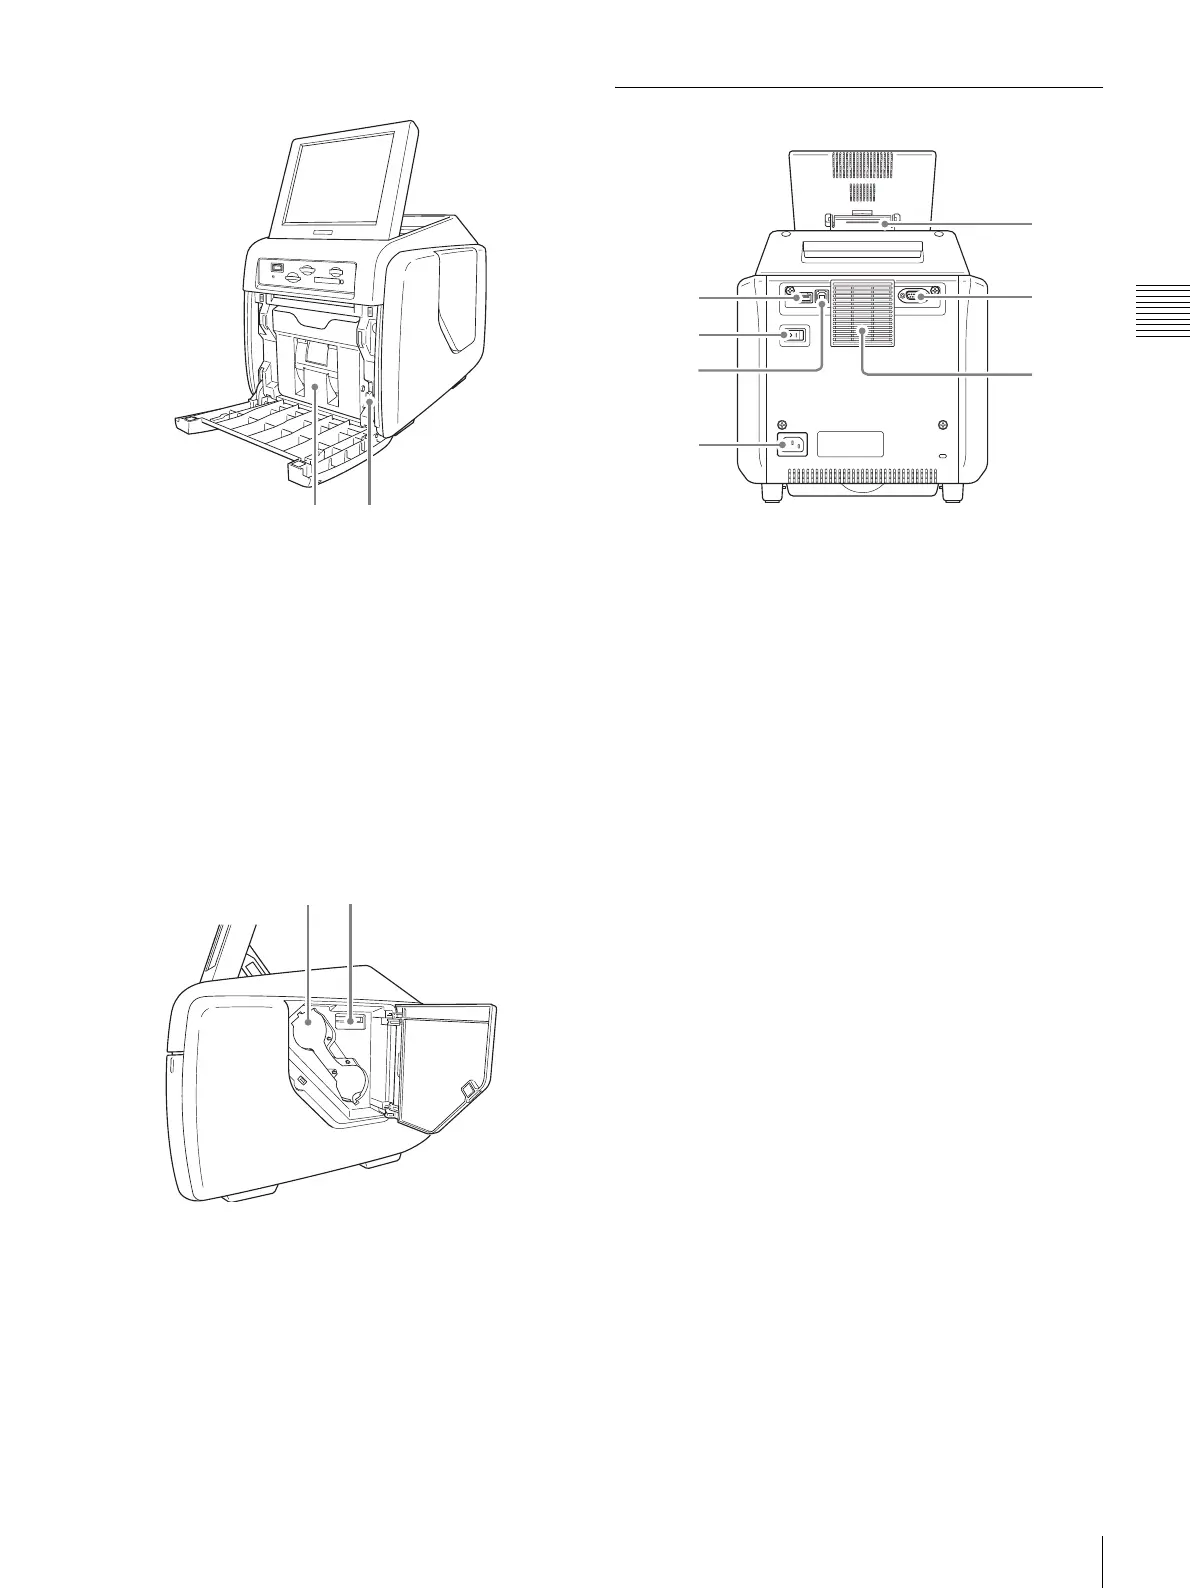
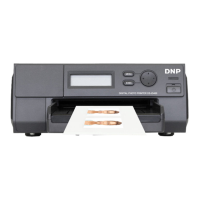
Front door open
(A) Paper holder (page 15)
The paper roll is inserted here.
The white areas between printouts are cut off and
collected in the top portion of the paper holder.
(B) Paper holder release button (page 15)
Press this button to remove the paper holder.
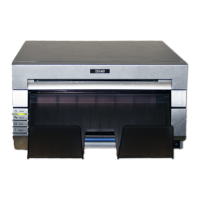
(12) Side door (page 18)
Open this door for replacing the ink ribbon and inserting
the expansion CompactFlash card.
Side door open
(A) Ink ribbon access opening (page 18)
Mount the ink ribbon here.
(B) Expansion CompactFlash card slot (page 38)
When using features such as border print or
promotional images, insert the expansion
CompactFlash card here.
Rear
(1) USB port (host)
Allows connection of a USB device.
You can connect a commercially available card reader or
USB memory device to this port and use it to read data.
1)
1) Correct operation with every card reader and USB
memory device is not guaranteed.
Operation is not guaranteed when connected by a USB
hub.
PictBridge is not supported.
(2) POWER switch
Turns the unit on or off.
(3) USB port (device) (page 66)
Use the supplied USB cable to connect the unit to a
computer.
1)
1) Operation is not guaranteed when connected by a USB
hub.
(4) ~ AC IN (Power Source) Connector (page 14)
Connect the supplied power cord here.
(5) Display stand
Use this stand to adjust the angle of the display.
(6) RS-232C interface
Allows connection of a commercially available thermal
sheet printer or similar device.
(7) Air vent
Features a built-in filter for the thermal head cooling fan.
(A) (B)
(A)
(B)
(1)
(2)
(3)
(4)
(5)
(6)
(7)