58
Using Index Print
Chapter 6 Operation
4
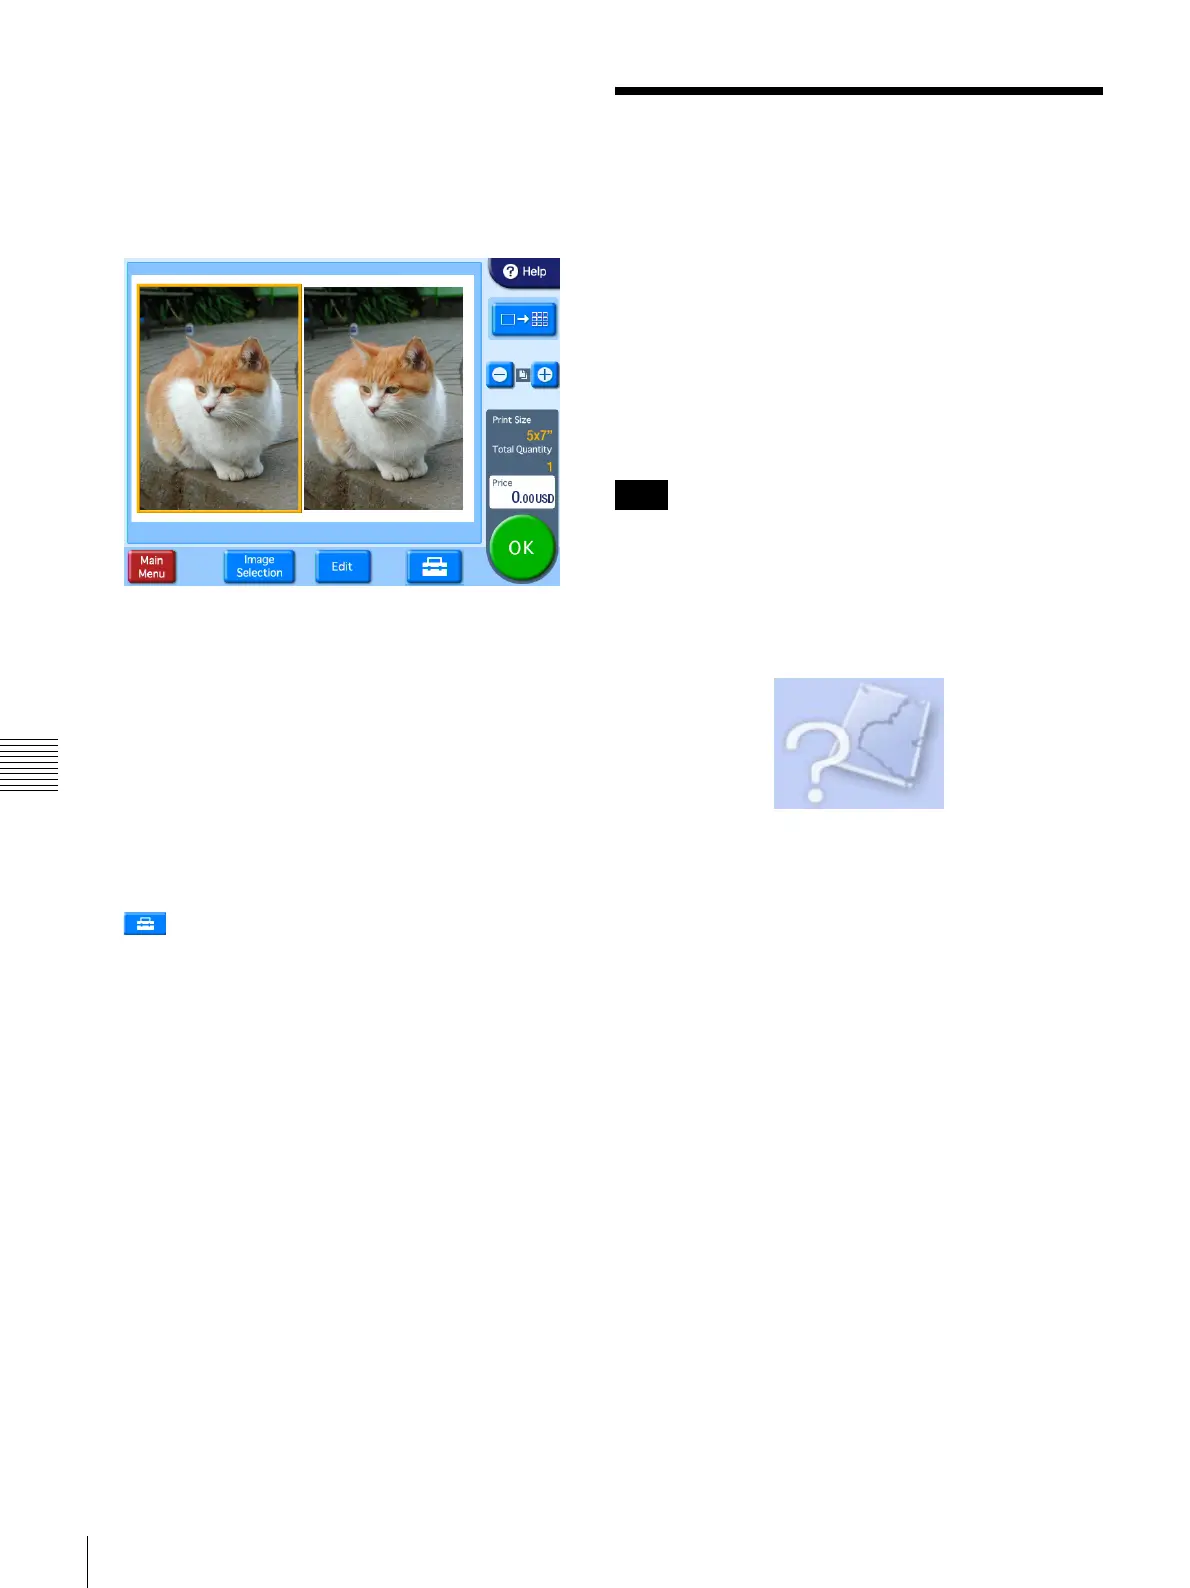
Select the image that you want to assign to the frame,
and then touch the [OK] button.
The preview screen returns.
If the layout that you selected includes multiple
images, repeat steps 3 and 4.
[+] [–] buttons: Use these buttons to specify the
number of prints.
[Image Selection] button: Use this button to change
the images selected for the layout.
[Edit] button: Use this button to edit the selected
image. The following editing functions are
available.
•Crop and Rotate
•Text Input
•Color Adjustment
•Red Eye Reduction
•Sepia/B&W
For details, see “Image Editing” on page 61.
button: Use this button to set the print finish.
You can also enable auto correction for the
images.
5
Once all of the desired images have been selected and
the print quantities have been specified, touch the
[OK] button.
If the unit is in Event mode, printing begins.
If the unit is in Full mode, the order confirmation
screen appears.
For details on how to proceed, see “Confirming and
Printing the Order” on page 59.
Using Index Print
J Applicable modes: Full mode, Event mode
This function prints an array of thumbnails of all images.
The number of images printed per sheet is as follows.
• 3.5 × 5: 30 images
• 4 × 4: 20 images
• 4 × 6: 35 images
• 5 × 7: 56 images
• 4 × 8: 45 images
• 4 × 7: 40 images
The Index Print function can print Exif images that exceed
the maximum pixel size (8,000 (horizontal) × 6,000
(vertical) pixels). Since all other functions of this unit do
not support images of this size, when other functions are
being used these images cannot be printed and the
following icon will appear in their place on the screen.
1
From the main menu, touch [Index Print].
If the unit is in Event mode, printing begins.
If the unit is in Full mode, the order confirmation
screen appears.
For details on how to proceed, see “Confirming and
Printing the Order” on page 59.
Note